Brokerkit offers several ways to connect with external tools and platforms. You can use the Social Media Lookup feature within contact profiles to connect your contacts with their respective social networks. Here you’ll find additional articles covering different integrations available in Brokerkit. In this particular article, you’ll learn how to set up an integration using Zapier.
The procedure below details the steps to integrate Zapier with Brokerkit to import leads or agents into Brokerkit via the Brokerkit API from apps on the Zapier platform. You will first need to set up a Zapier account at zapier.com and then connect Zapier with one of your apps where you capture leads like these on the Zapier platform.
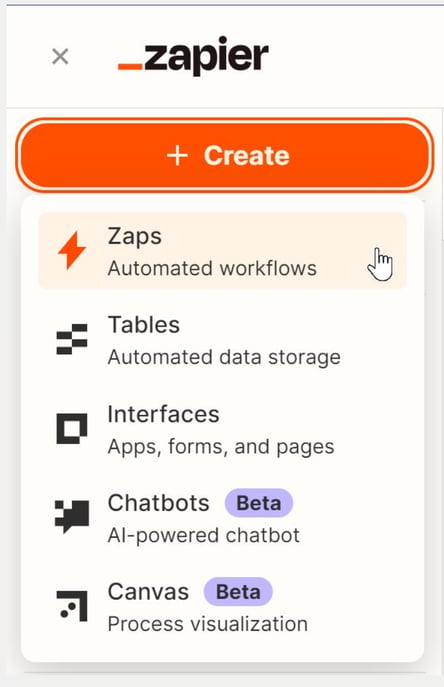
1. Create a Zap in Zapier:
Log in to your Zapier account. Once logged in, click on the Create Zap button located at the top left corner of the dashboard.

2. In the Trigger section, you'll see an option to Choose App & Event. In the search bar, type "Google Contacts" and select it from the dropdown menu.

3. Choose Google Contacts as the Trigger App:
Under Trigger Event, choose the appropriate event that will start your Zap.
Click Continue.

4. Connect Google Contacts to Zapier:
Click Sign in to Google Contacts. A window will open to connect your account.
Once Google Contacts is connected, a green check should confirm that the account has been successfully connected.
Click Continue.

5. Click Test Trigger to ensure Zapier is able to pull in a sample record from your Google Contacts account. If successful, you will see sample data appear on your screen.
Pull in a Sample and click Continue with selected record.


6. Add Step 2 to your Zap.
Click on Add a Step (usually a plus icon "+" below your trigger step).
In the search bar, type "Webhooks by Zapier" and select it.


7. Choose Action Event as POST and select Continue.

8. Type in the URL and select Payload Type for Brokerkit, as shown below.
- URL: https://api.getbrokerkit.com/v2/leads
- Payload Type: Json (select from dropdown)

9. As shown below, you can map the fields on the right from your integration in the Zap with the related Brokerkit field on the left.
Here are the most commonly used fields to map for import:
| Brokerkit Fields | Zapier Inputs |
| first_name |
|
| last_name |
|
| phone |
|
|
|
| note |
|
| source |
|
| owner_email |
|
Here is a screenshot of what that looks like in Zapier:

Here are some other fields you can map for import that are less common:
| currently_at |
|
| birthday |
|
| alt_address |
|
| alt_city |
|
| alt_zip |
|
| office_address |
|
| office_city |
|
| office_zip |
|
| product |
|
| rating |
|
| production_ytd |
|
| production_label |
|
| owner_email |
|
| referrer_email |
|
| resume_url |
|
| document_urls |
|
10. Please select/type in fields under Wrap Request In Array, Unflatten, and Headers. (You may copy and paste values from the table below). When pasting in the Brokerkit API, remove the double-quotes. Select Continue.
Wrap Request In Array select no from the drop-down
Unflatten select yes from the drop-down
Headers
Content-Type application/json
Authorization Token token=”paste Brokerkit API Key here with no spaces”

11. To find your API key for Brokerkit, visit the Team Settings section of your
Brokerkit account, then under Team Api Key click the Copy to Clipboard button to copy your API Key for your Team.

12. With all the fields specified above completely filled out, test your integration by clicking Test Step, as shown below.

13. A green checkmark will indicate the test was successful and would enable you to Publish your newly created Zap.
If the test is successful, click Turn on Zap to activate both the integration and email notifications. You will receive a confirmation that your Zap is live.
Verify Email Notifications: Ensure that every time a new lead is added to Brokerkit, you receive an email notification. This will help you stay on top of new leads without having to constantly check your Brokerkit dashboard.

14. Verify the Integration in Brokerkit:
Log in to your Brokerkit account. Navigate to your dashboard to check if the leads from Google Contacts are appearing correctly.
The leads should appear in Search Results.
If everything is set up properly, new leads will automatically be added to Brokerkit.
You are then all set!