Troubleshooting: Other Users Can't See My Videos
Issue: You uploaded videos to the video library, but other team members say they don't see your videos when they look at their library.
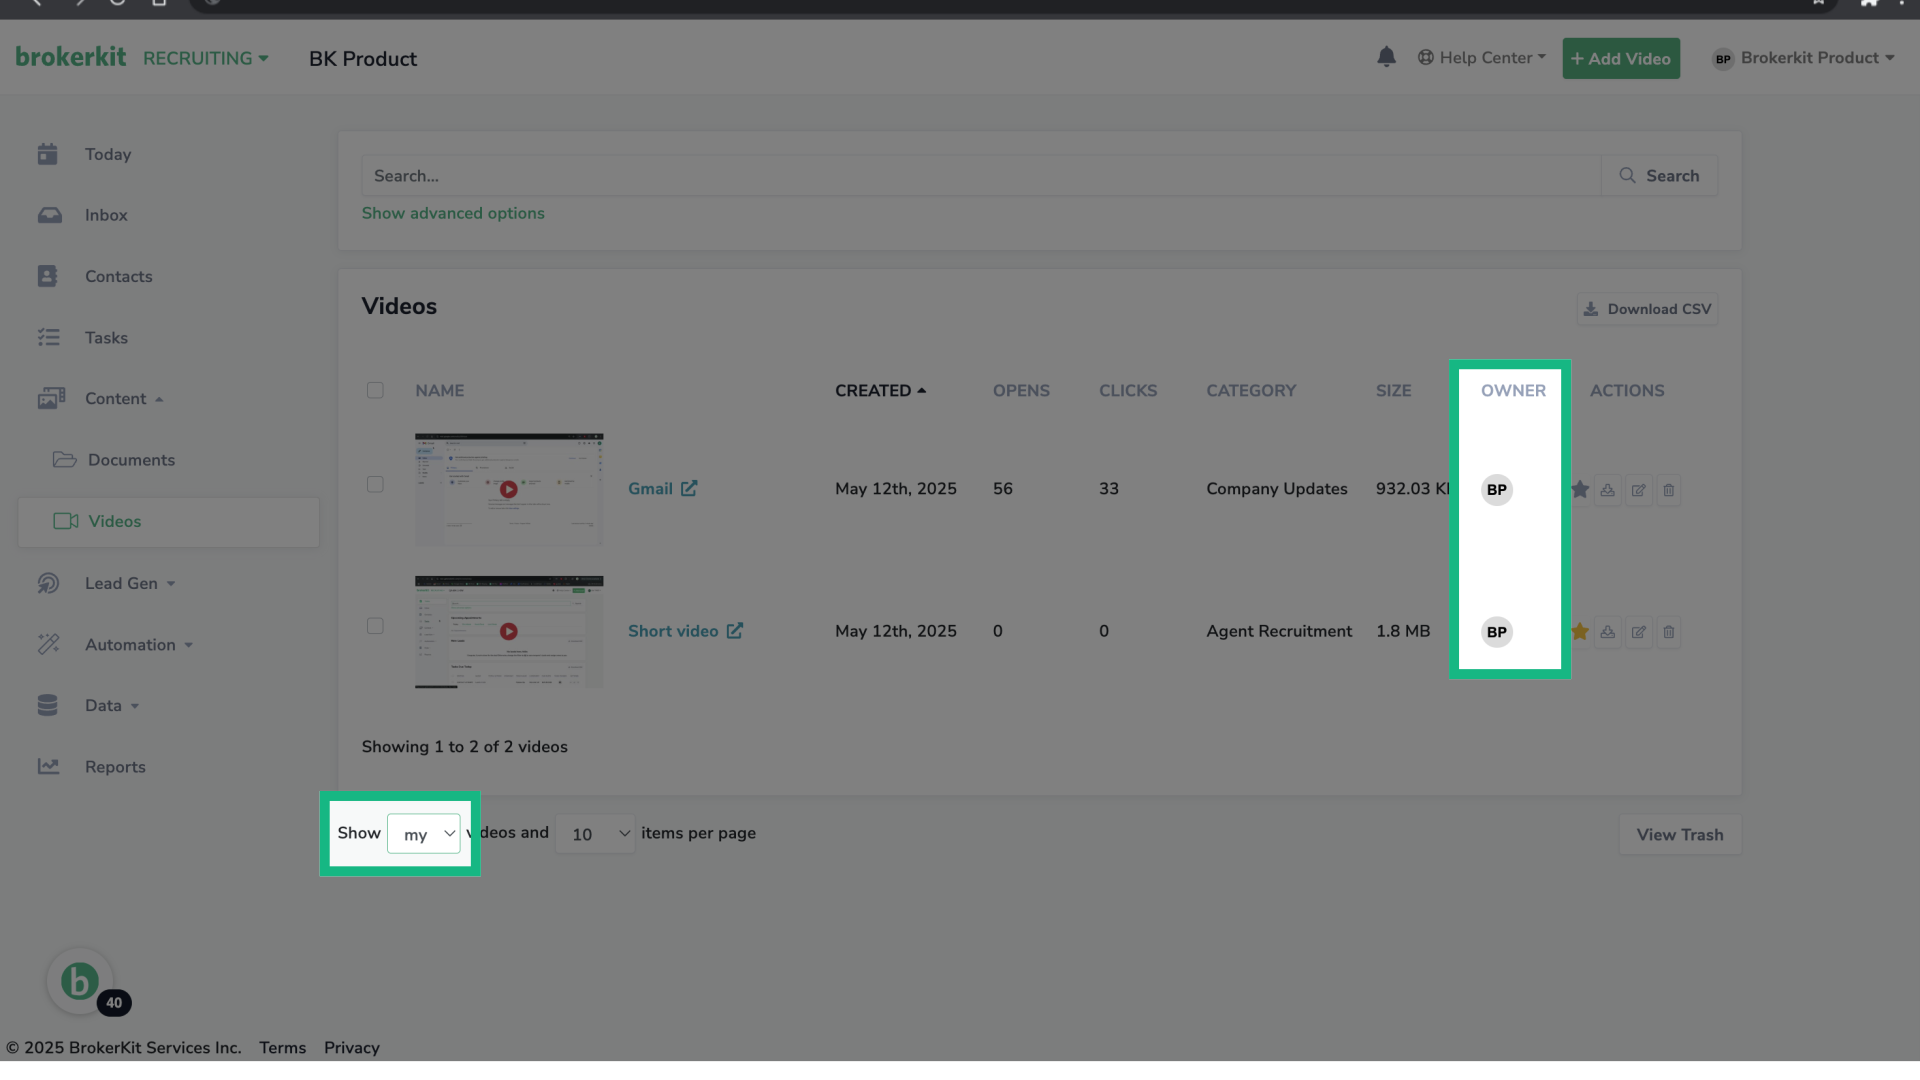
Solution: This is normal behavior. Each user's video library filter defaults to "Show my videos" which only displays videos they personally uploaded.
To see videos uploaded by ALL users (not just their own), each team member needs to change their filter setting:
1. Go to the Video Library
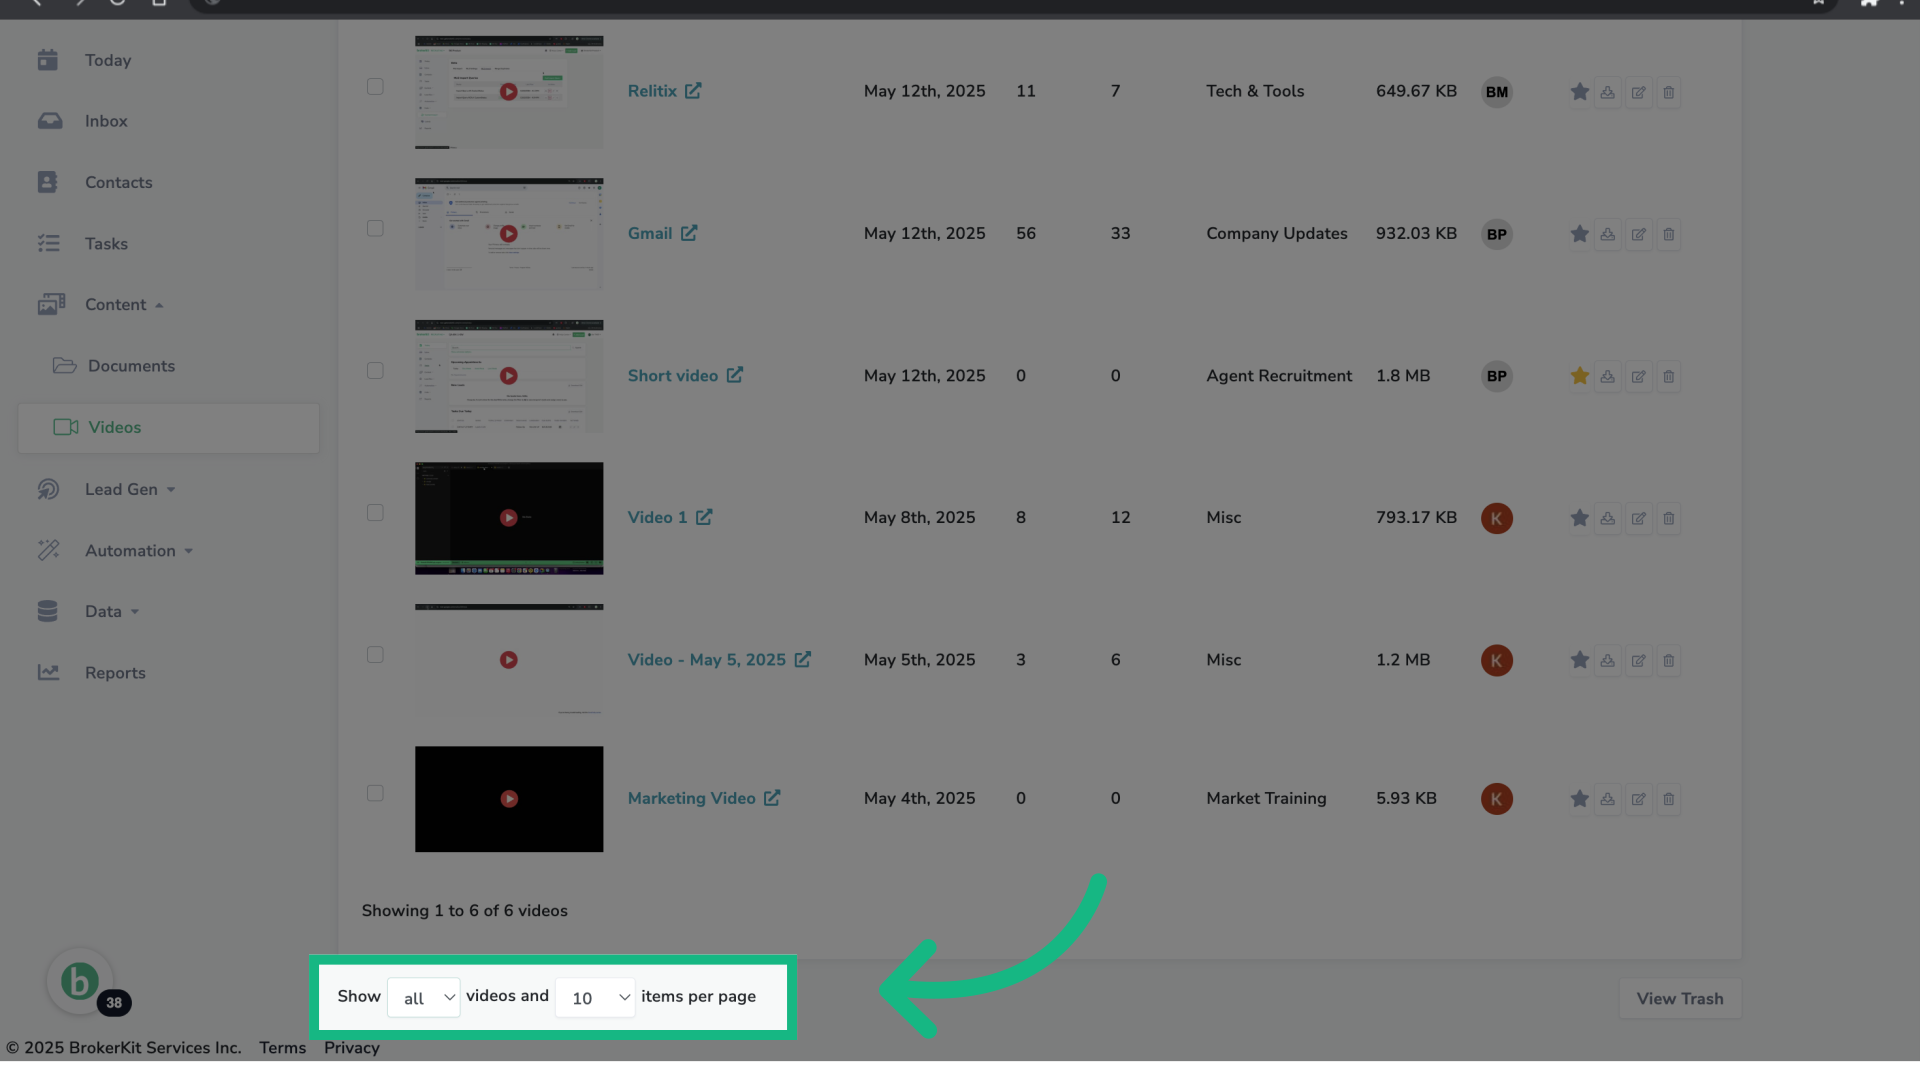
2. Scroll to the bottom of the page
3. Find the filter dropdown (currently set to "Show my videos")
4. Change it to "Show all videos"
Important: This is a personal filter setting - each user controls their own view. There is no organization-wide setting to force everyone to see all videos. Each user must change their own filter preference.
Note: This is not a permissions or sharing issue. All videos are automatically shared with your organization when uploaded. The filter just controls what each individual user sees in their own library view.
Video Library Subscription Limits
- There is a limit on the count of videos that can be stored in the video library for an account which is based on the pricing plan for that account.
- Our current pricing plans have allocations for a certain number of videos in your library, but some of our legacy pricing plans will not have an allocation.
- Please check your Brokerkit billing page here to see what the limits are by the pricing plan.
To increase video limits, upgrade to a current pricing plan on the Brokerkit billing page here or contact support@getbrokerkit.com for assistance.
How to navigate the video library?
1. Introduction
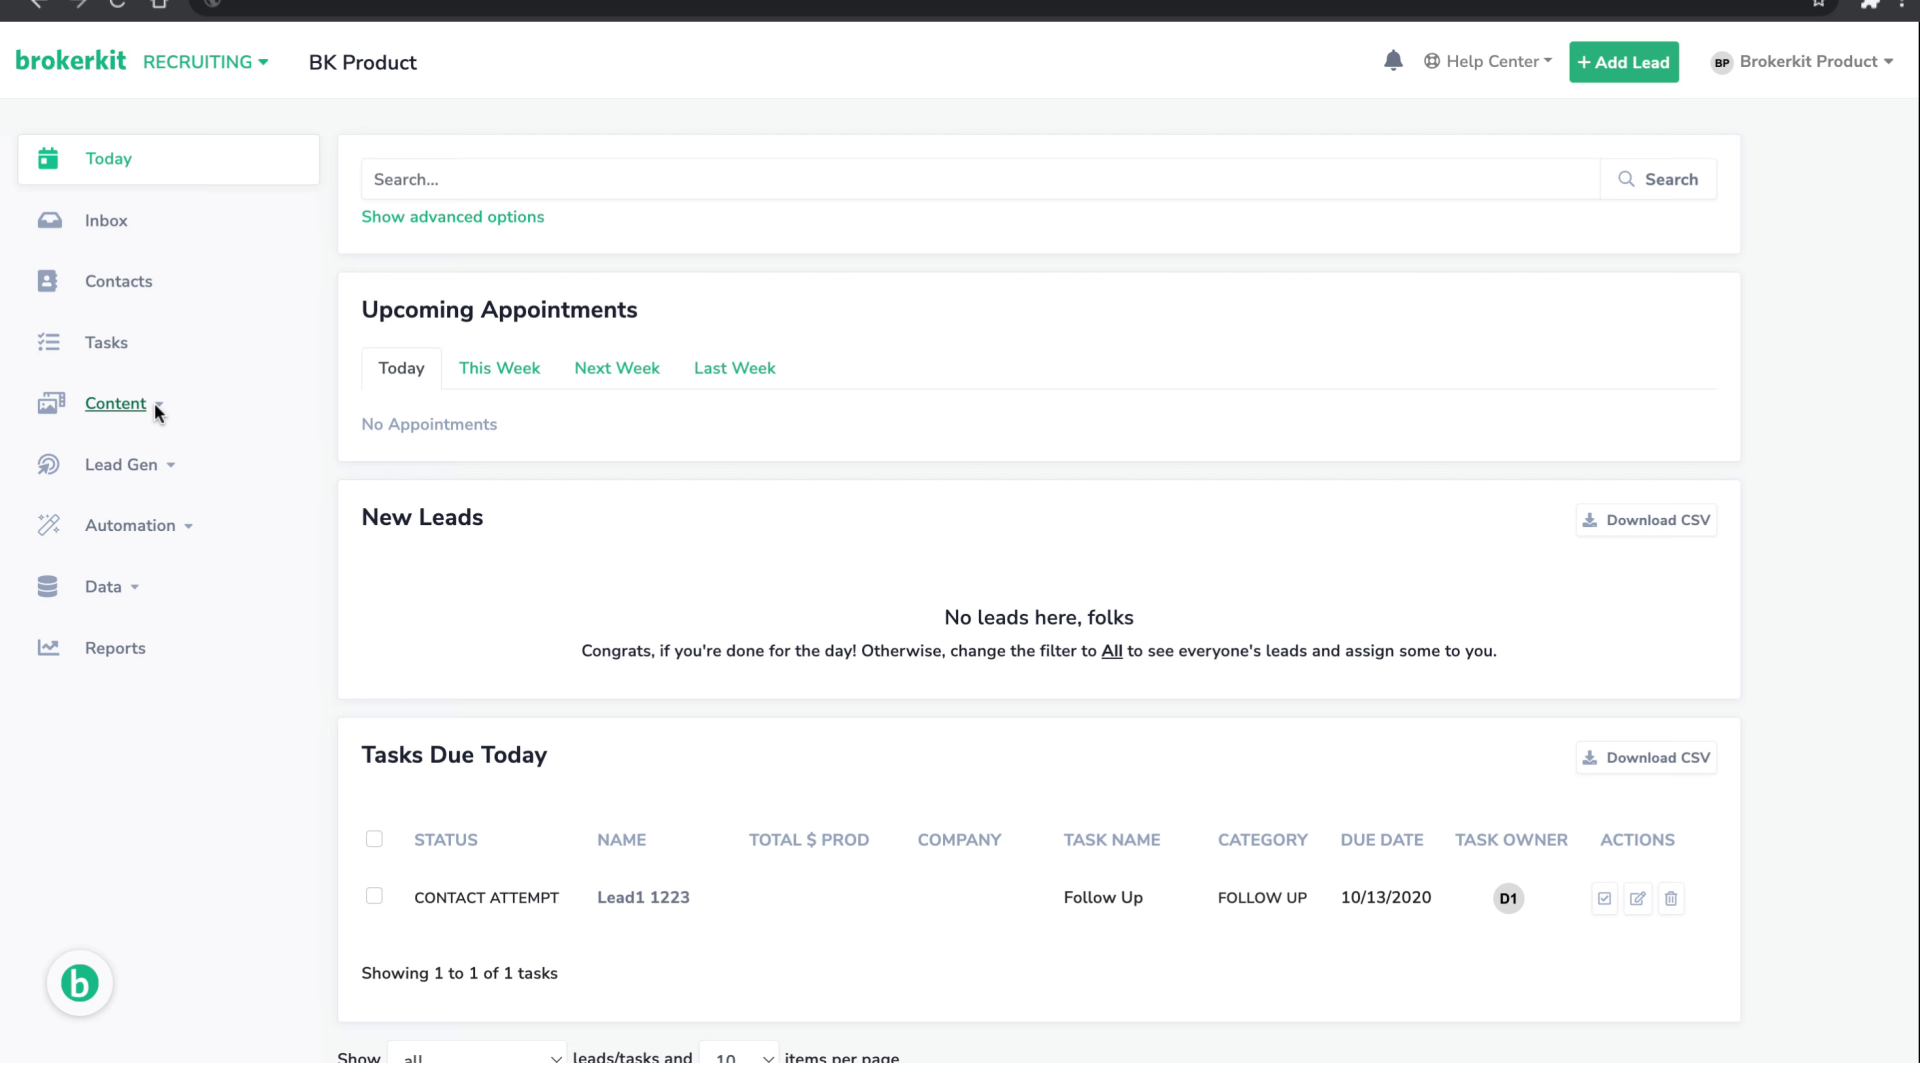
2. Click "Content"
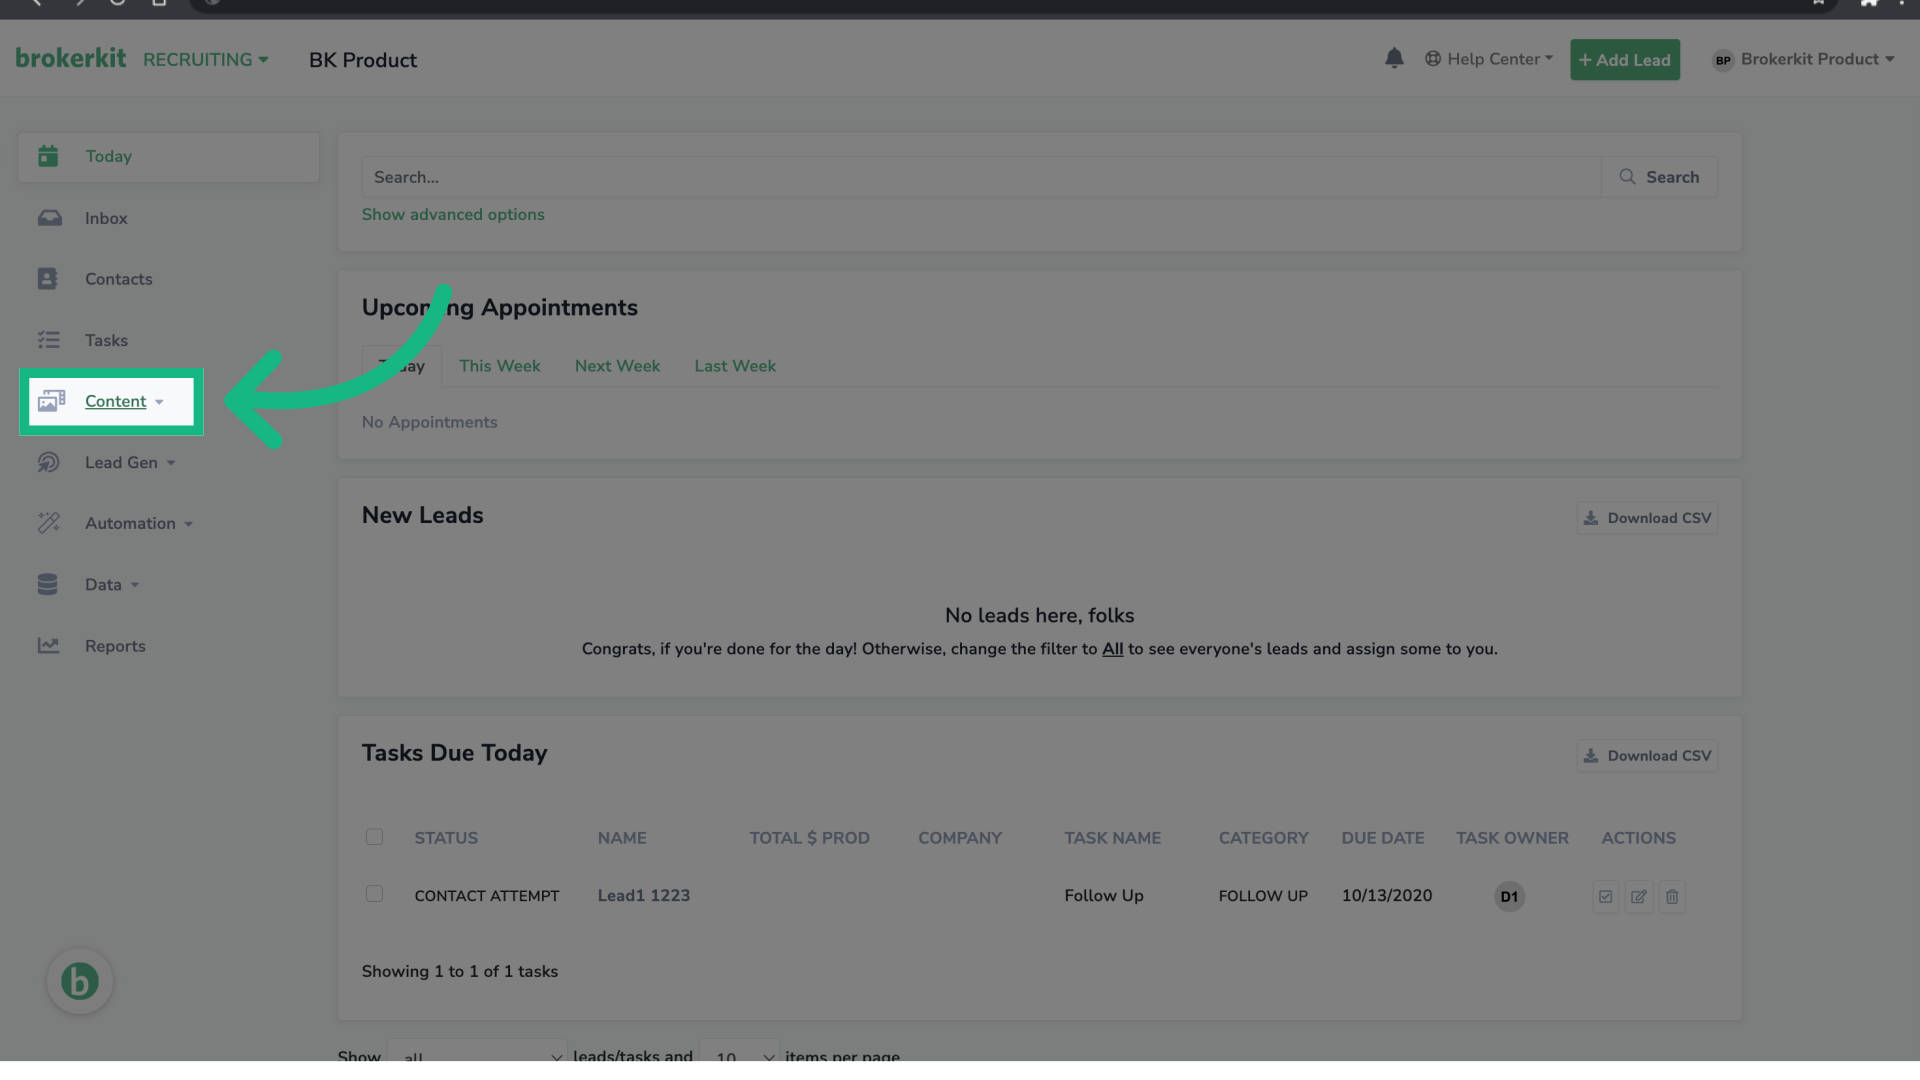
3. Click "Videos"
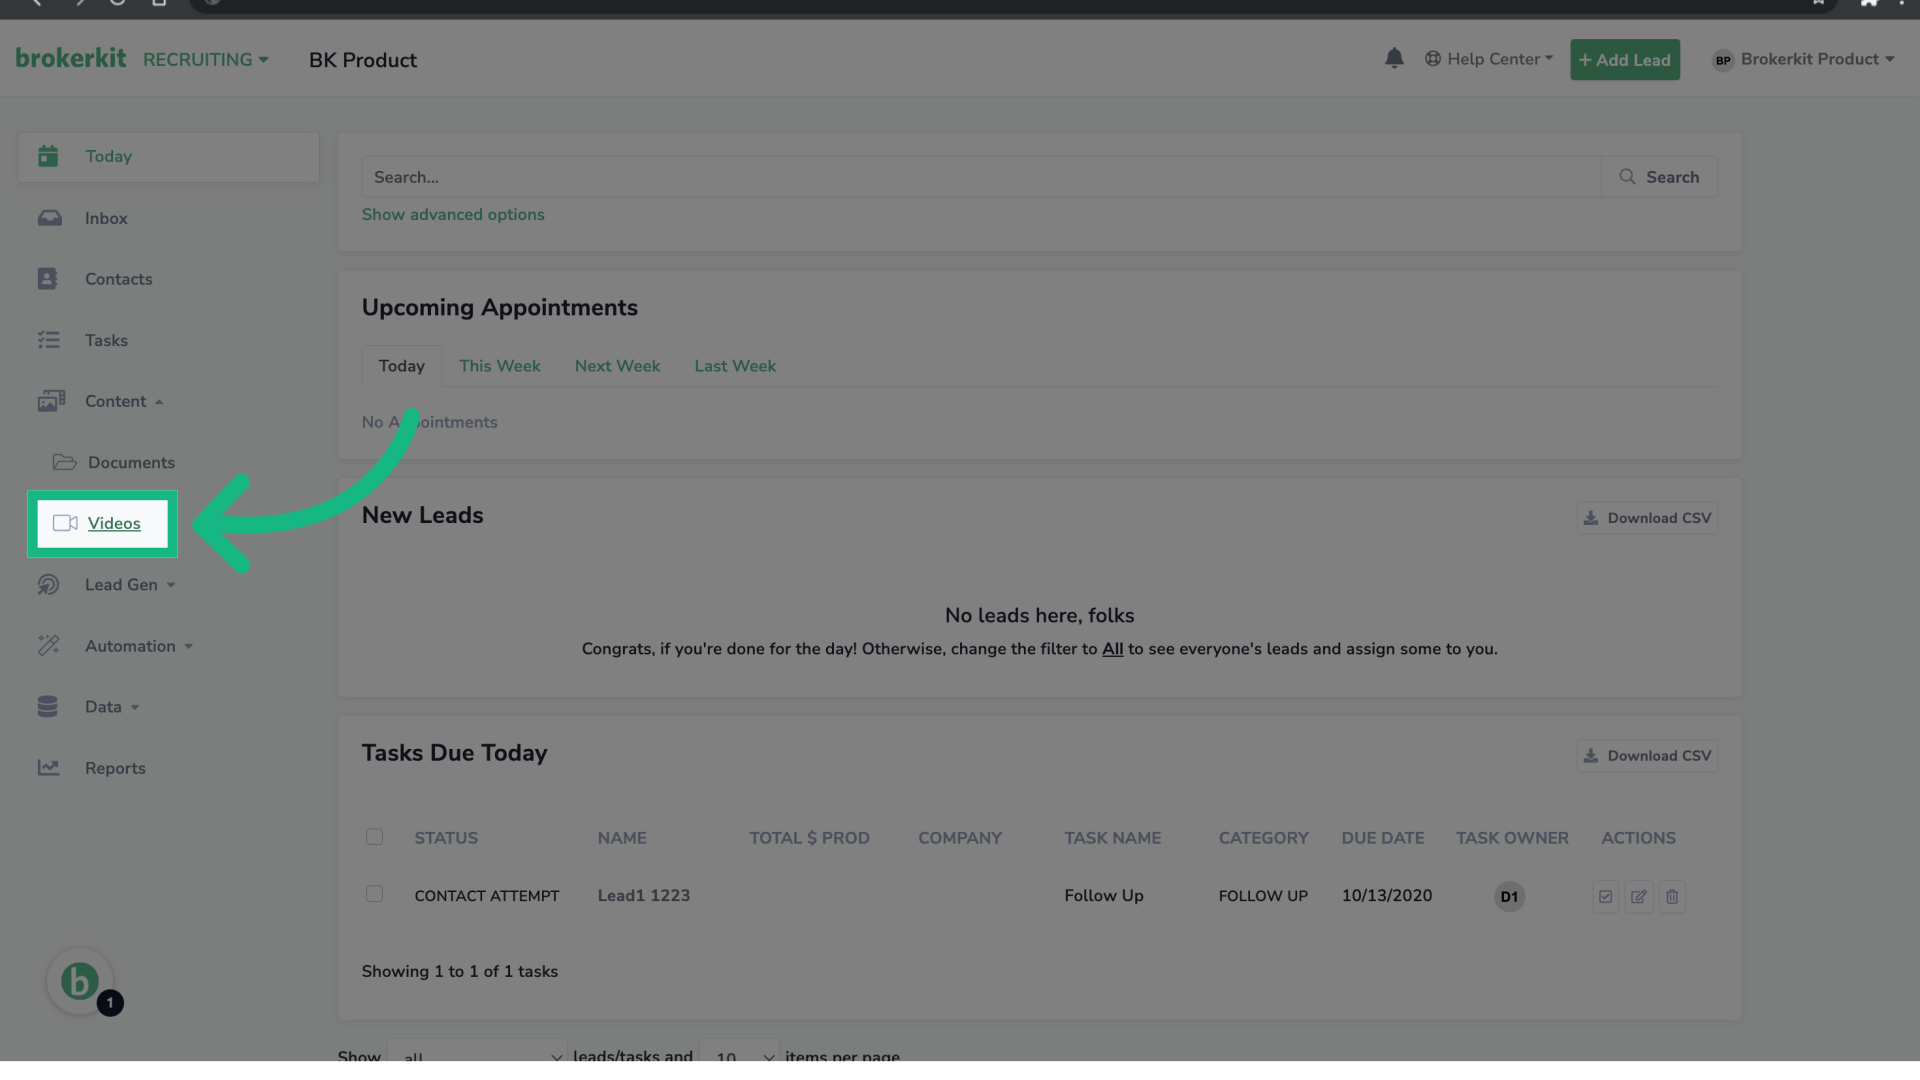
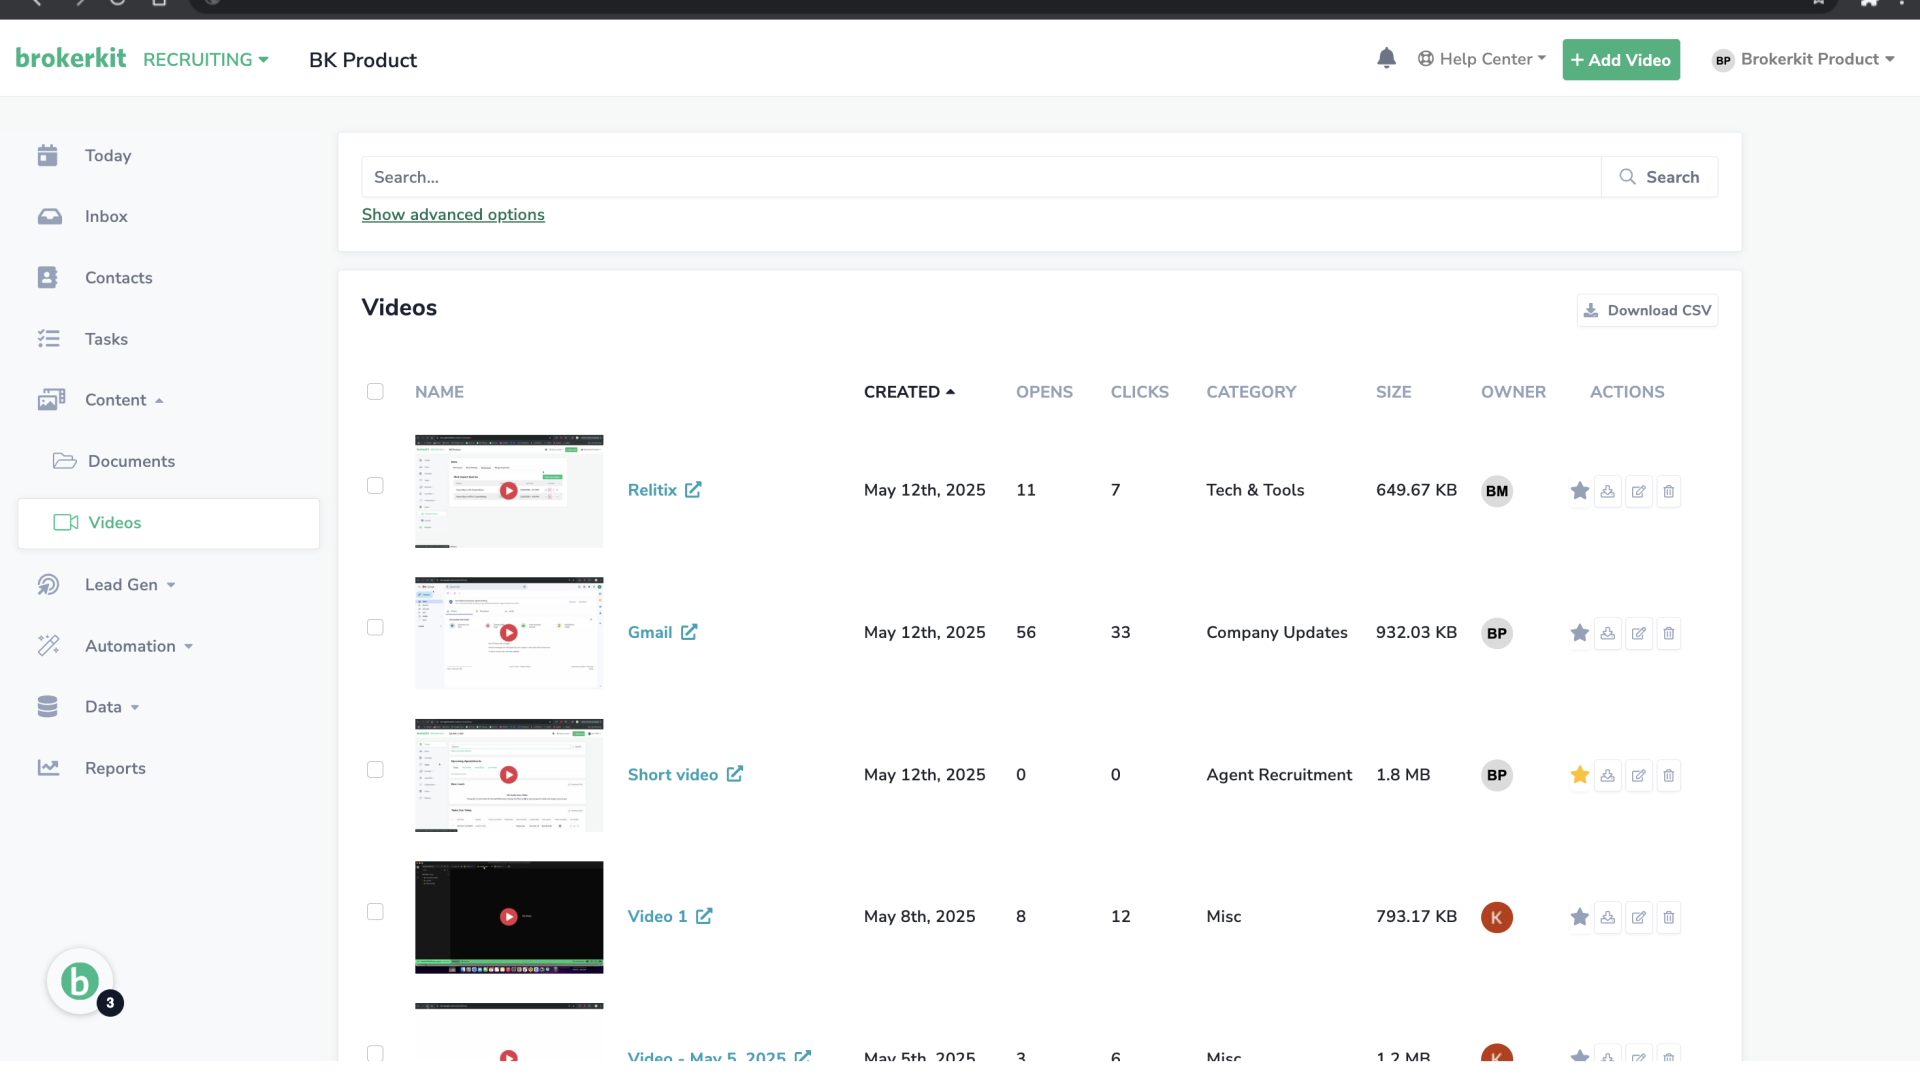
4. Videos Page
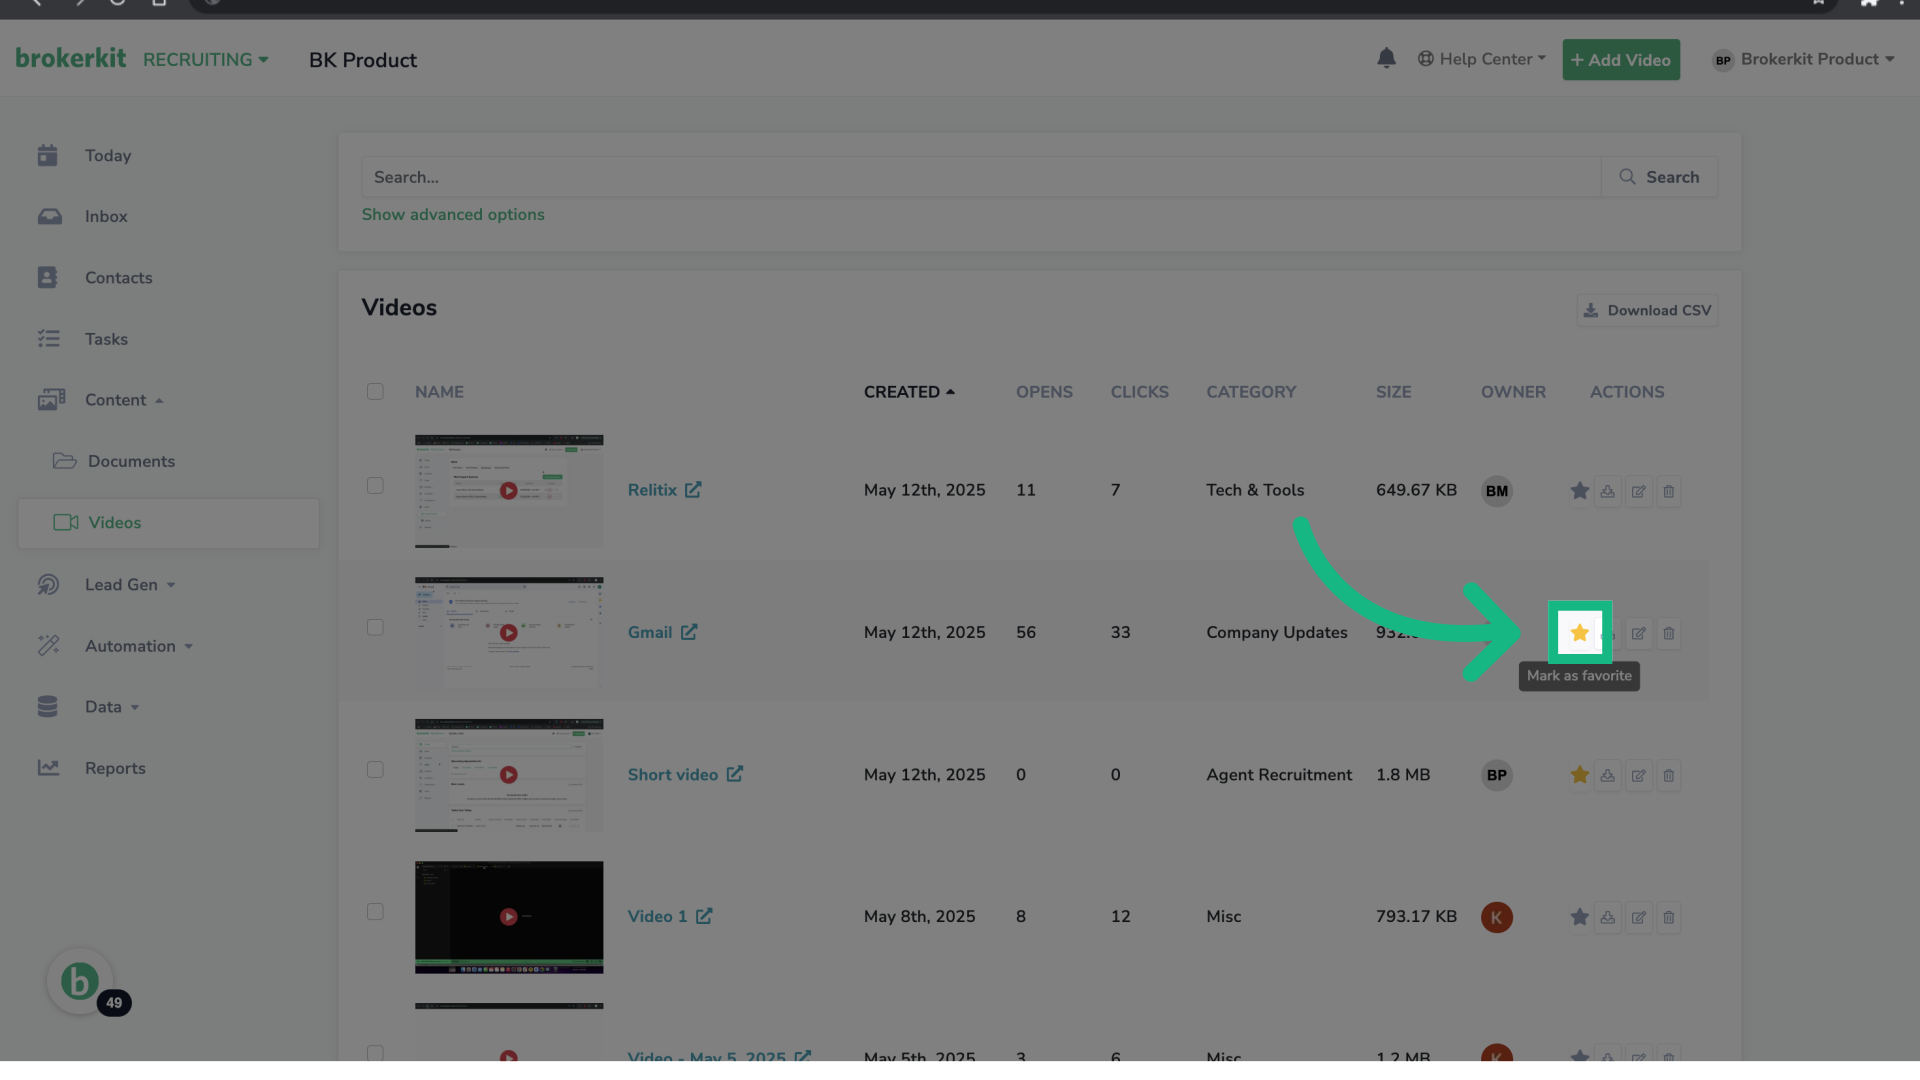
5. Mark as favorite
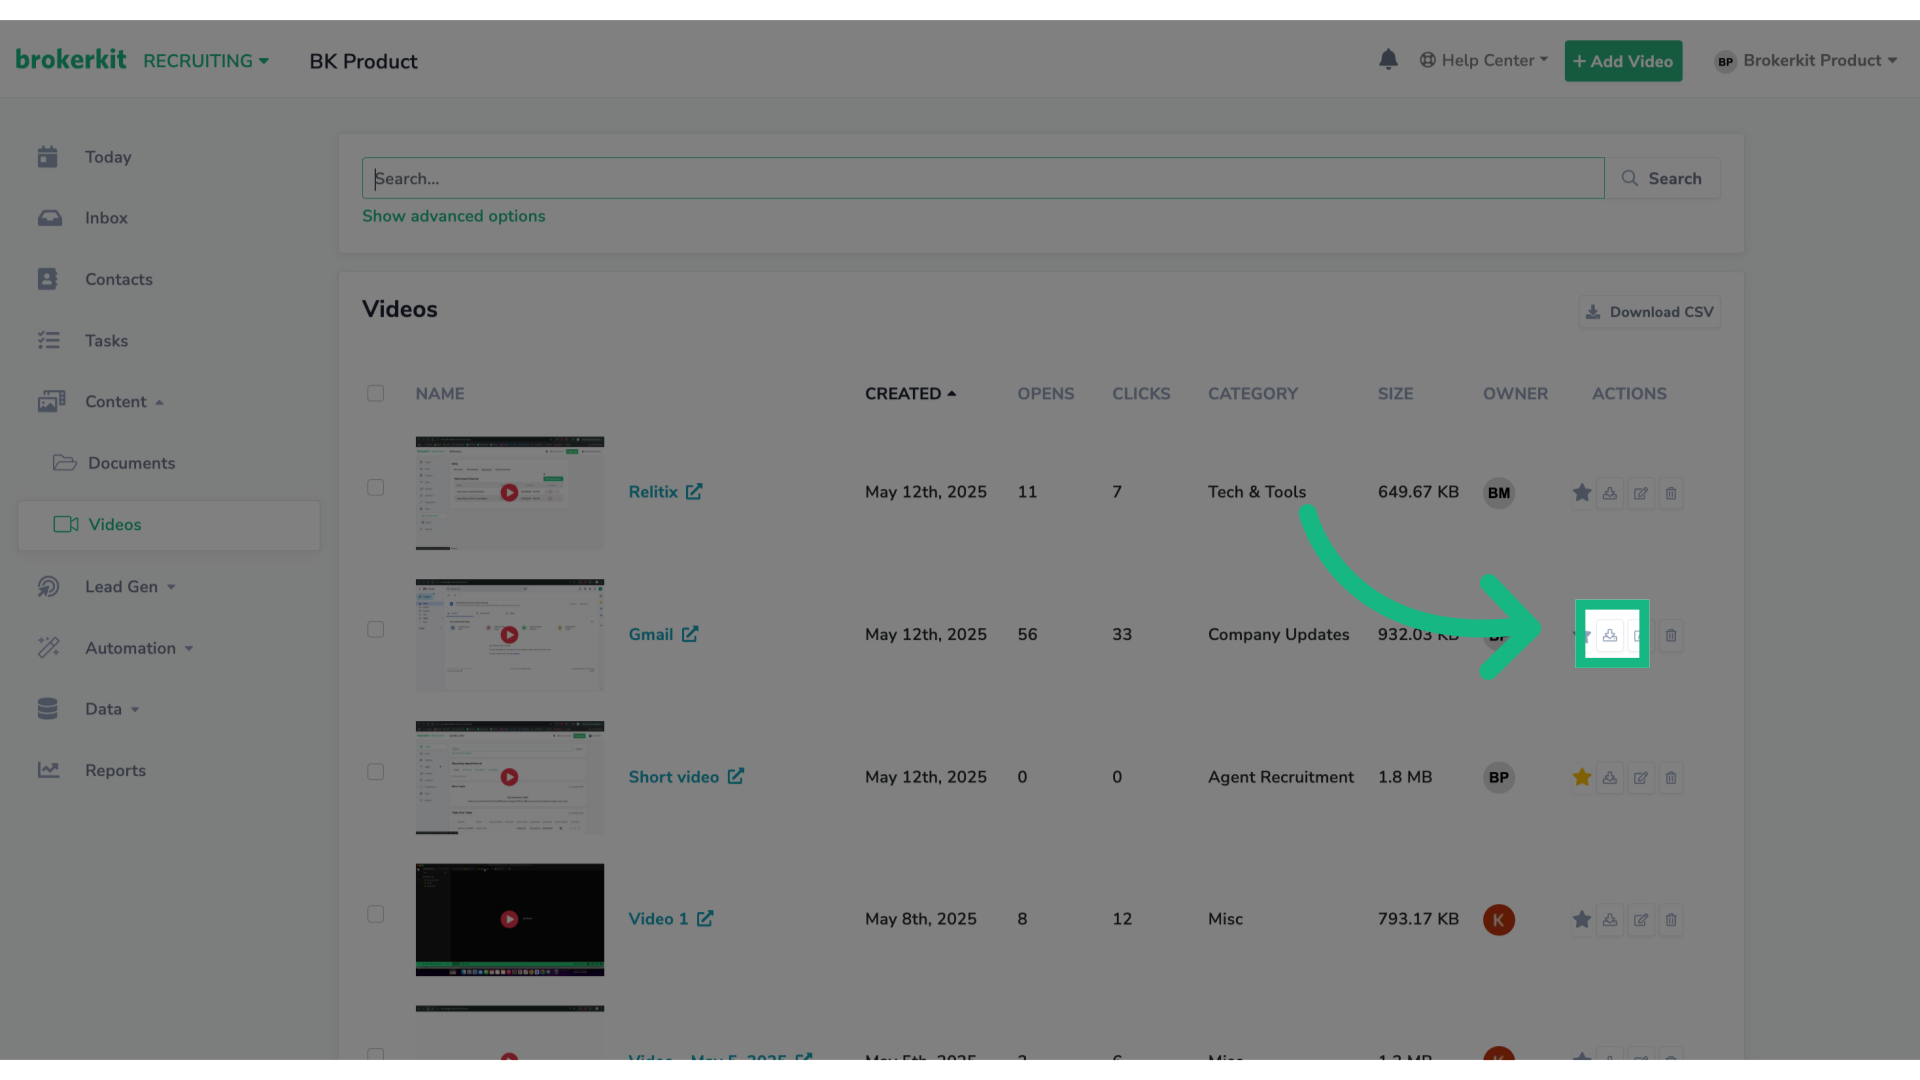
6. Click to download
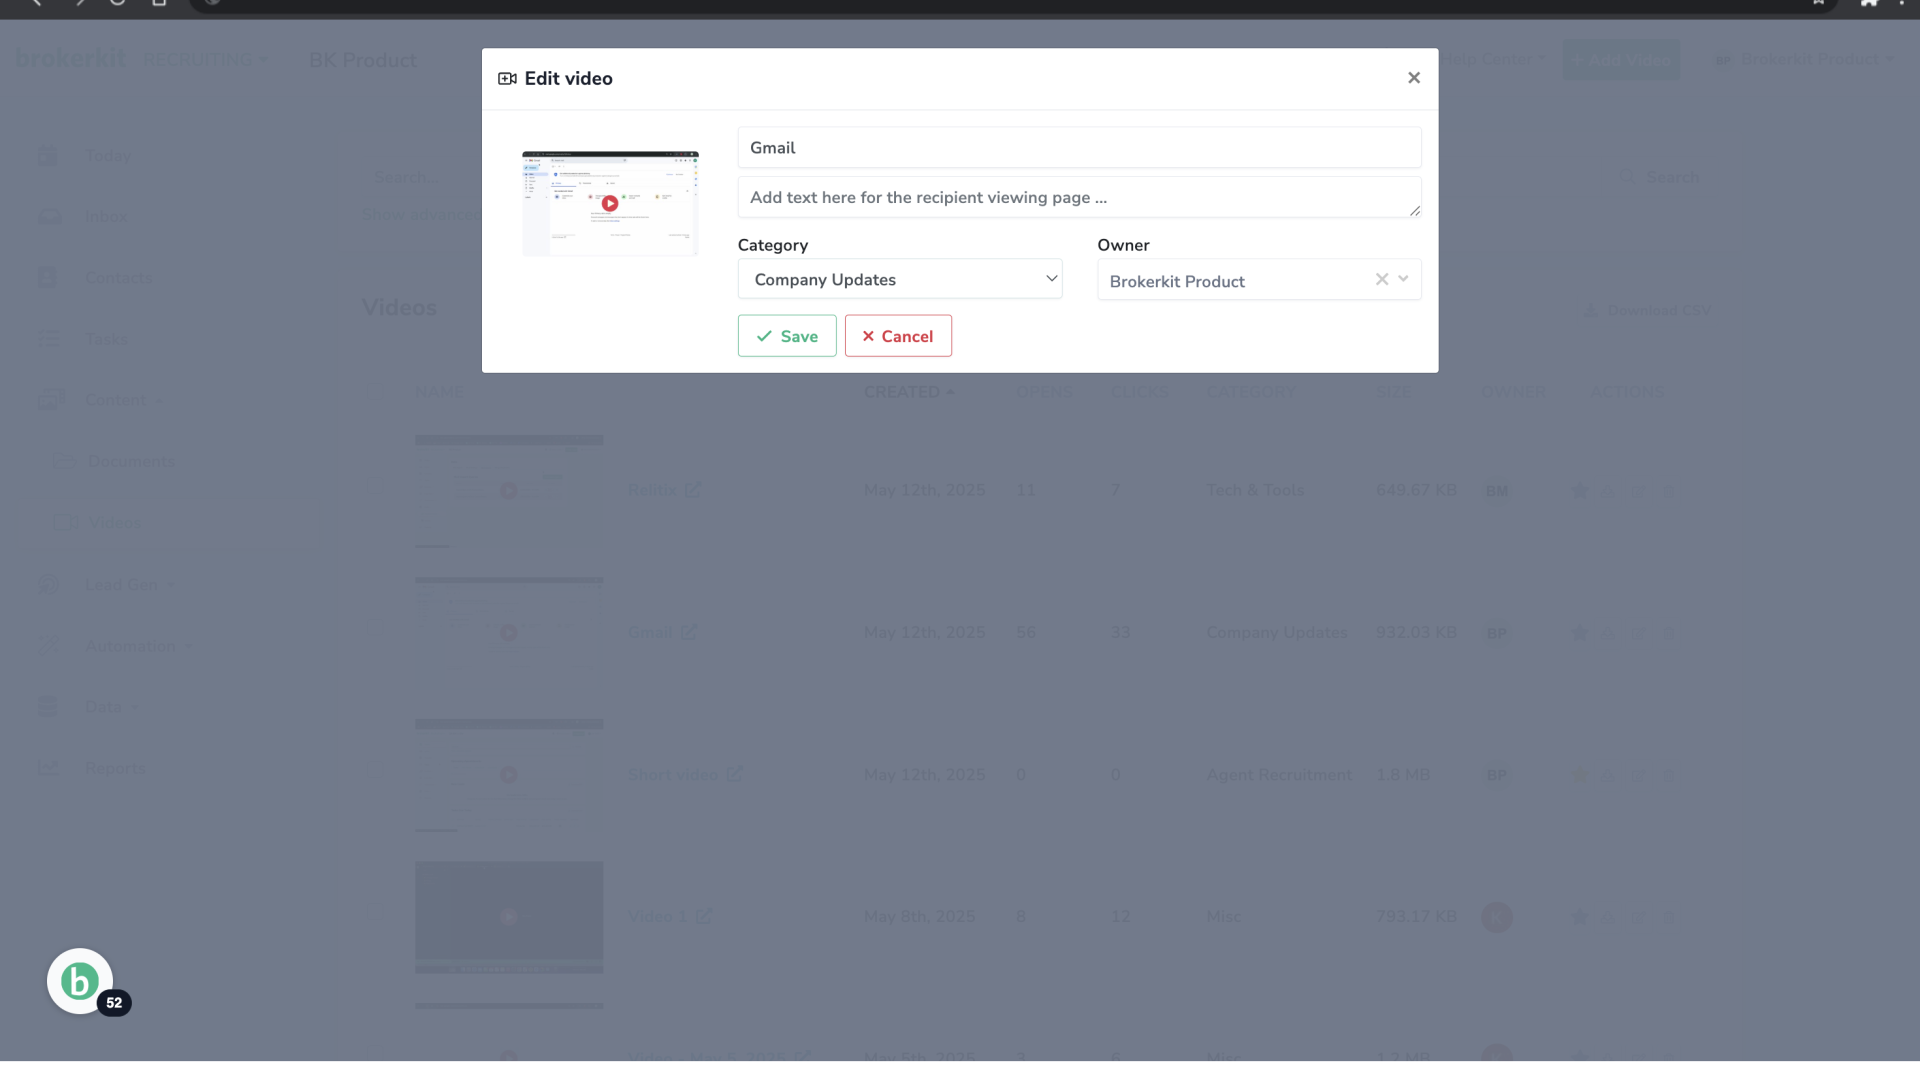
7. Click to edit

8. Edit a Video
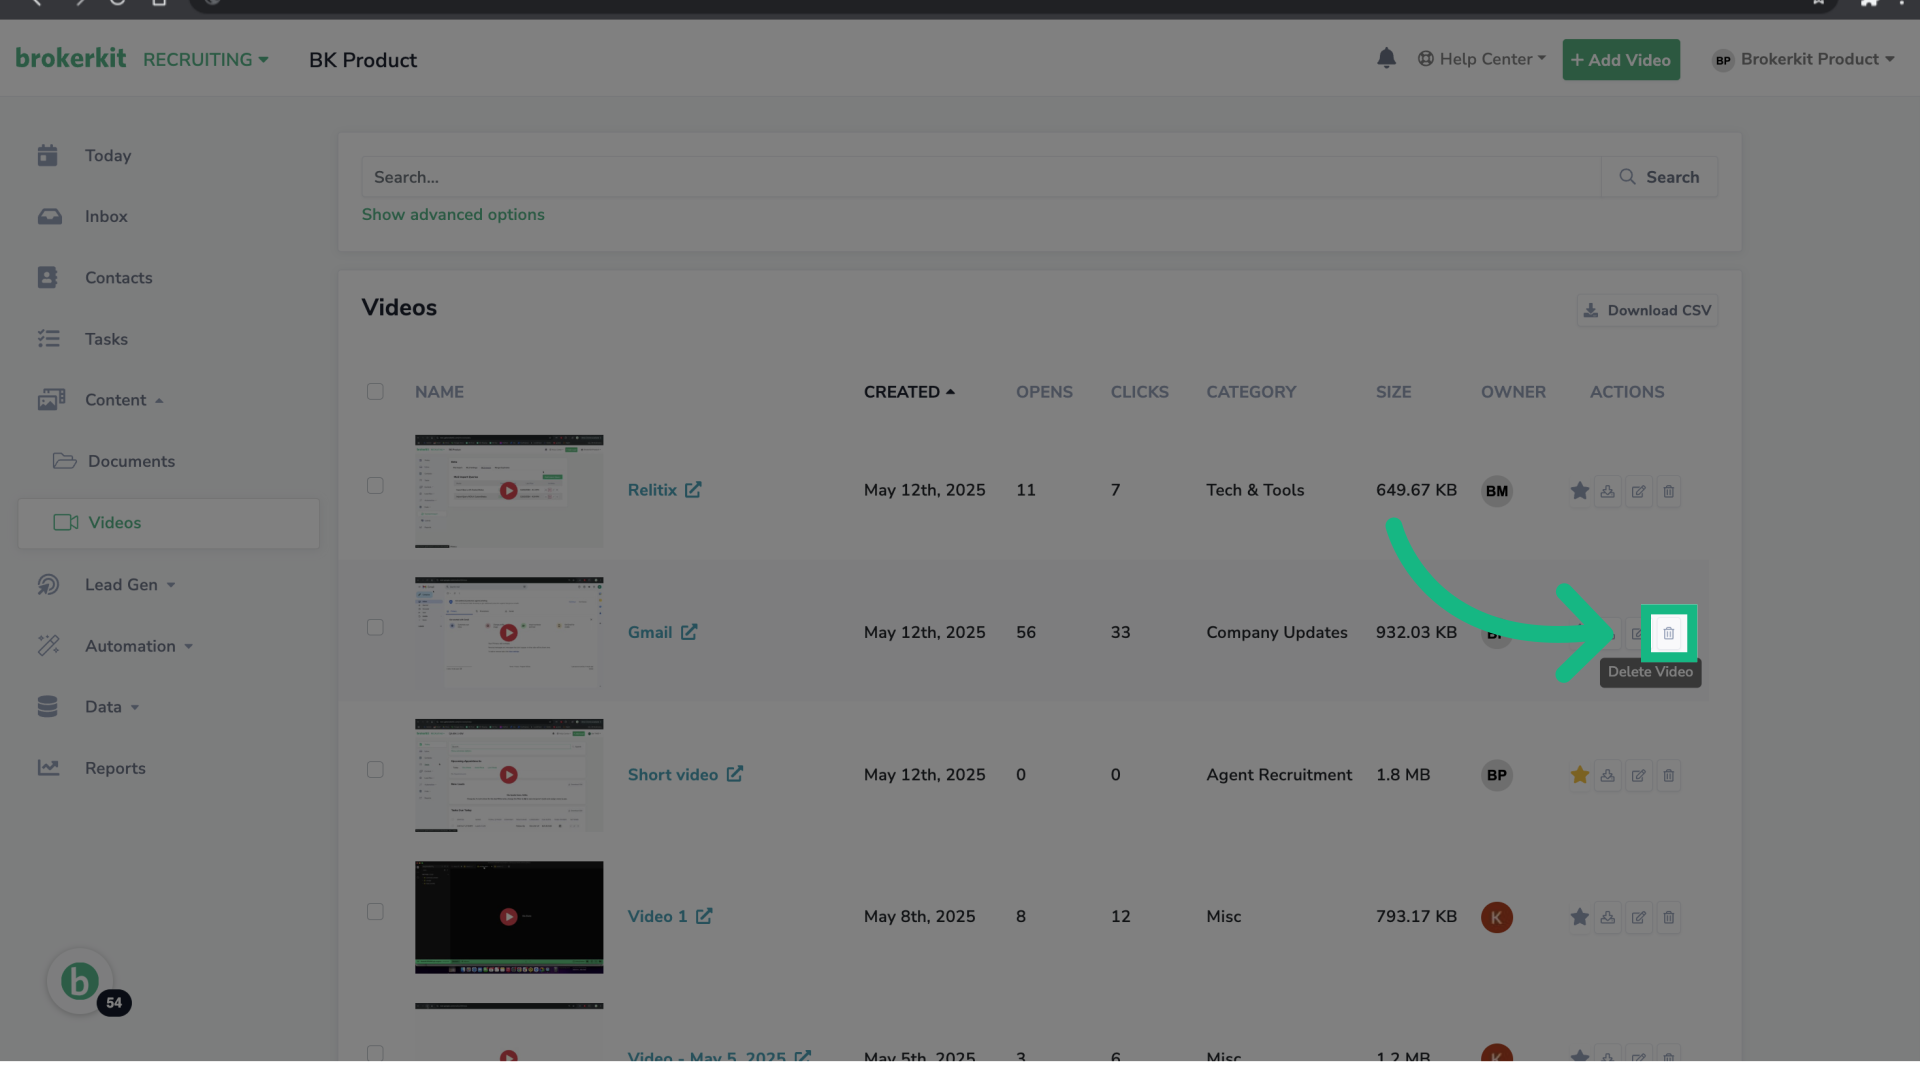
9. Click to delete
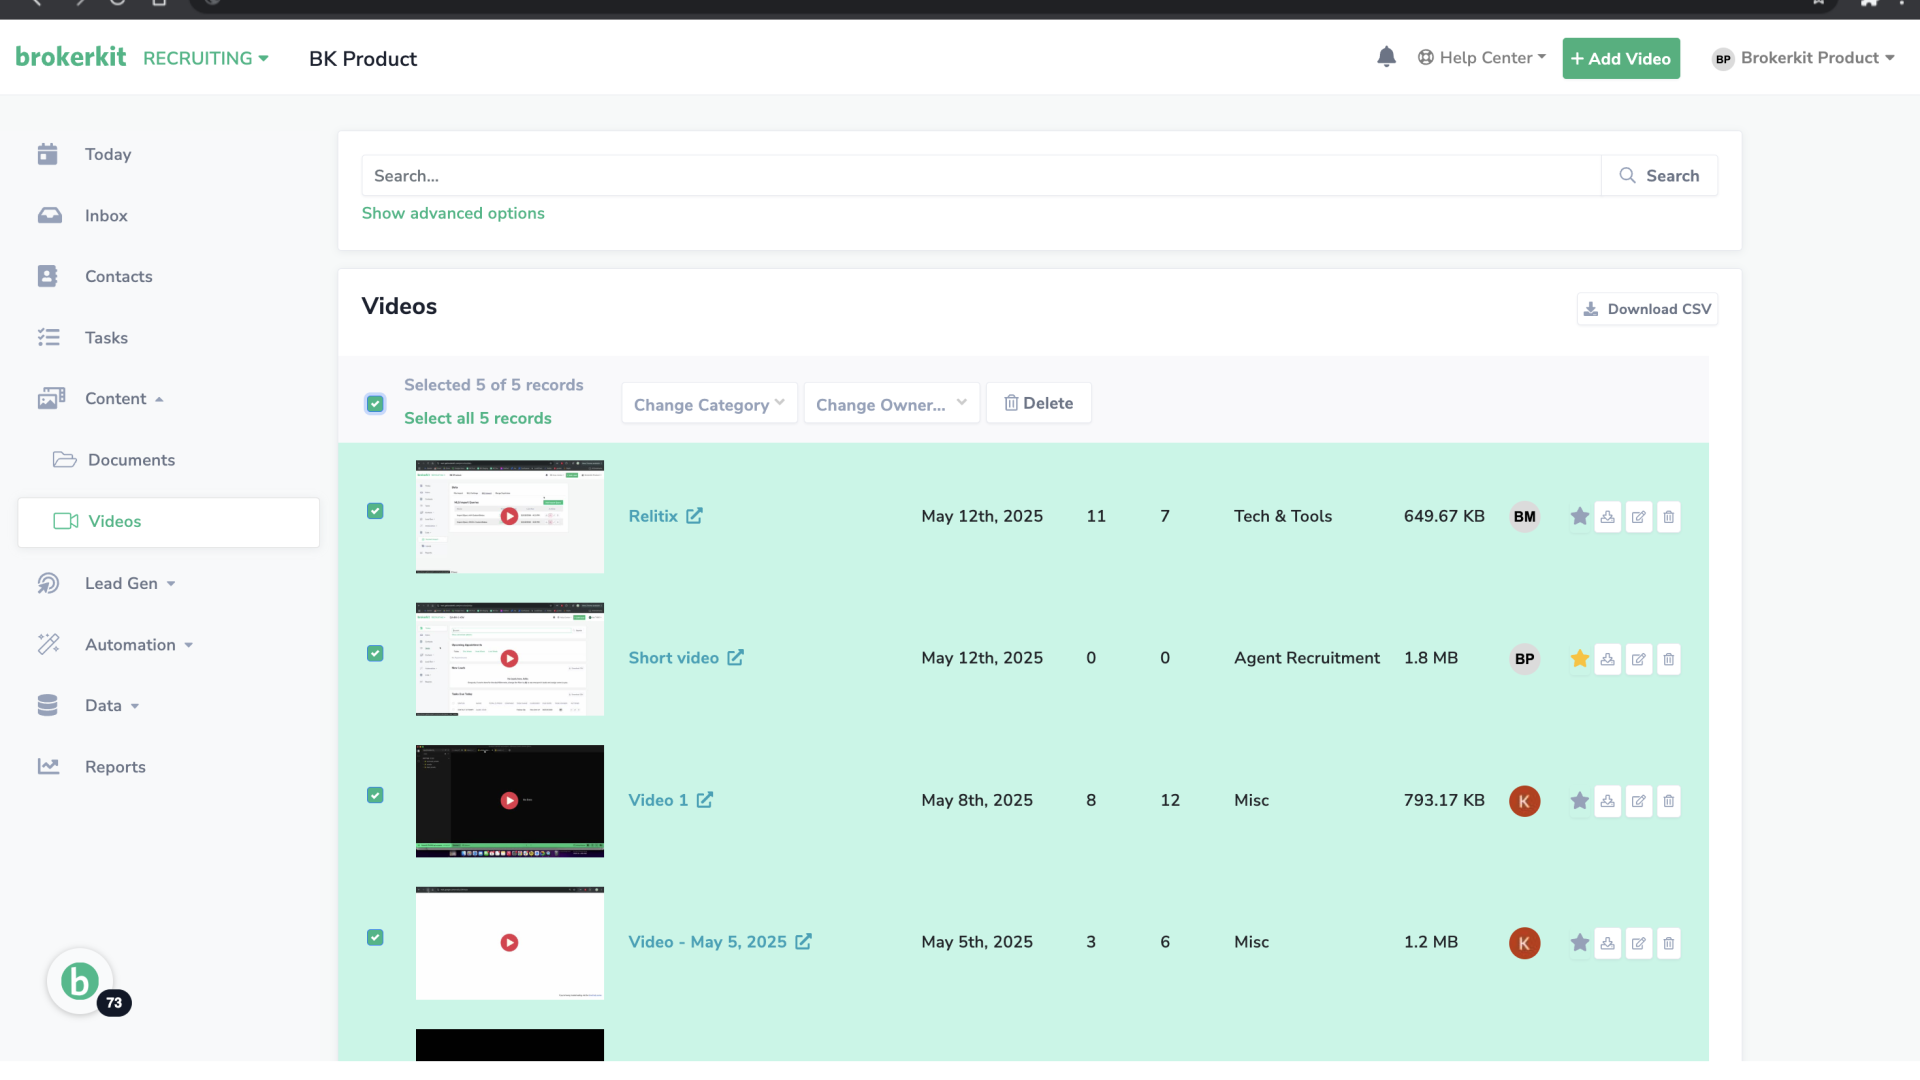
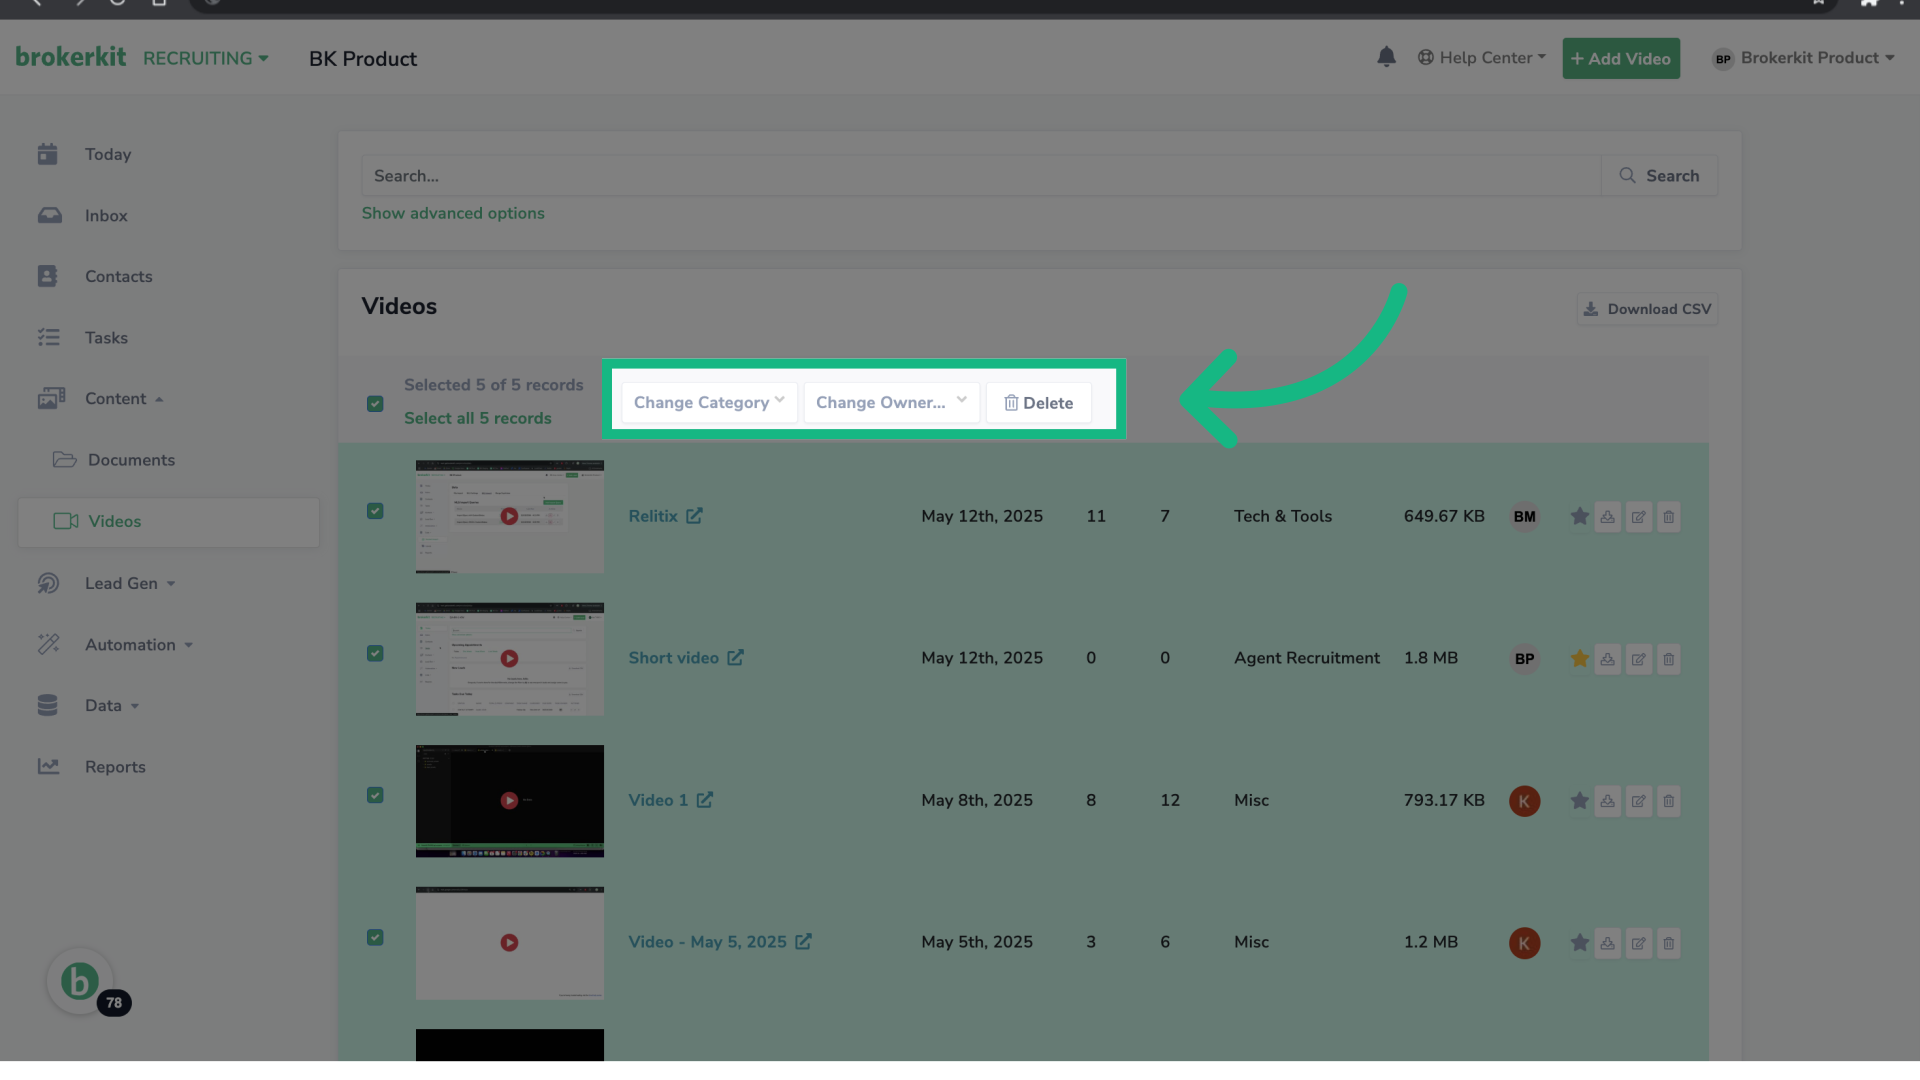
10. Bulk Actions
11. Choose the action
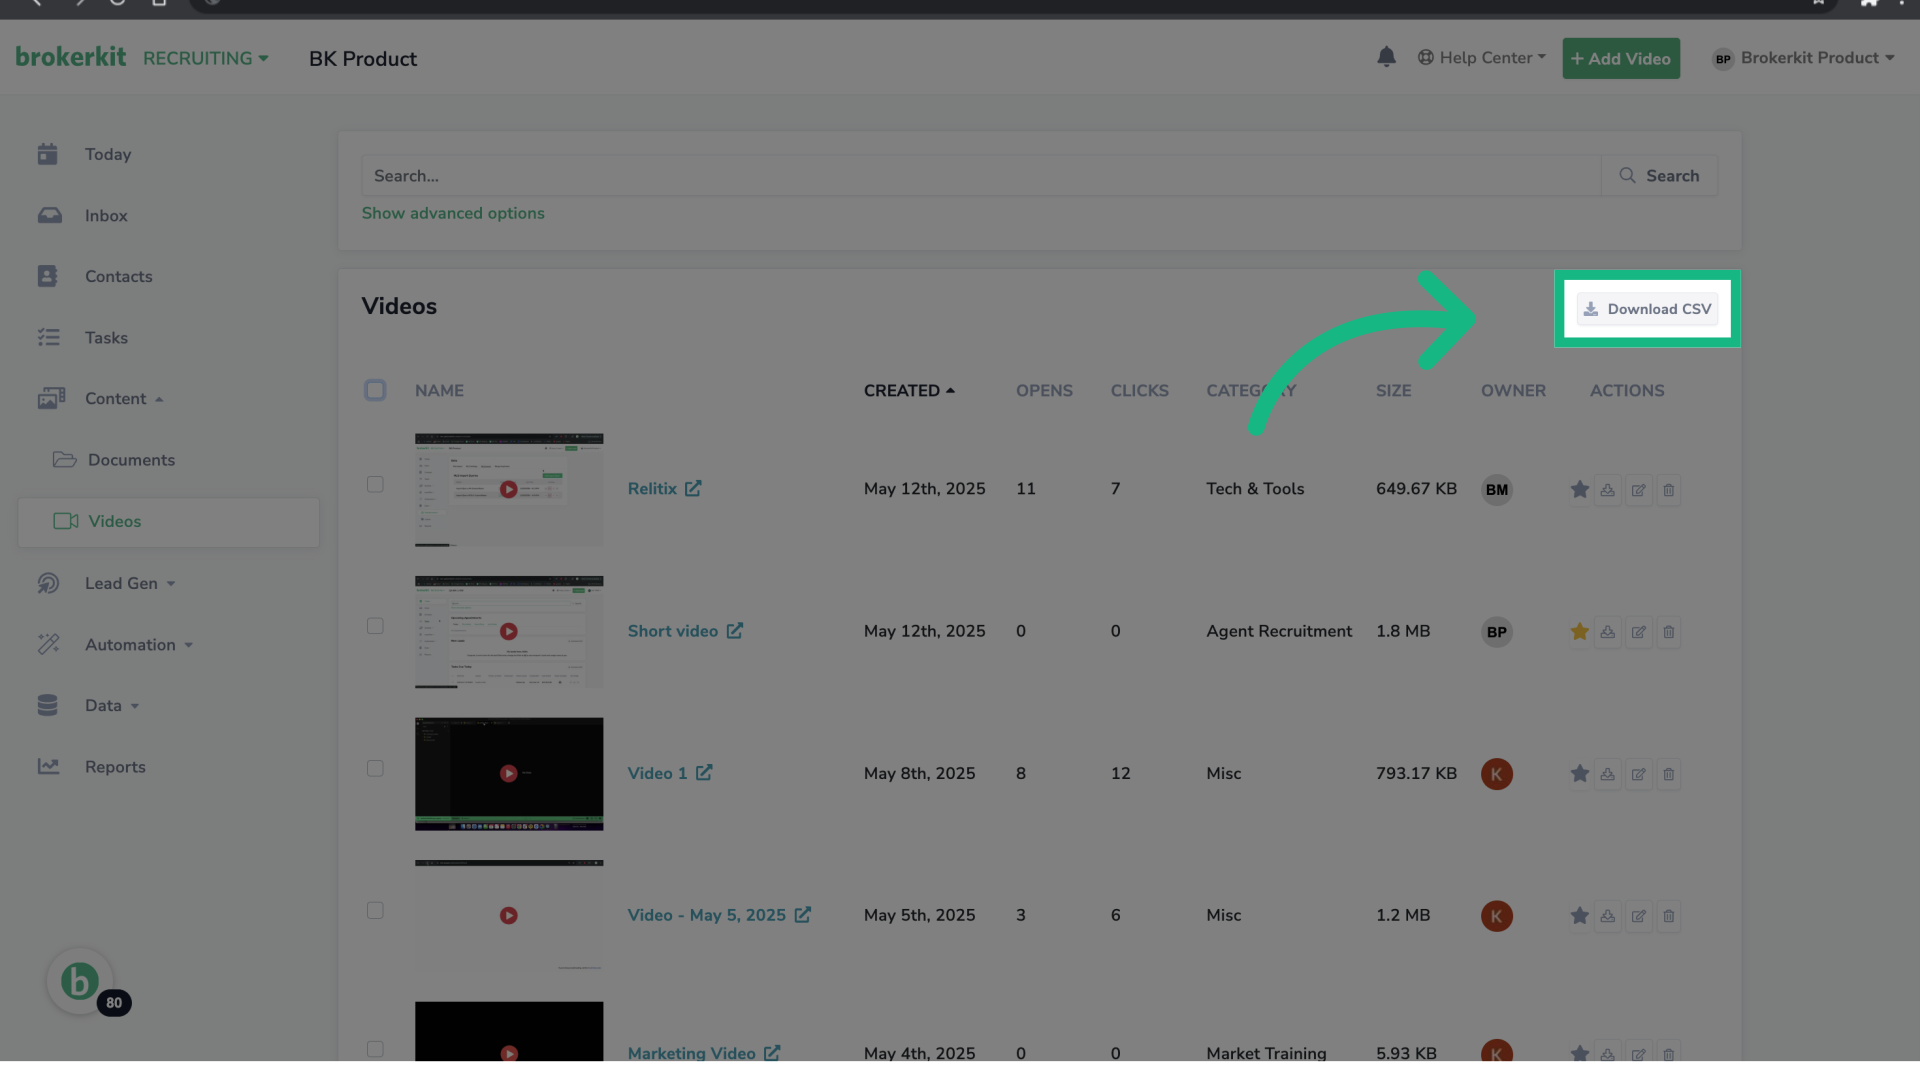
12. Click "Download CSV"
13. How to add or upload a new video?
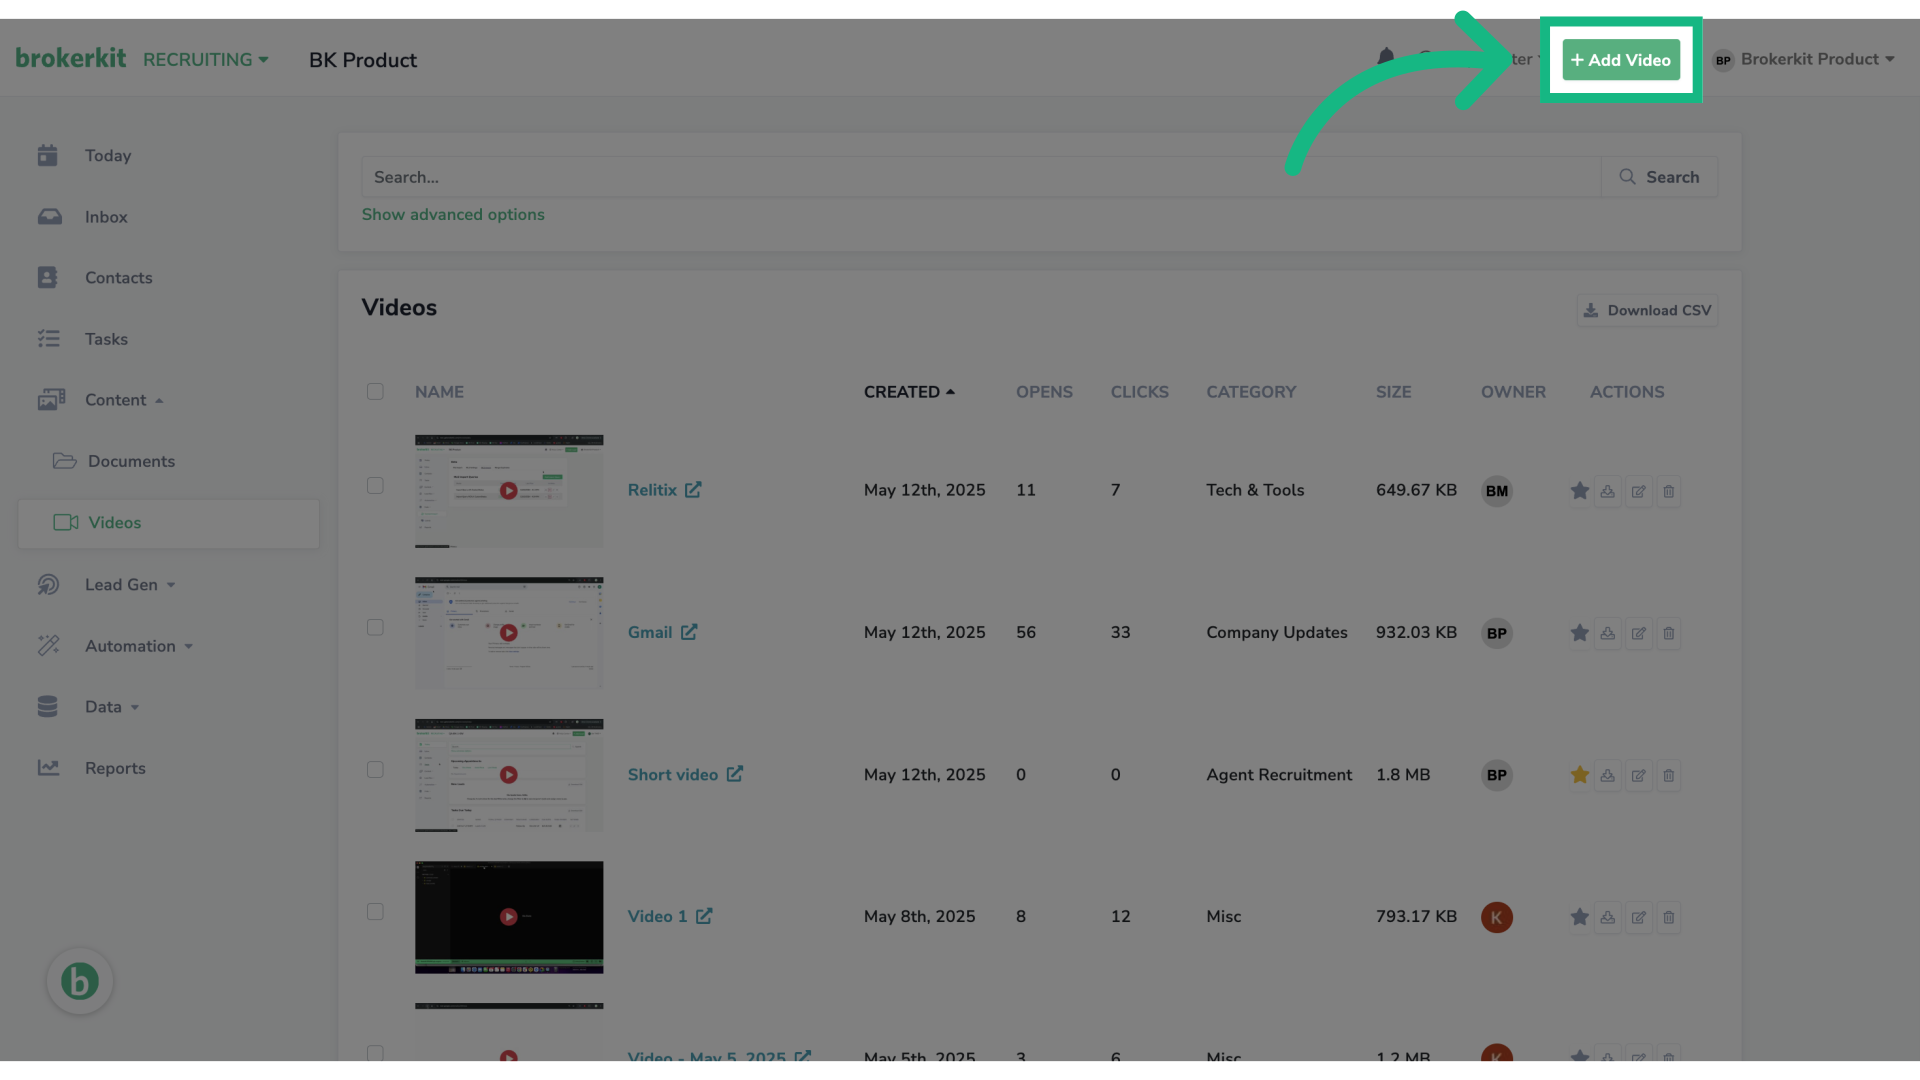
14. Click "Add Video"
15. Record online video
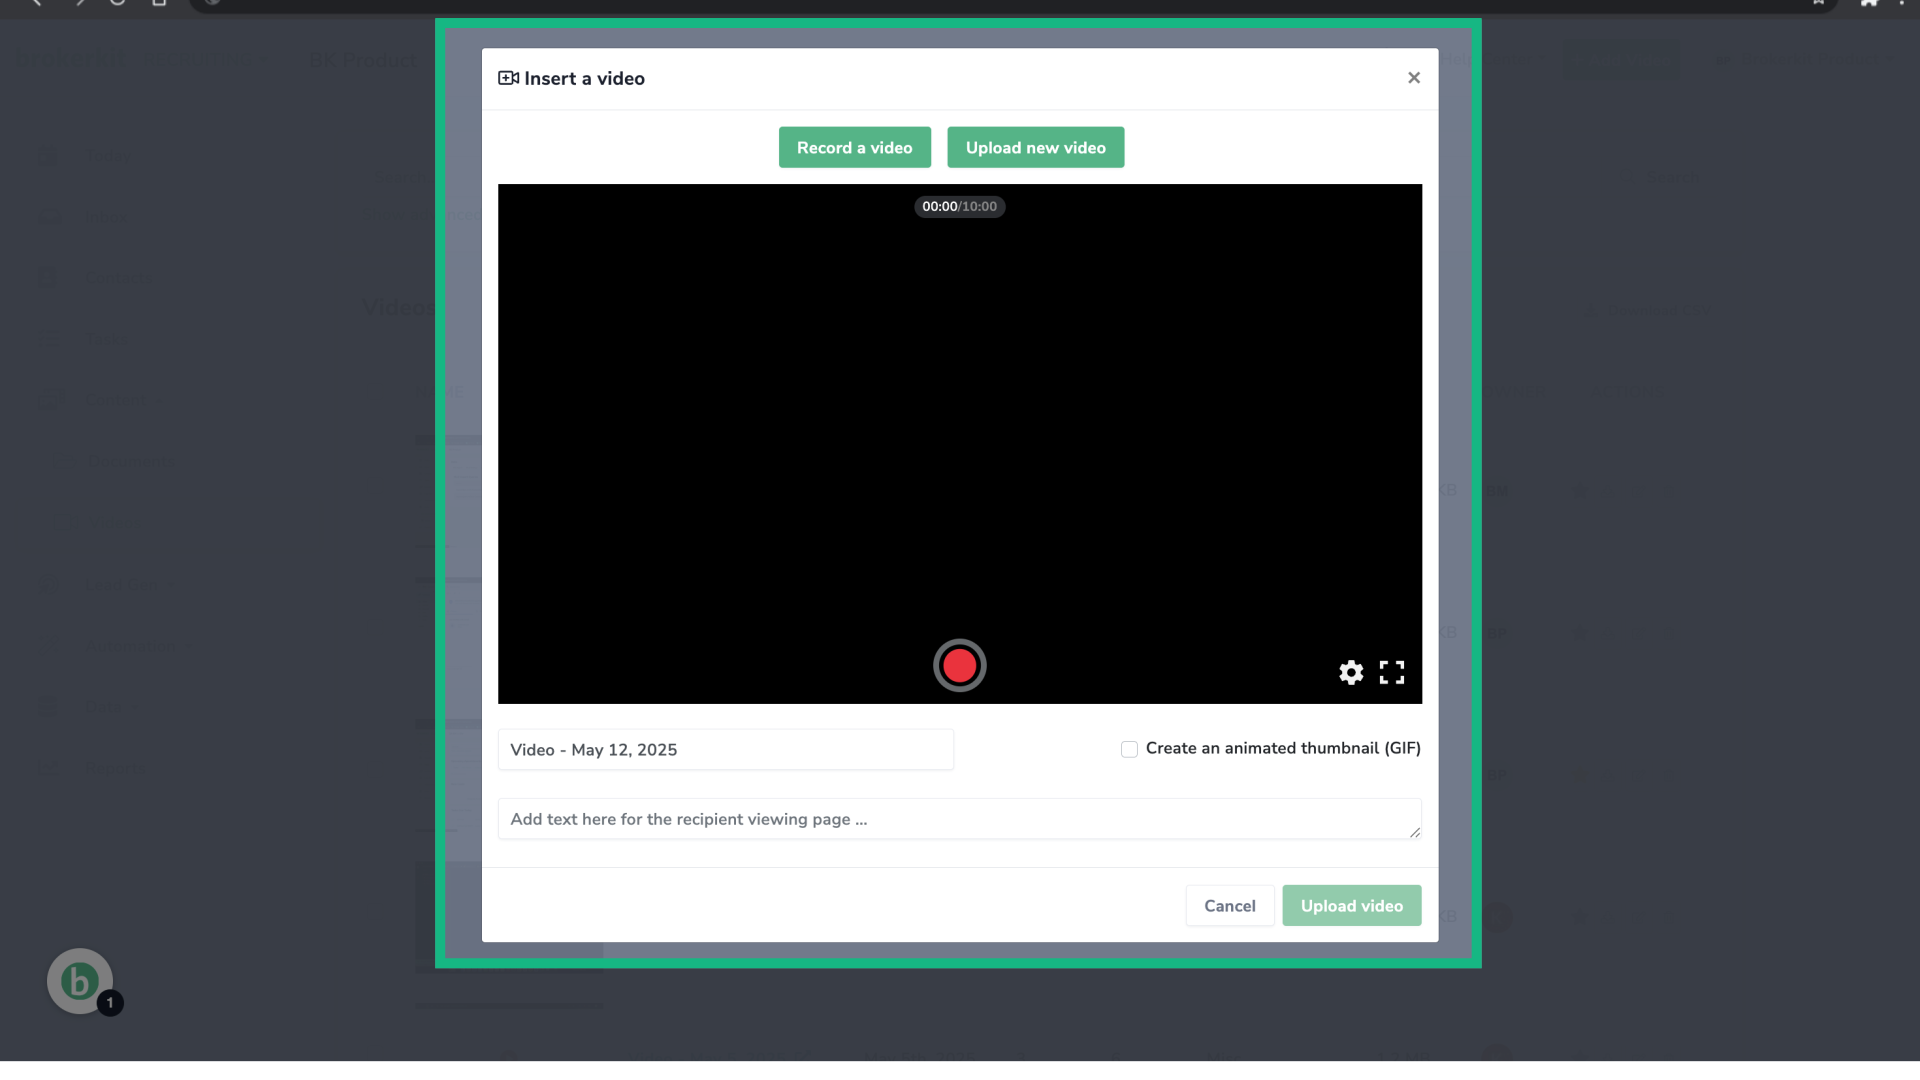
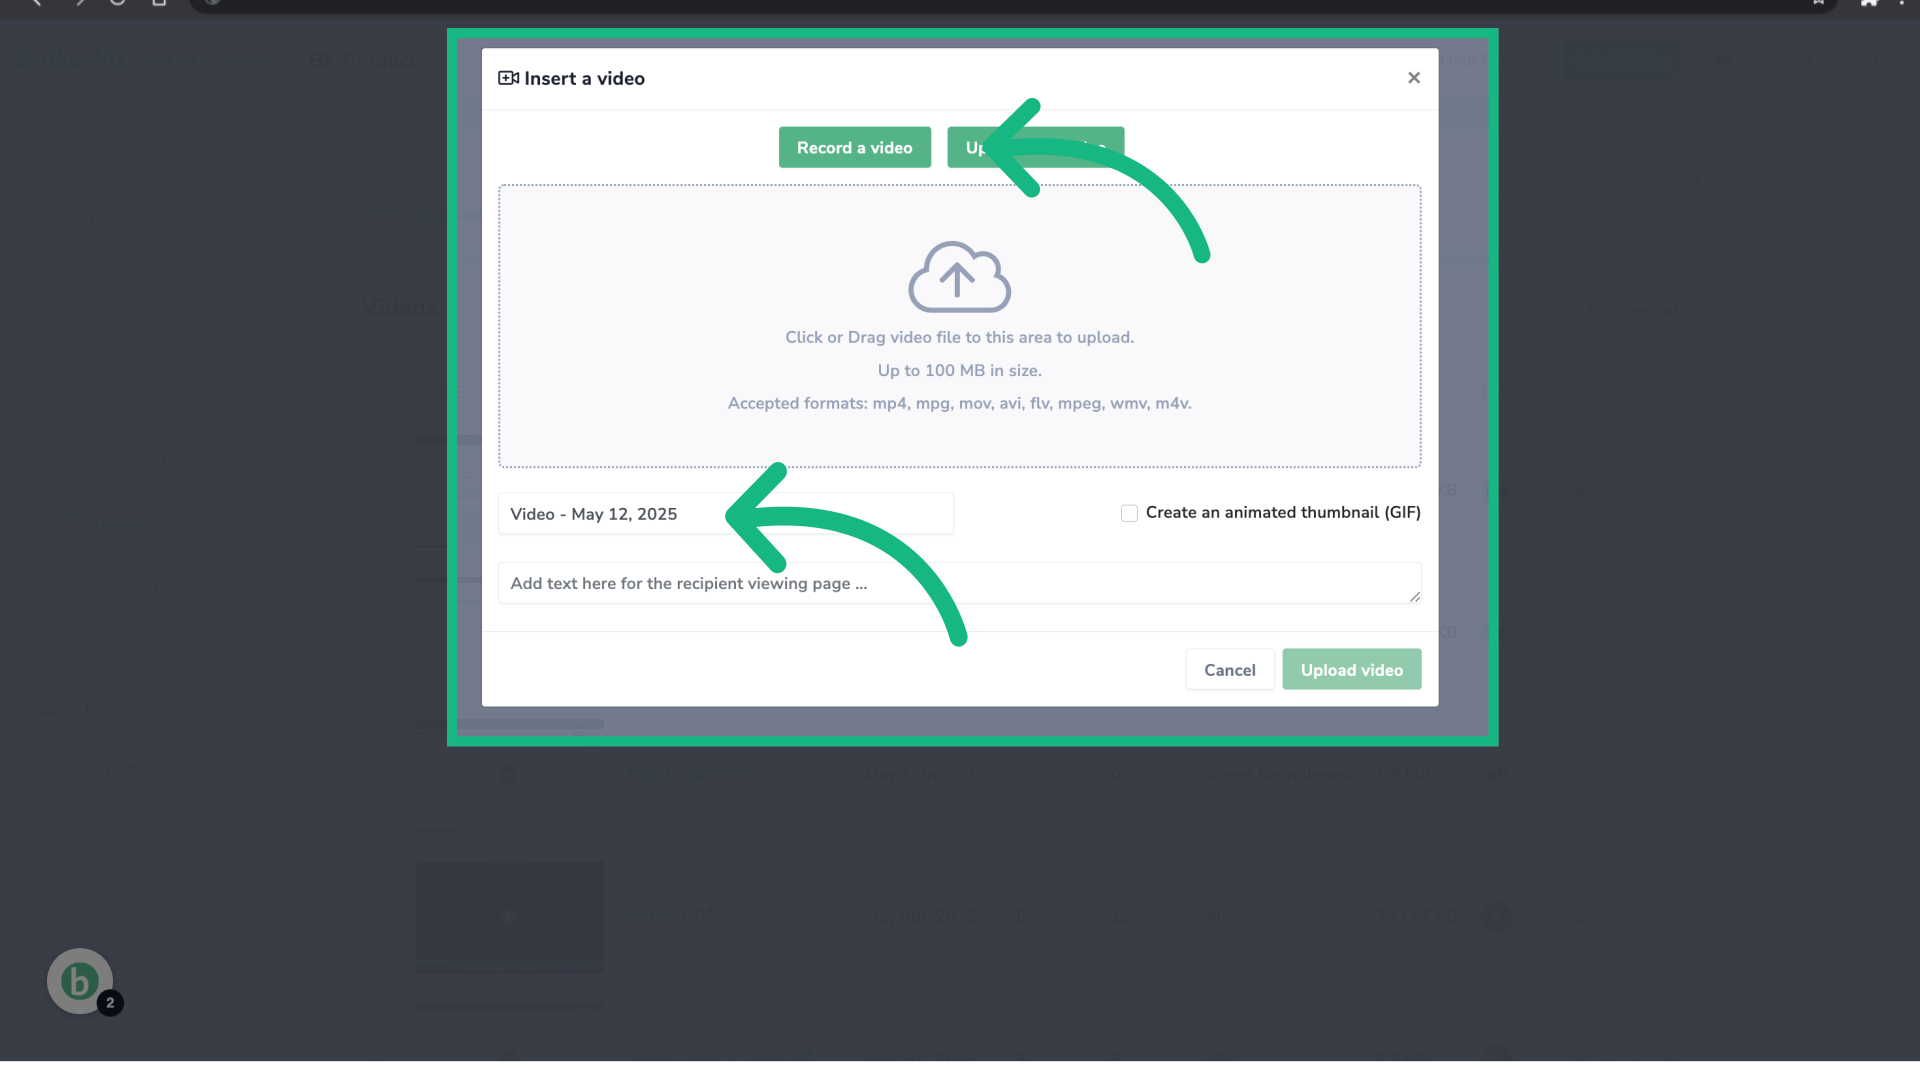
16. Upload a video
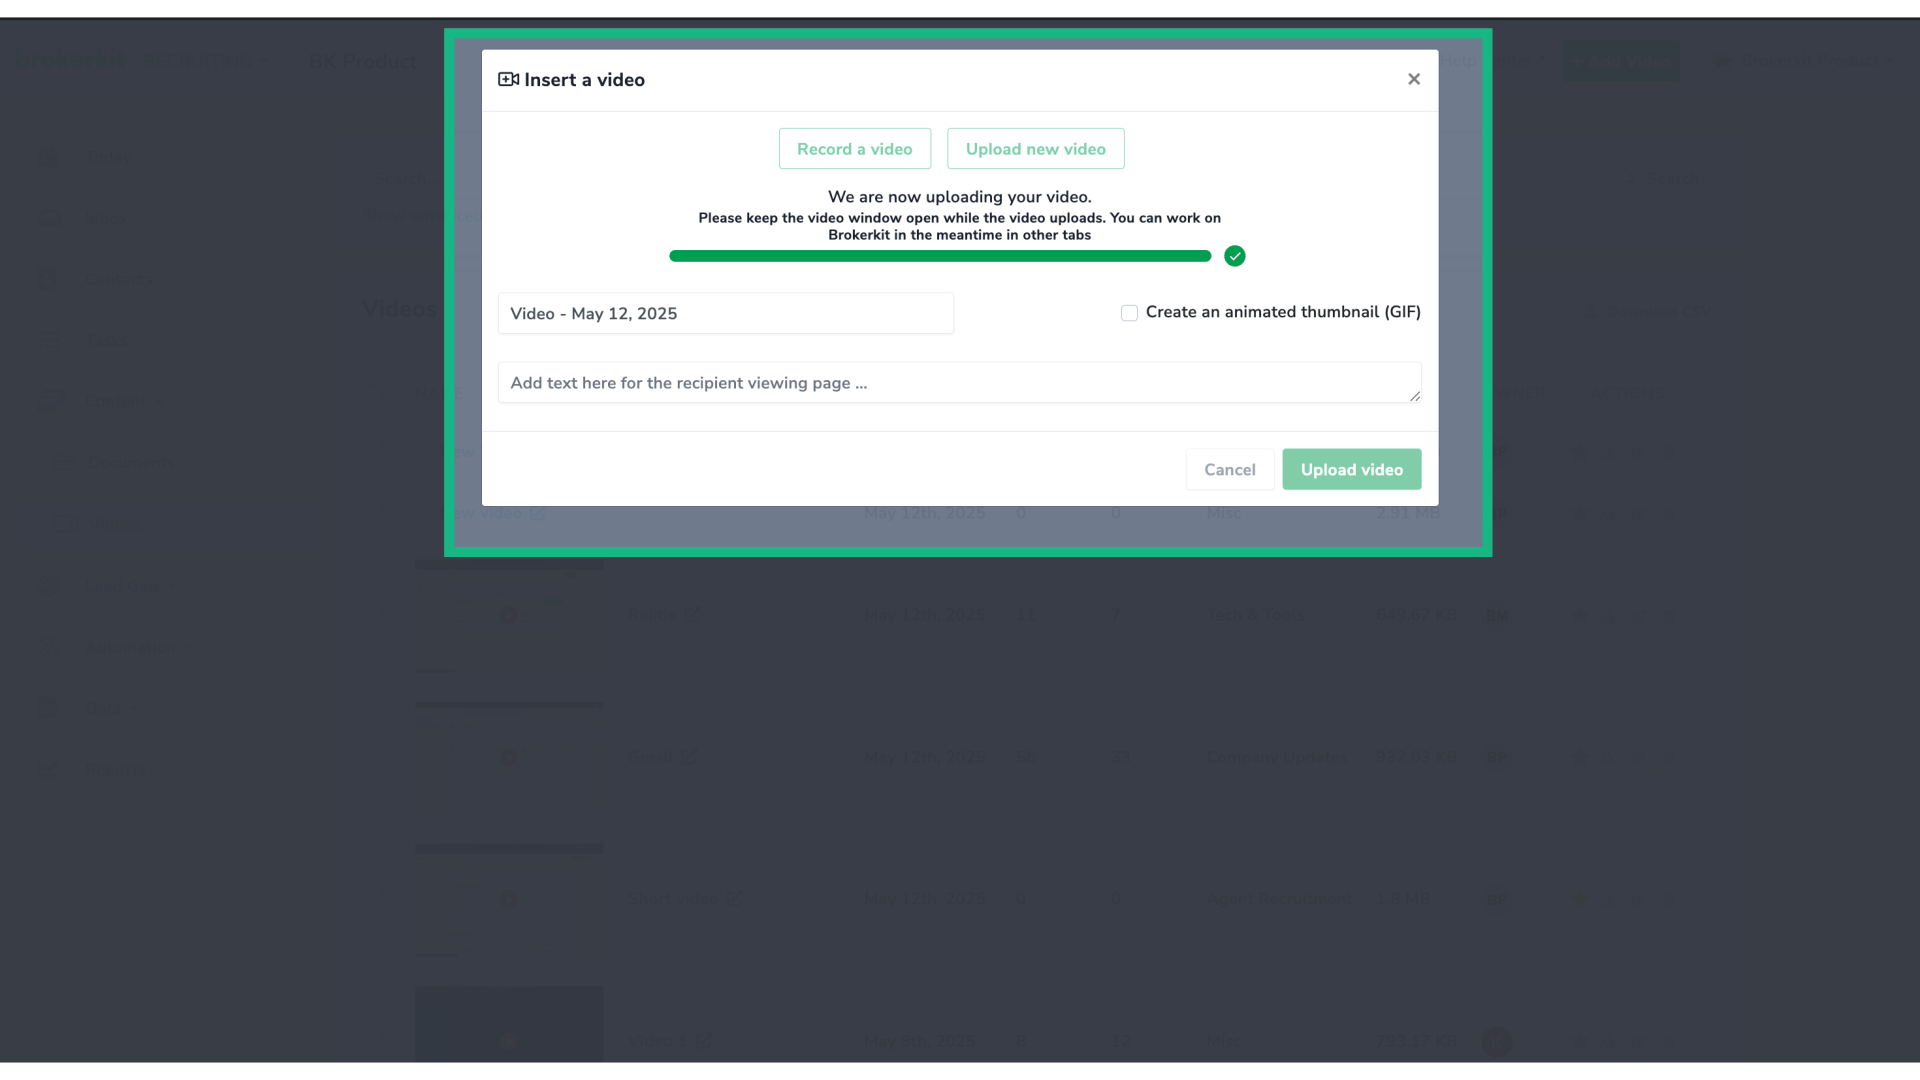
17. Wait for the upload
18. How to navigate the new Video Page using advanced filters?
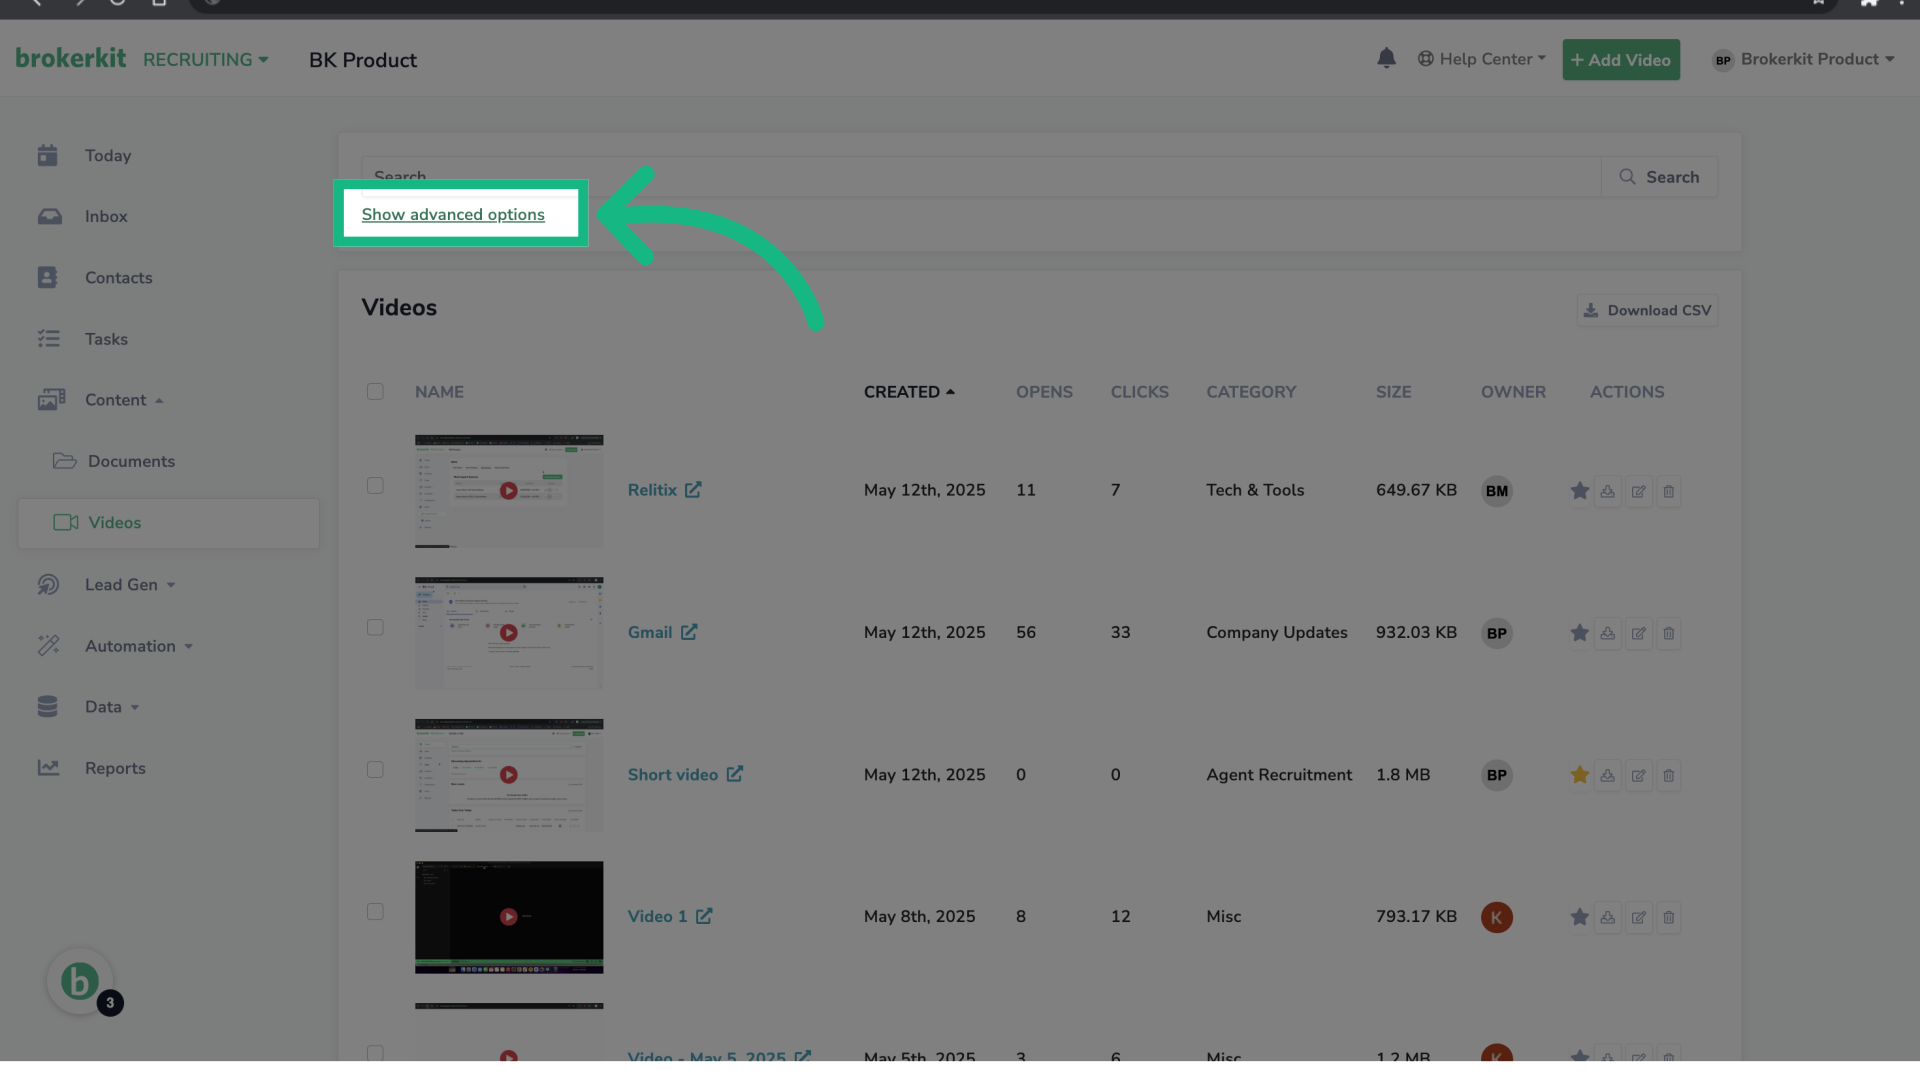
19. Search by video name

20. Click "Show advanced options"
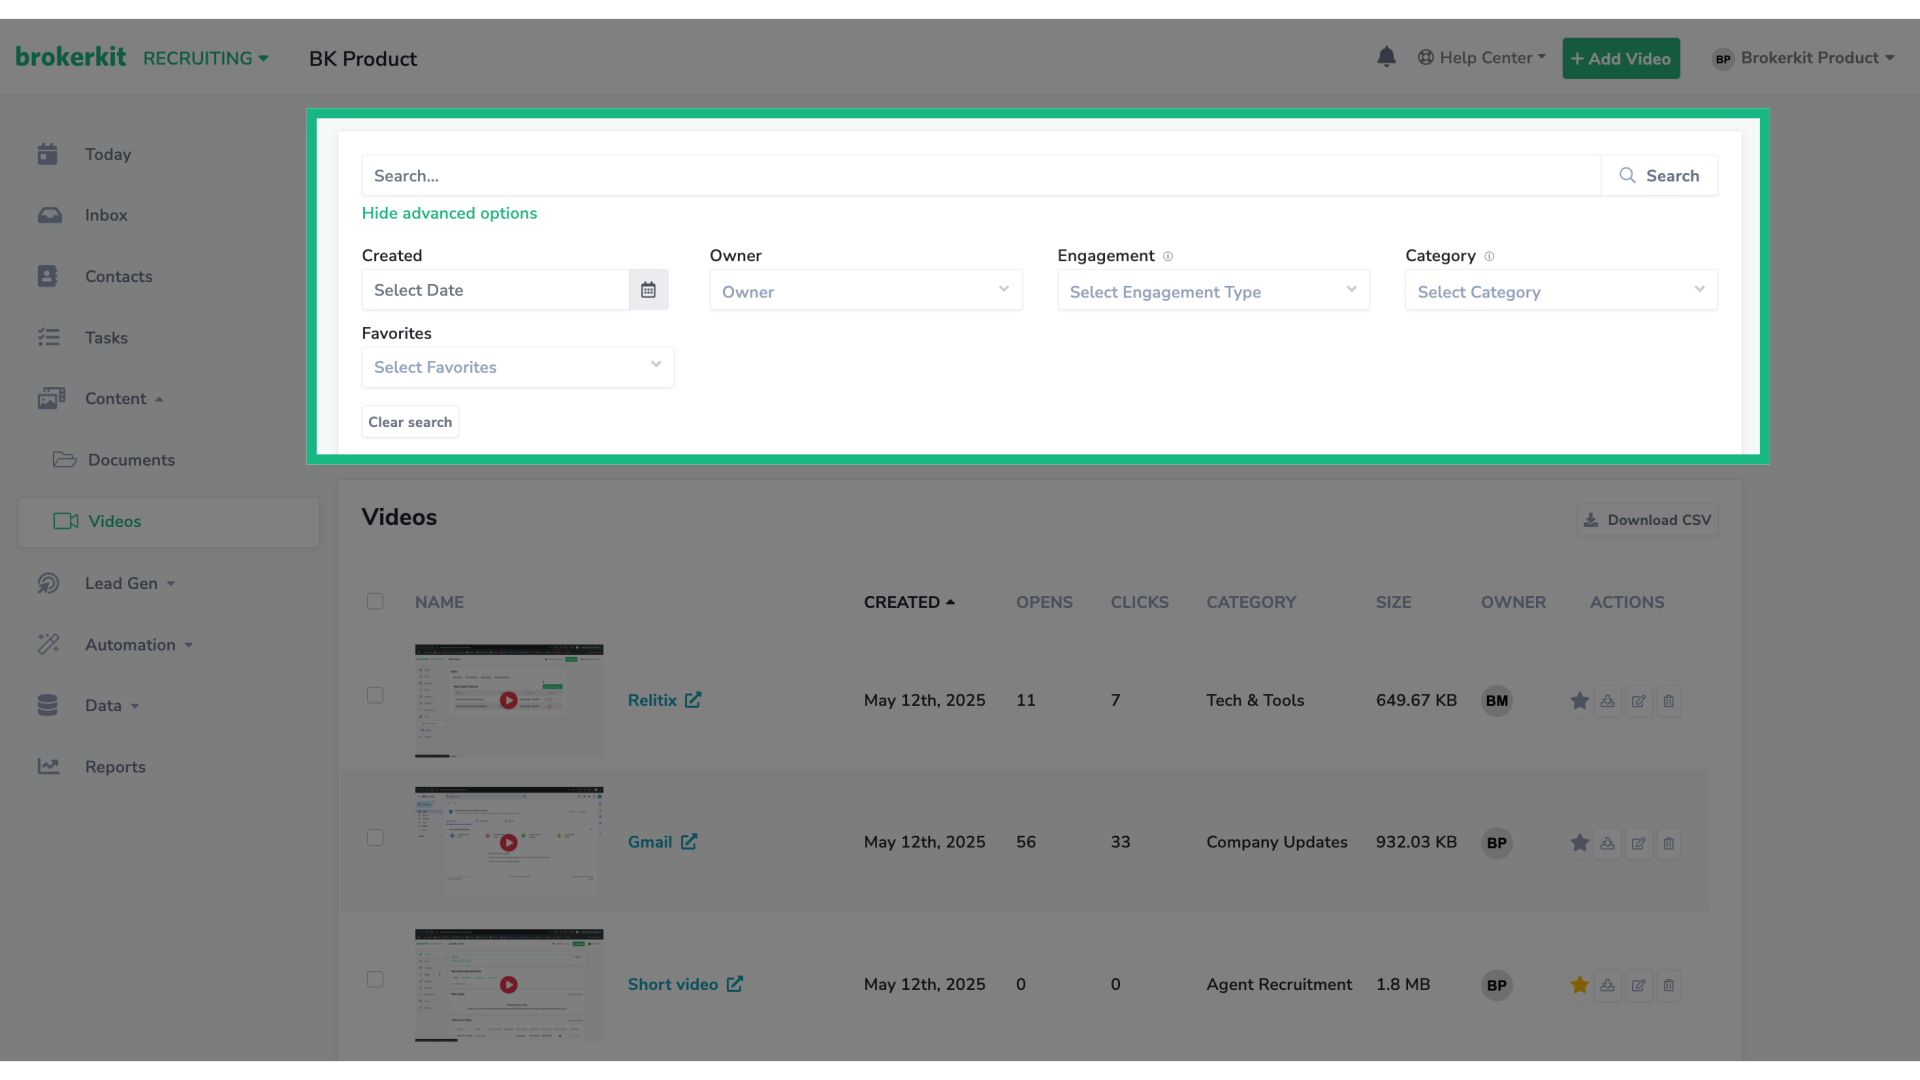
21. Filter options
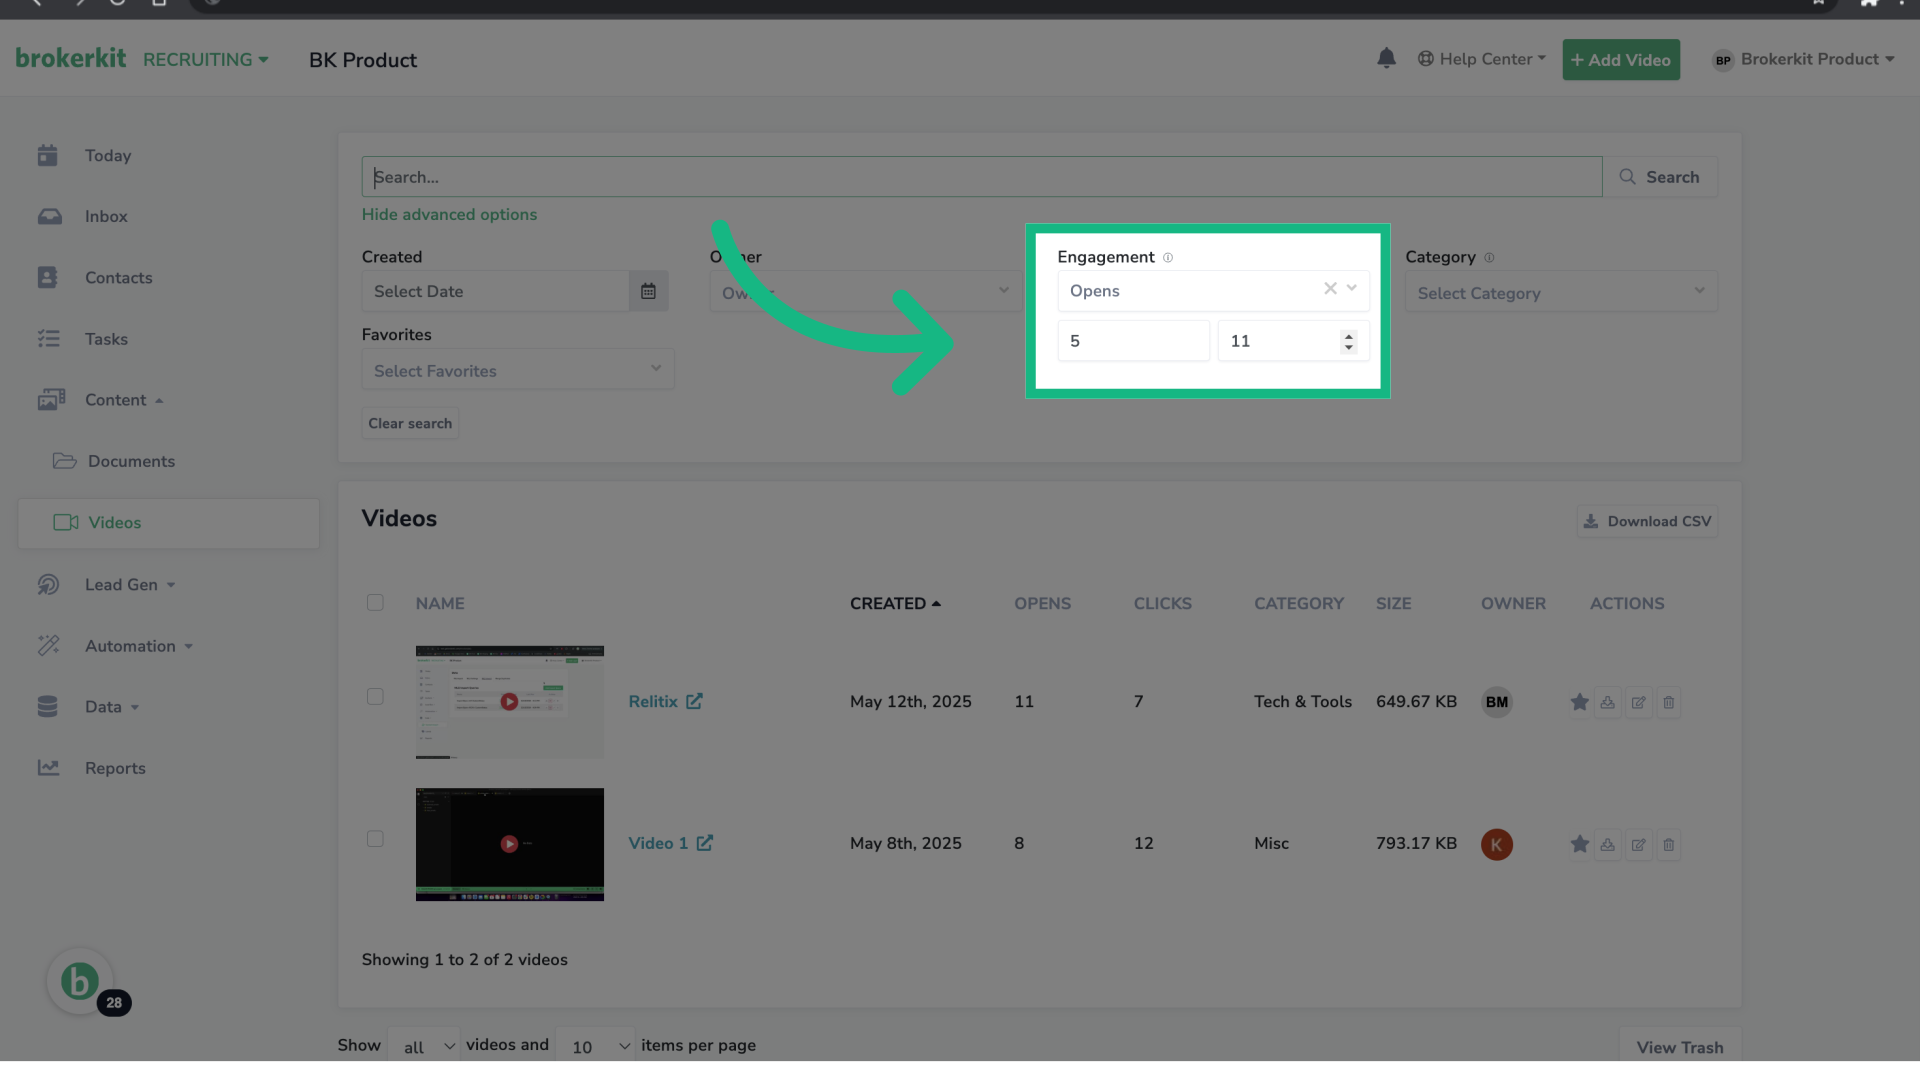
22. Filter by Engagement
23. Filter by Favorites

24. Generic filter
25. Example: Only show my videos
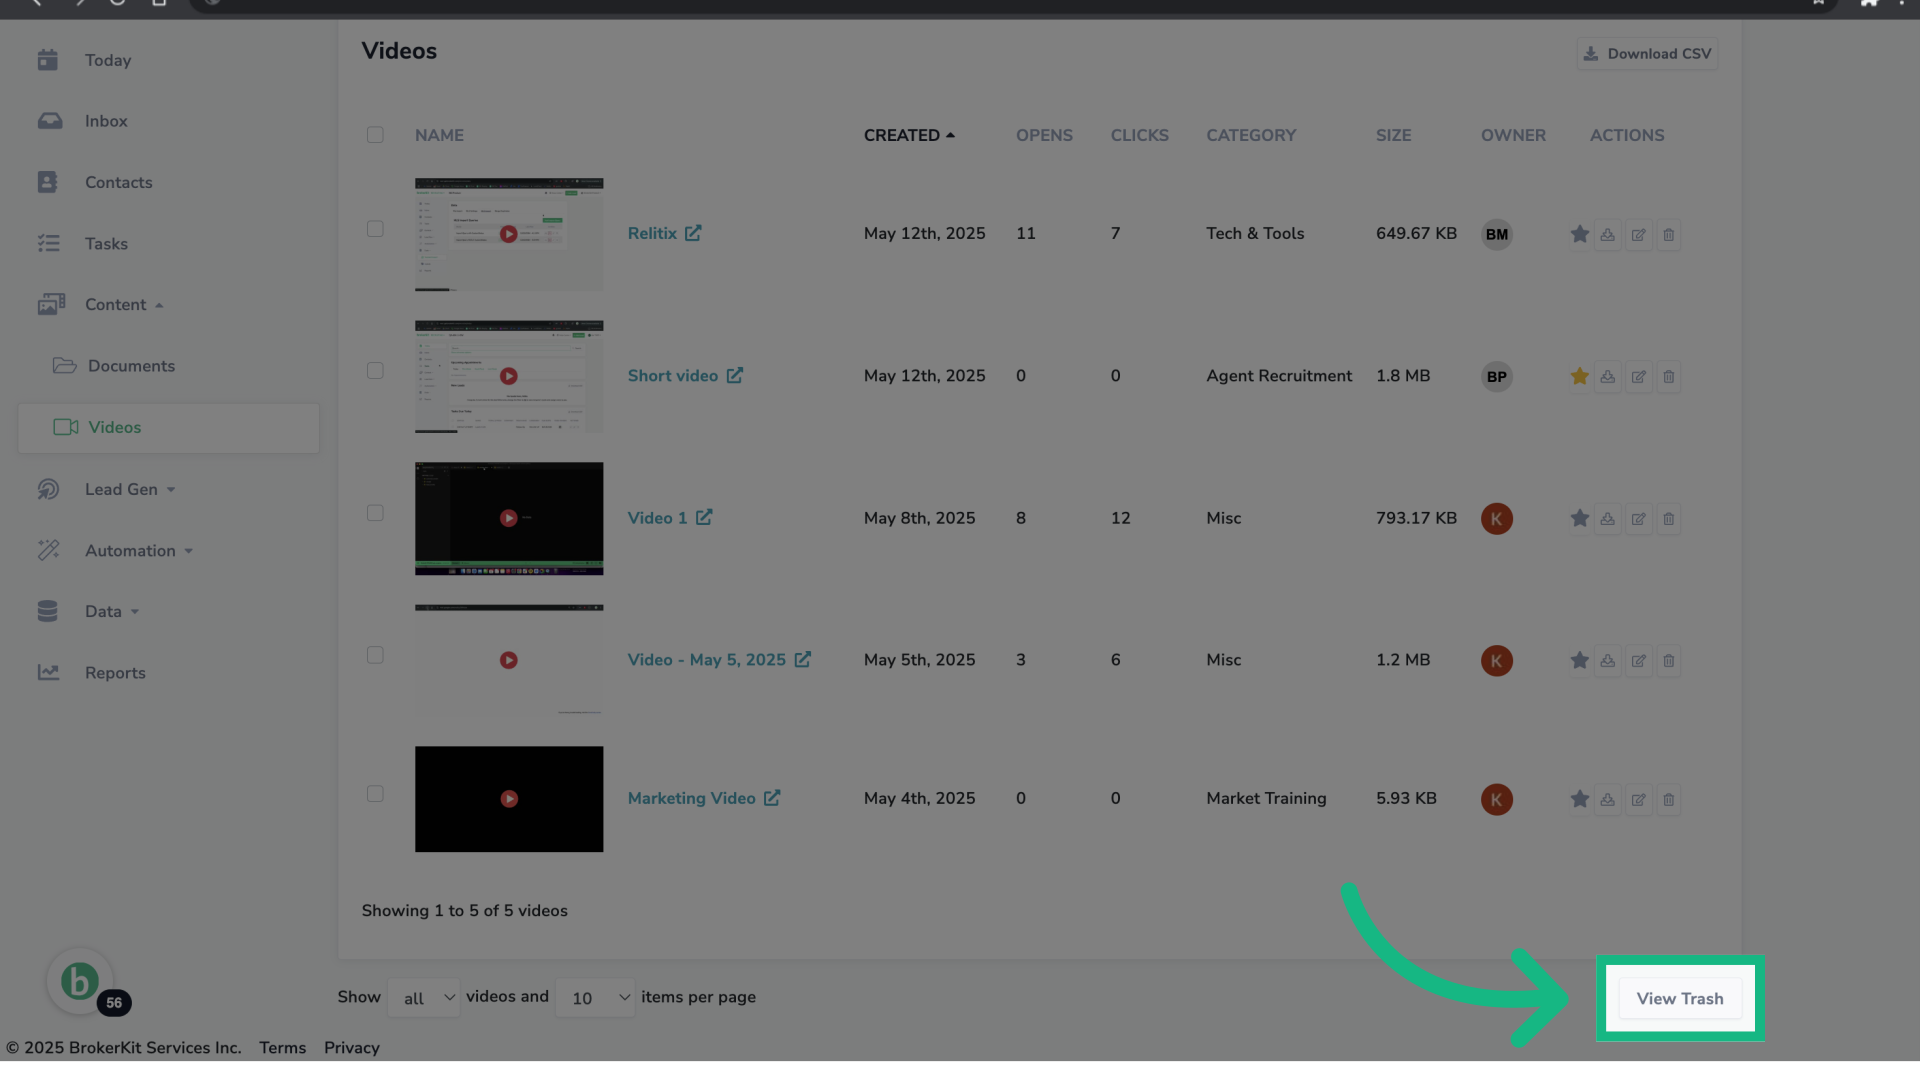
26. How to access the Trash Page?
27. Click "View Trash"
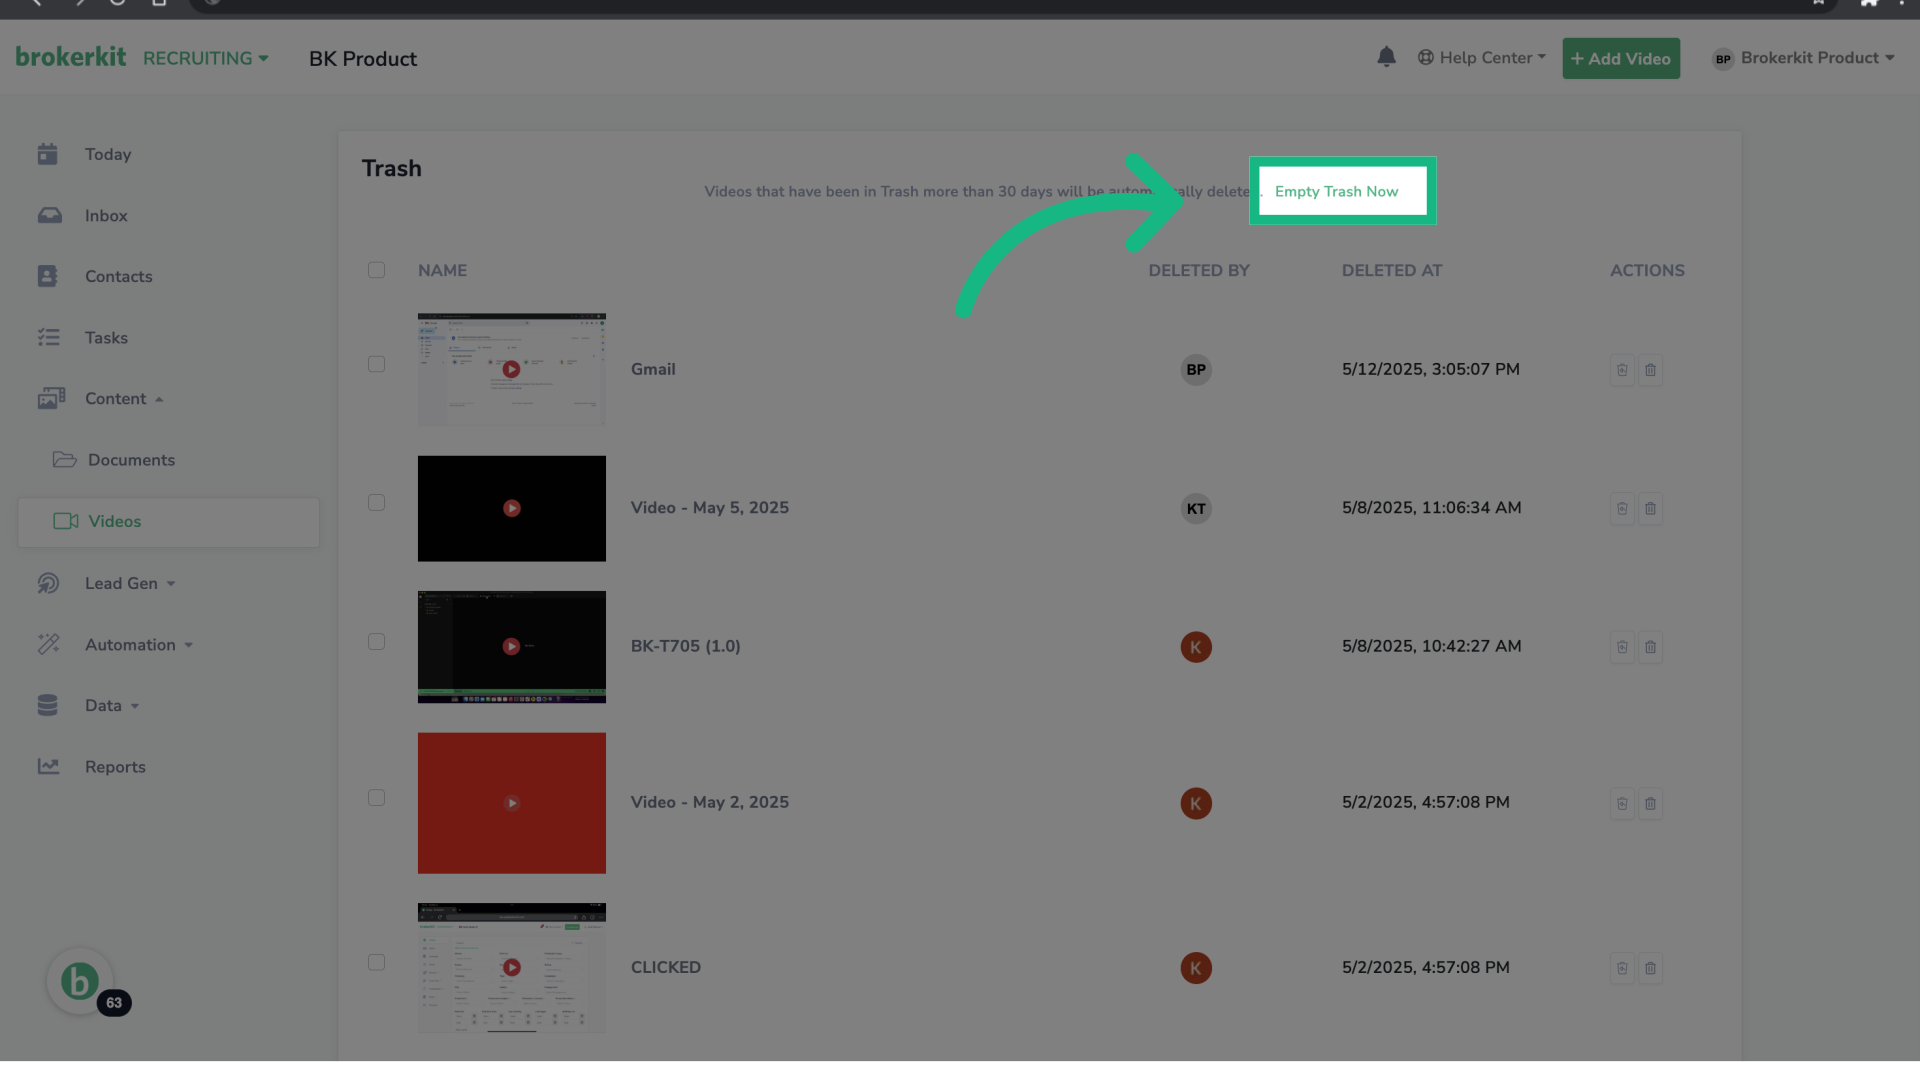
28. Trash Page
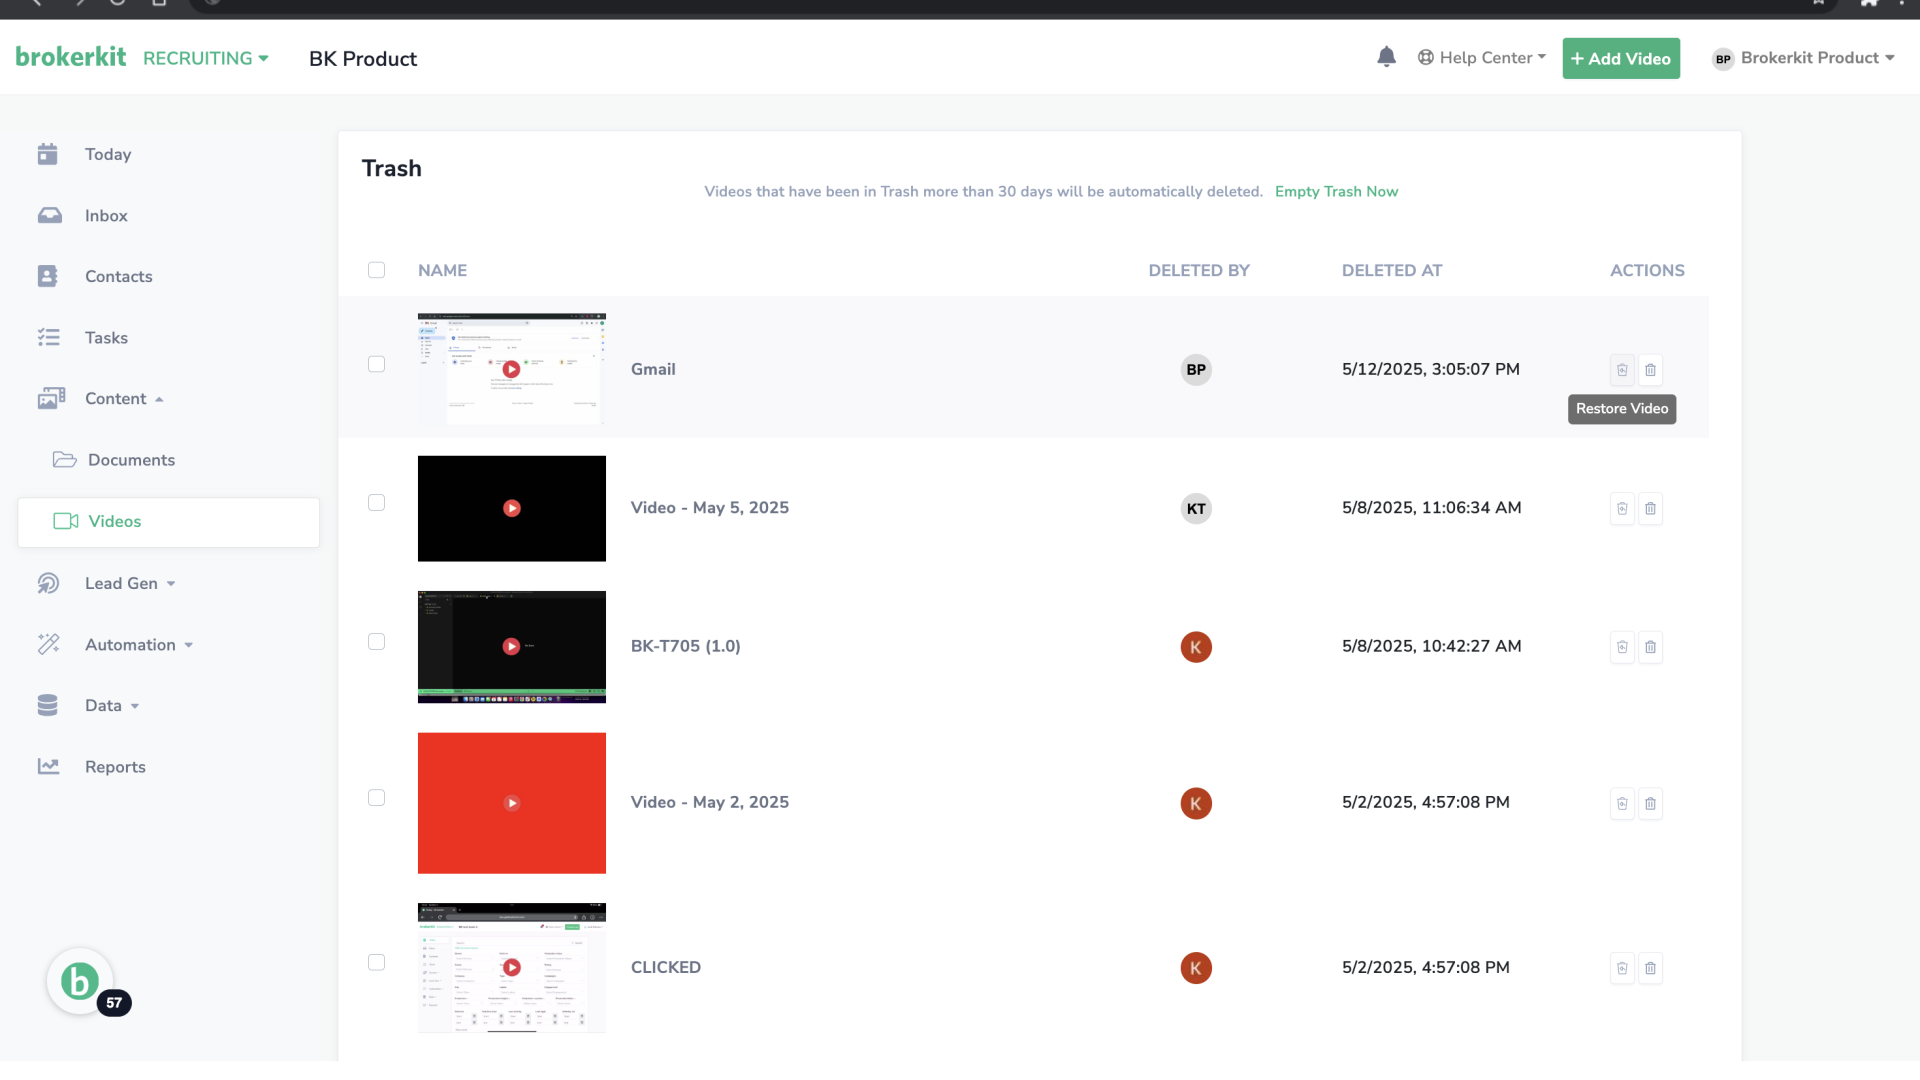
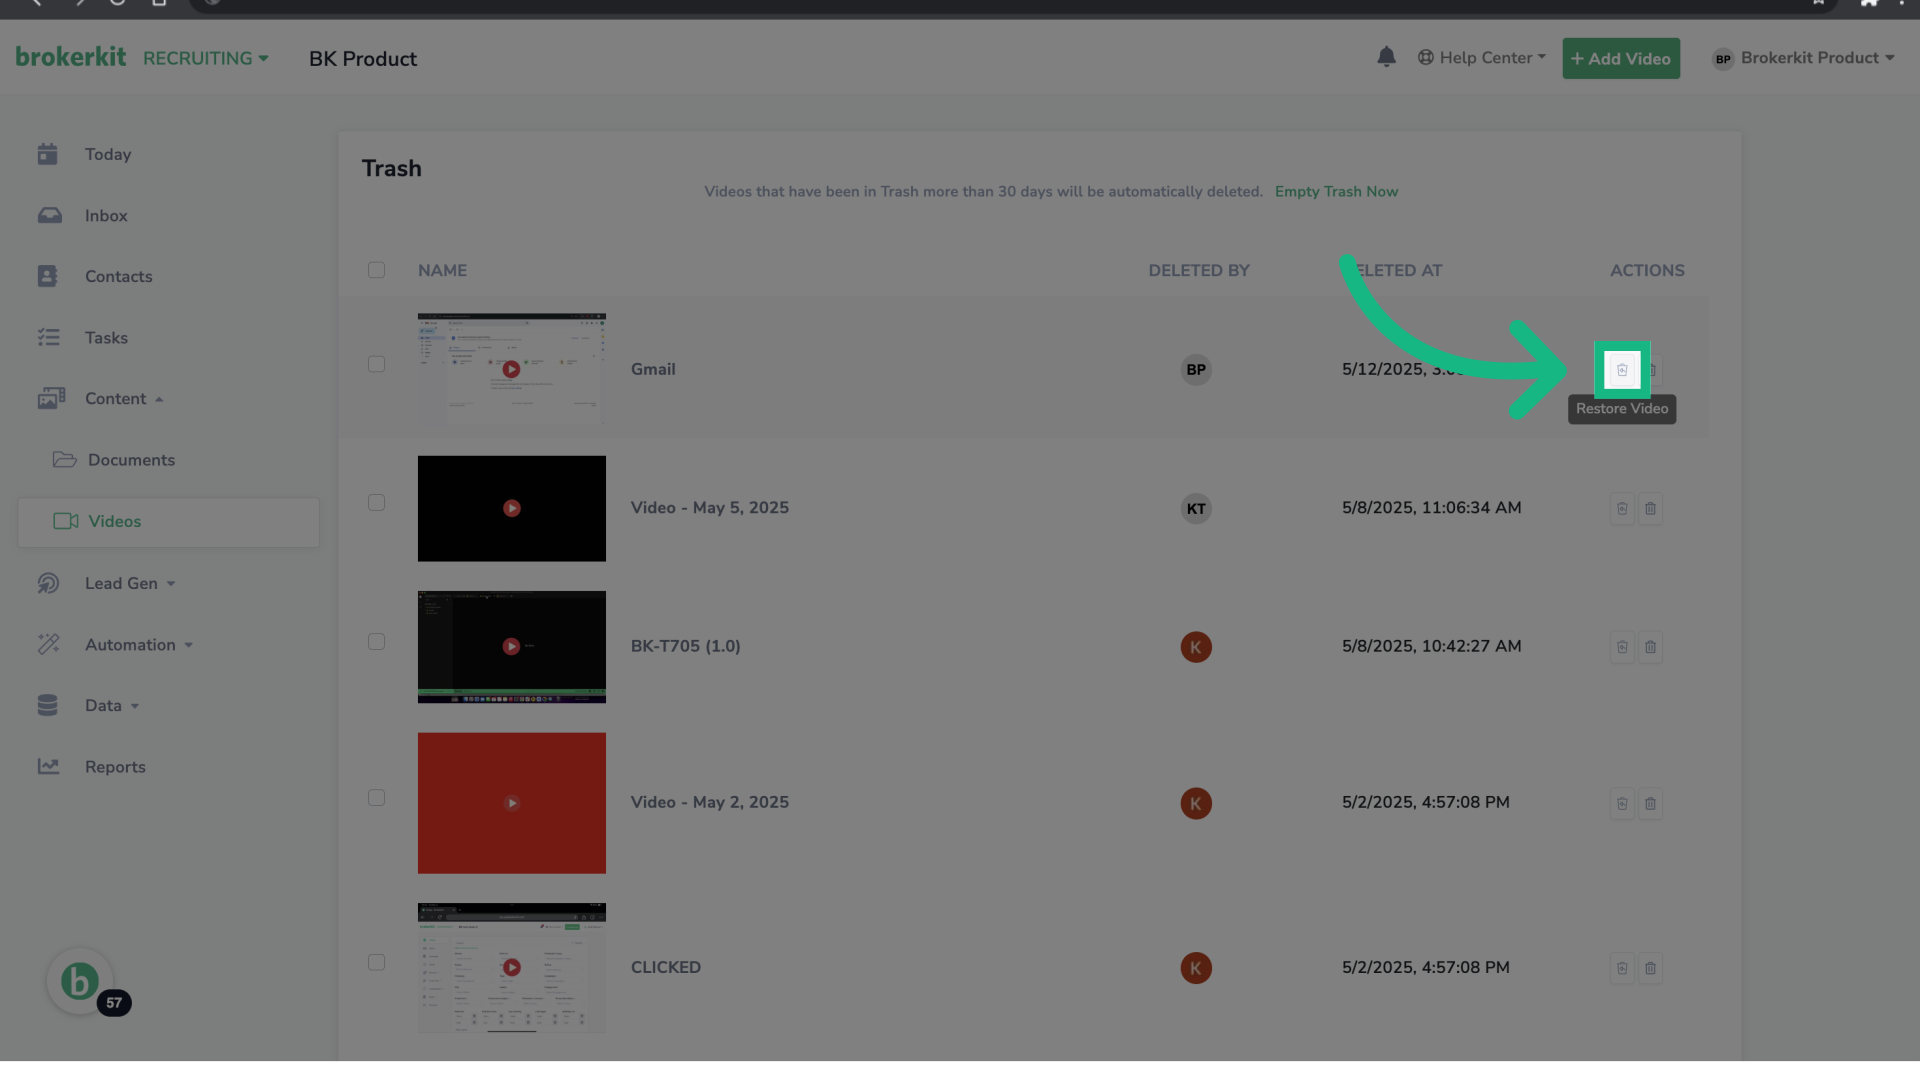
29. Restore a Single Video
30. Bulk Restore Videos
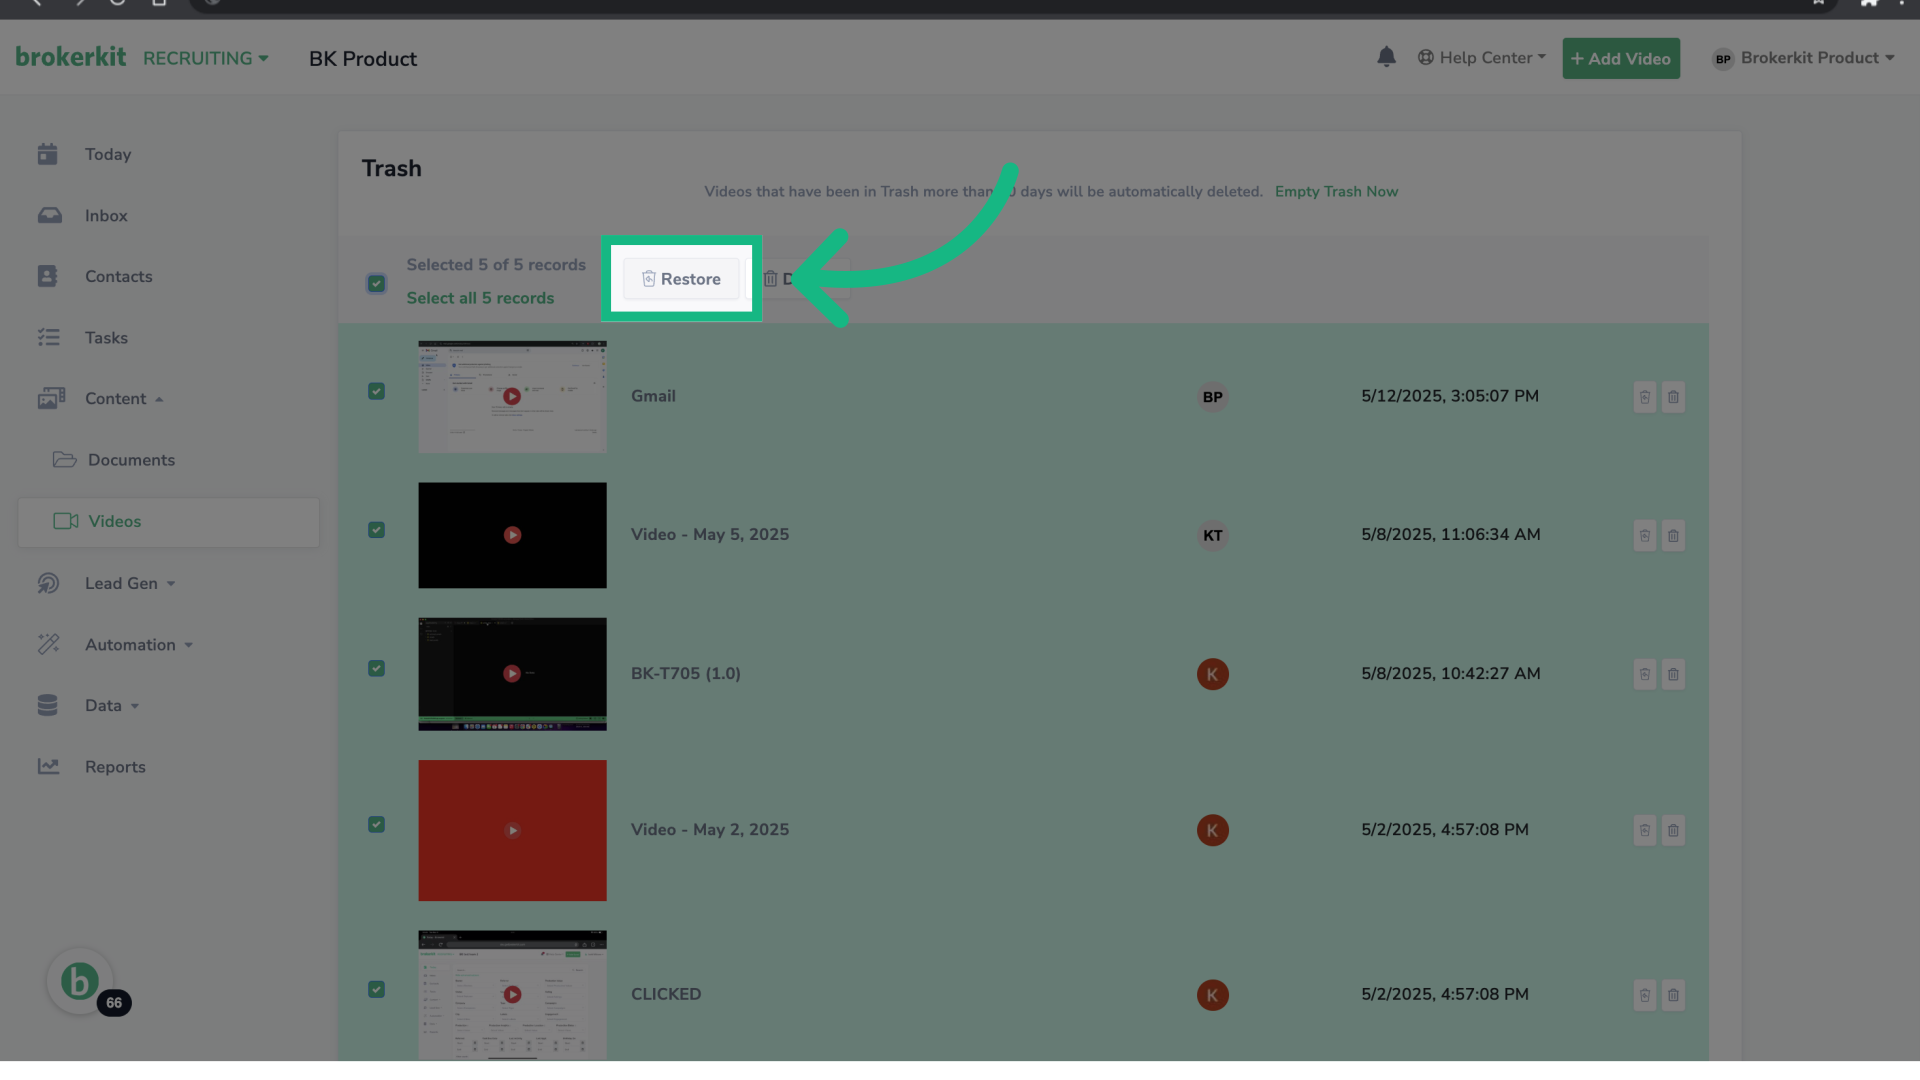
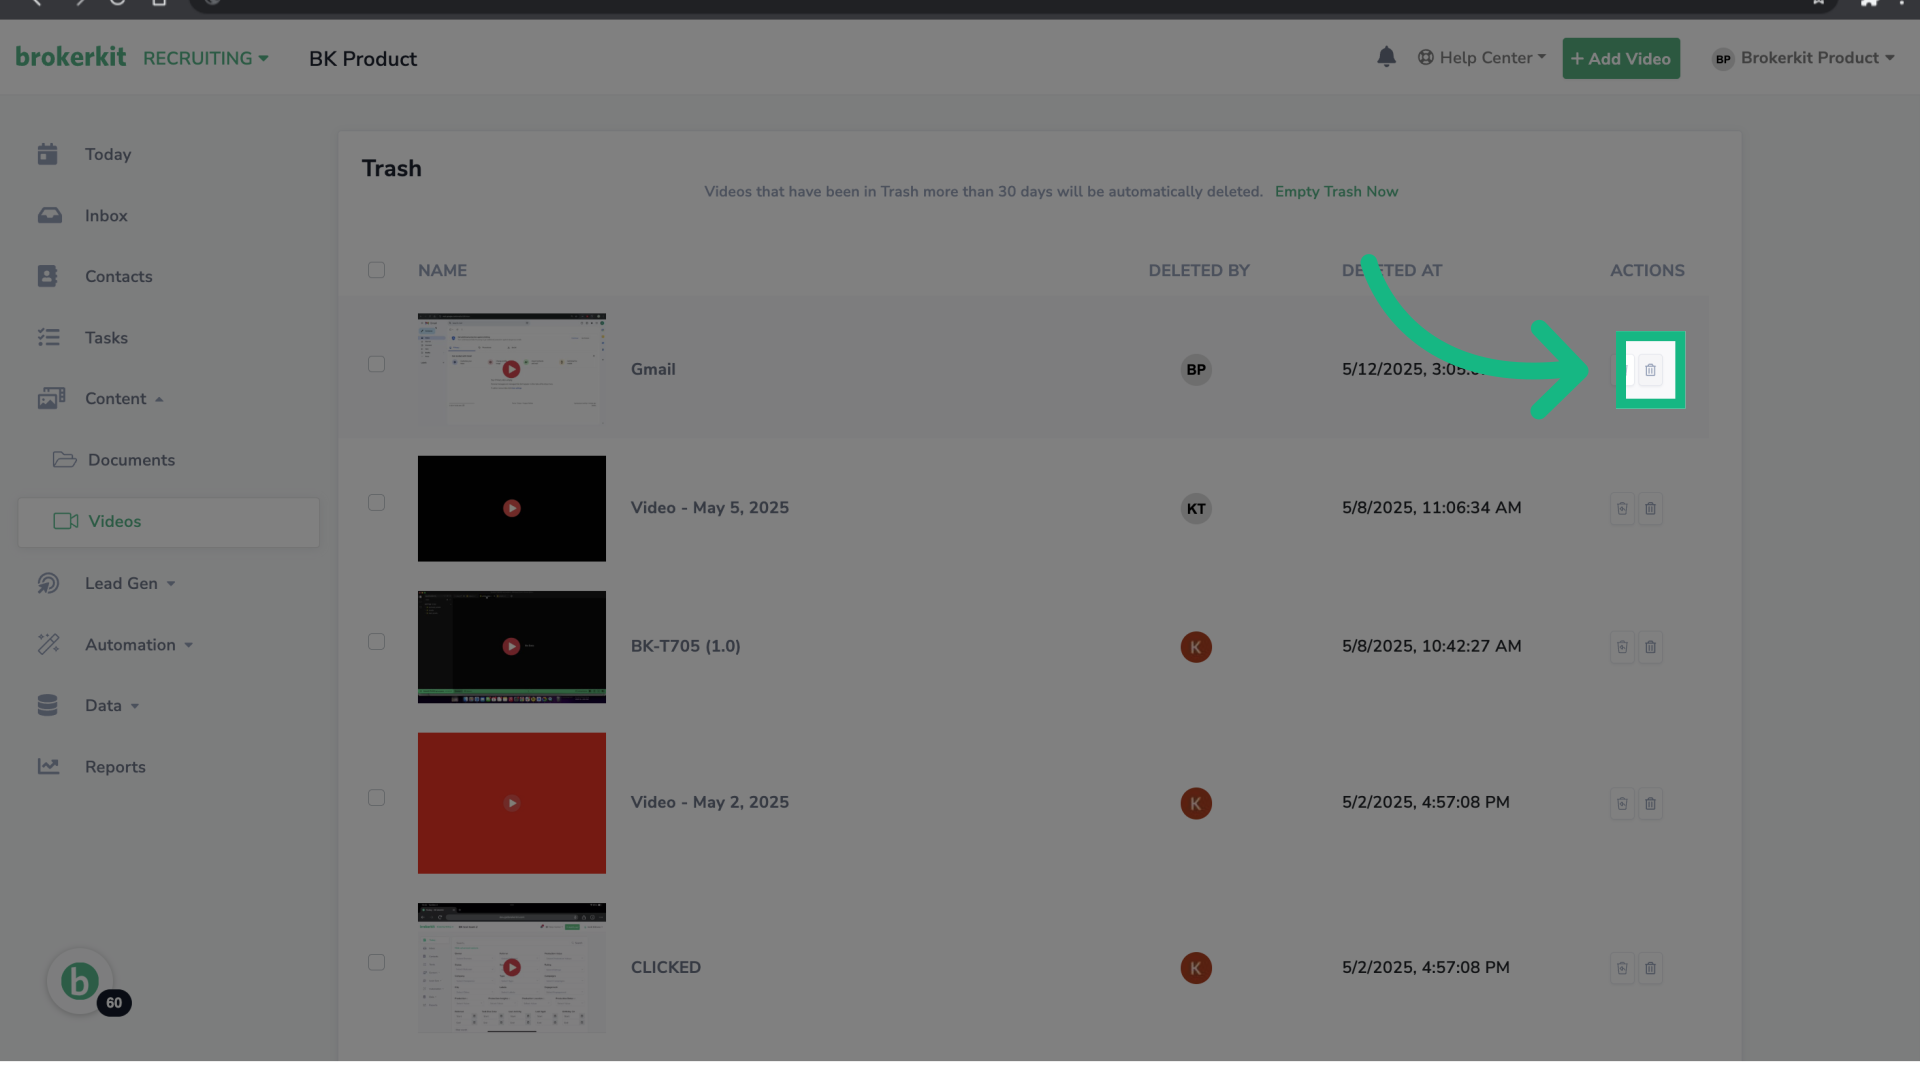
31. Permanently Delete a Single Video
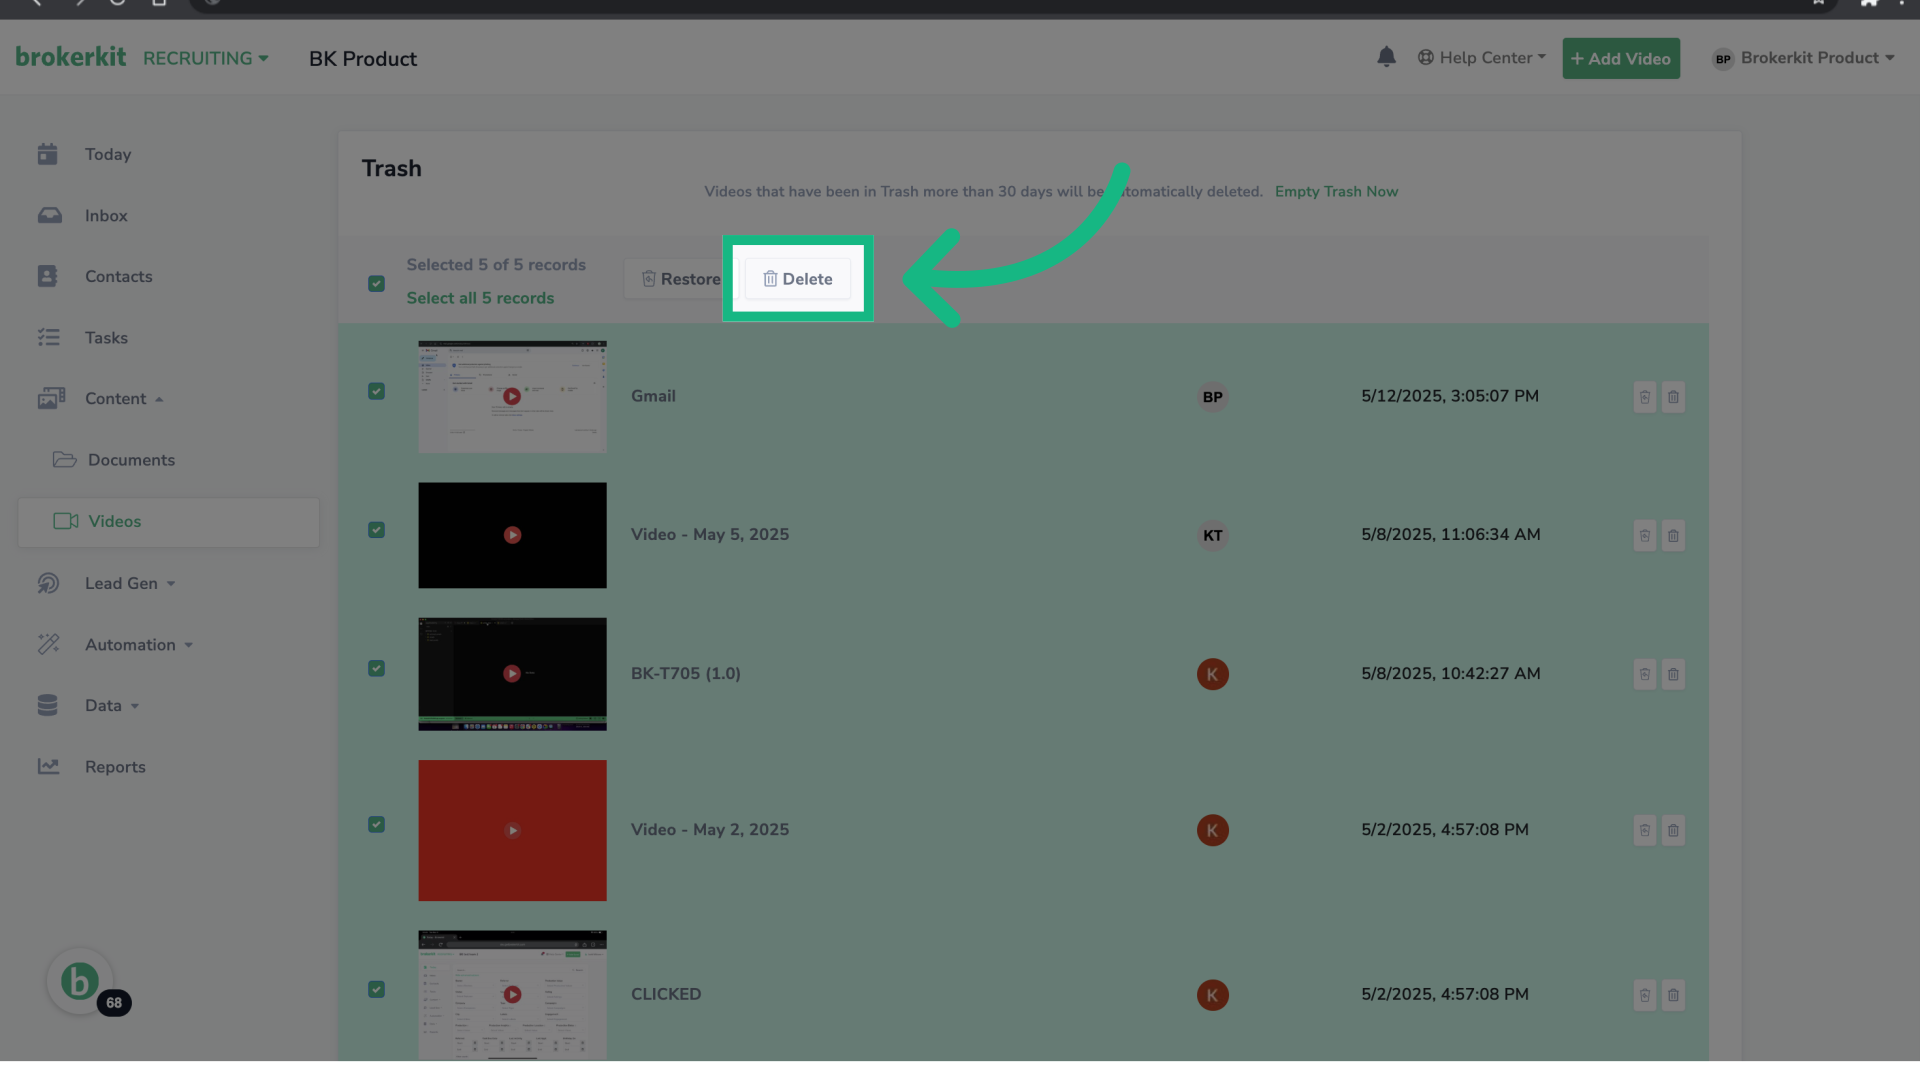
32. Bulk Permanently Delete Videos
33. Click "Delete"
34. Let's give it a try

35. Open your Brokerkit
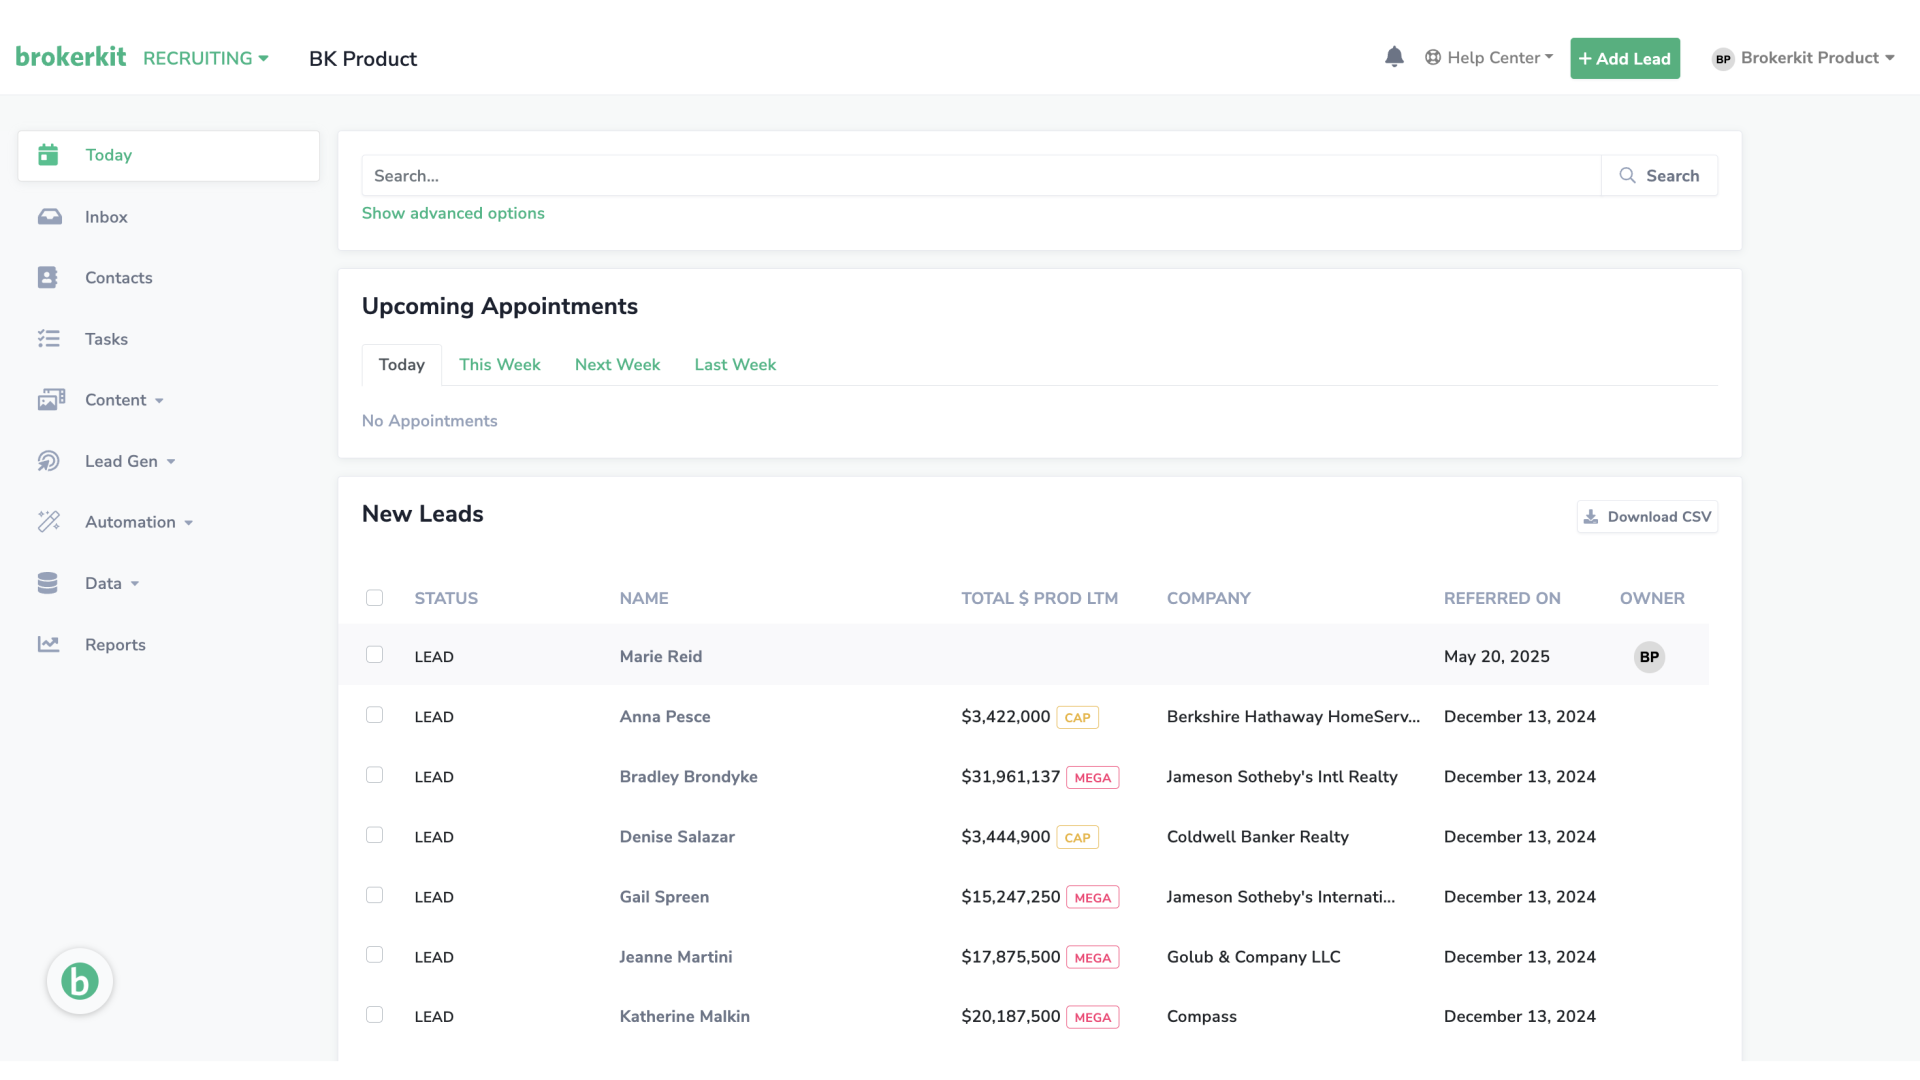
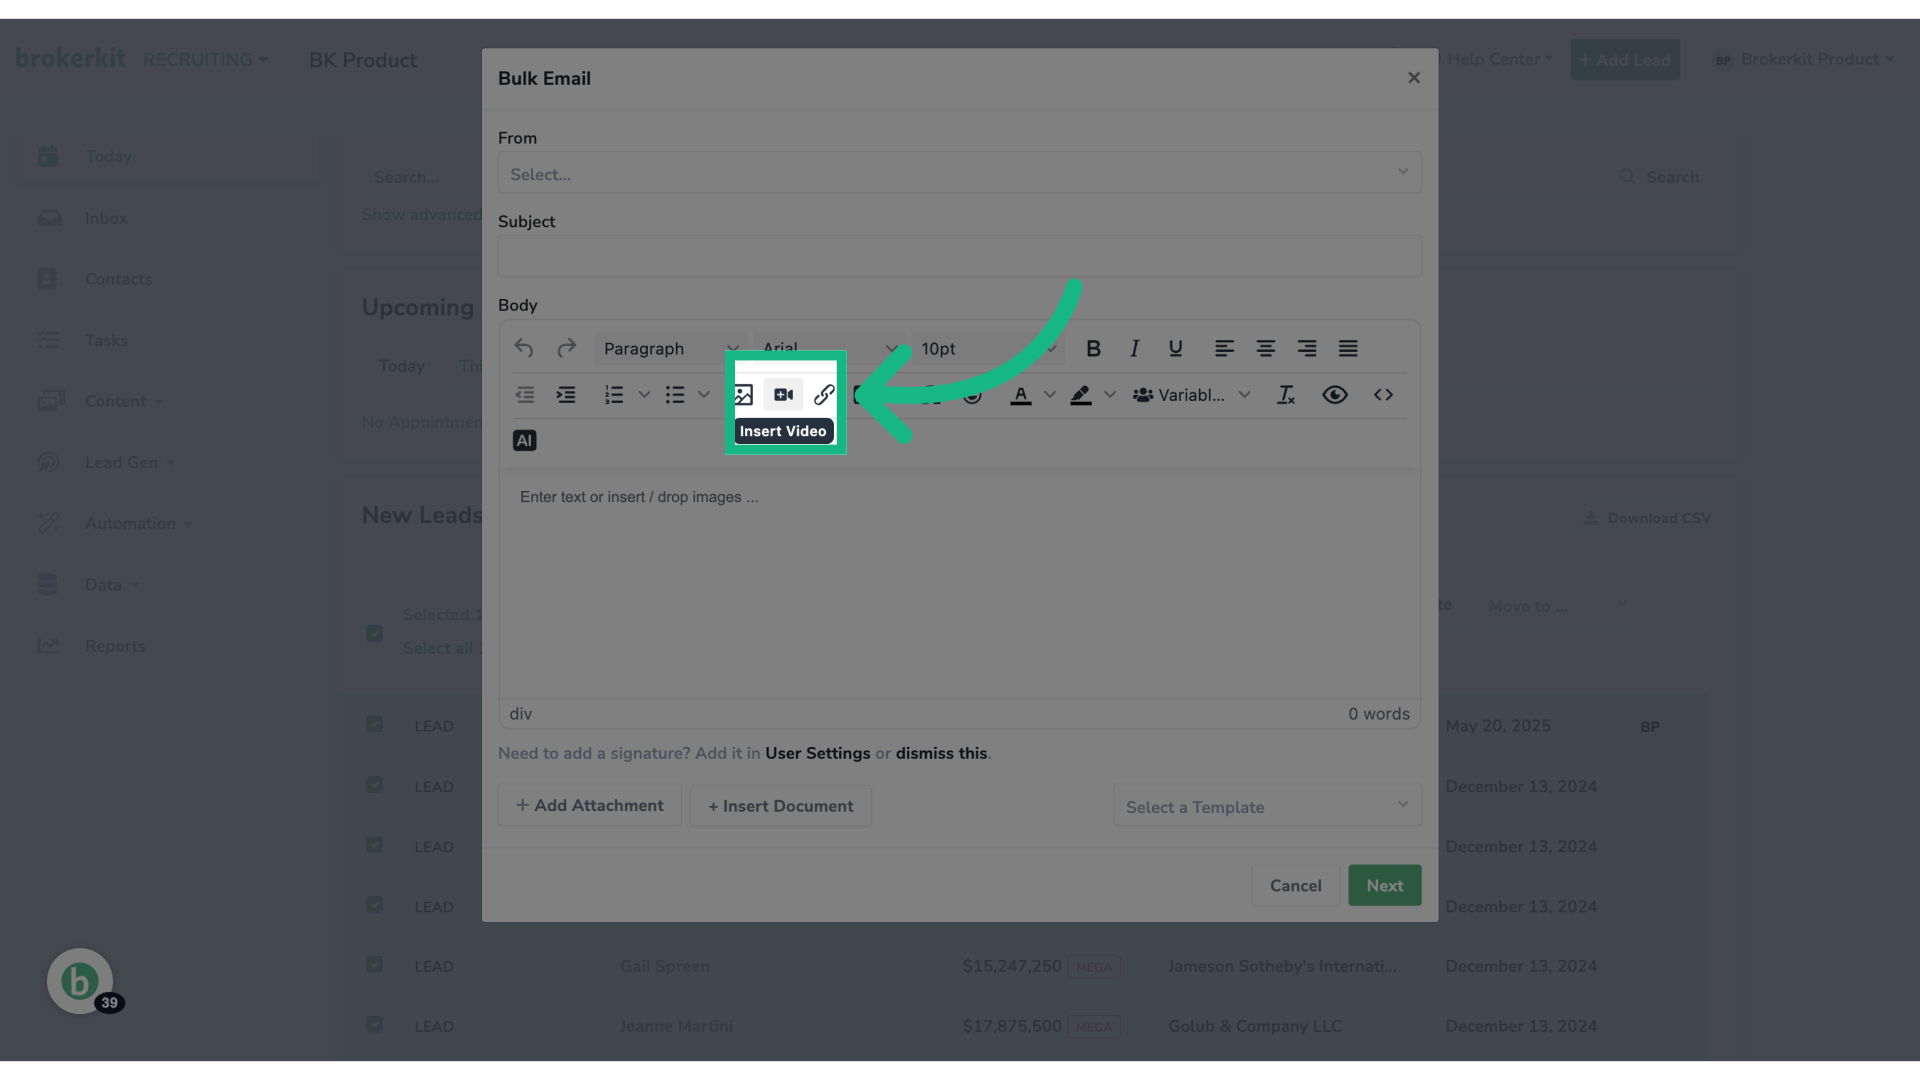
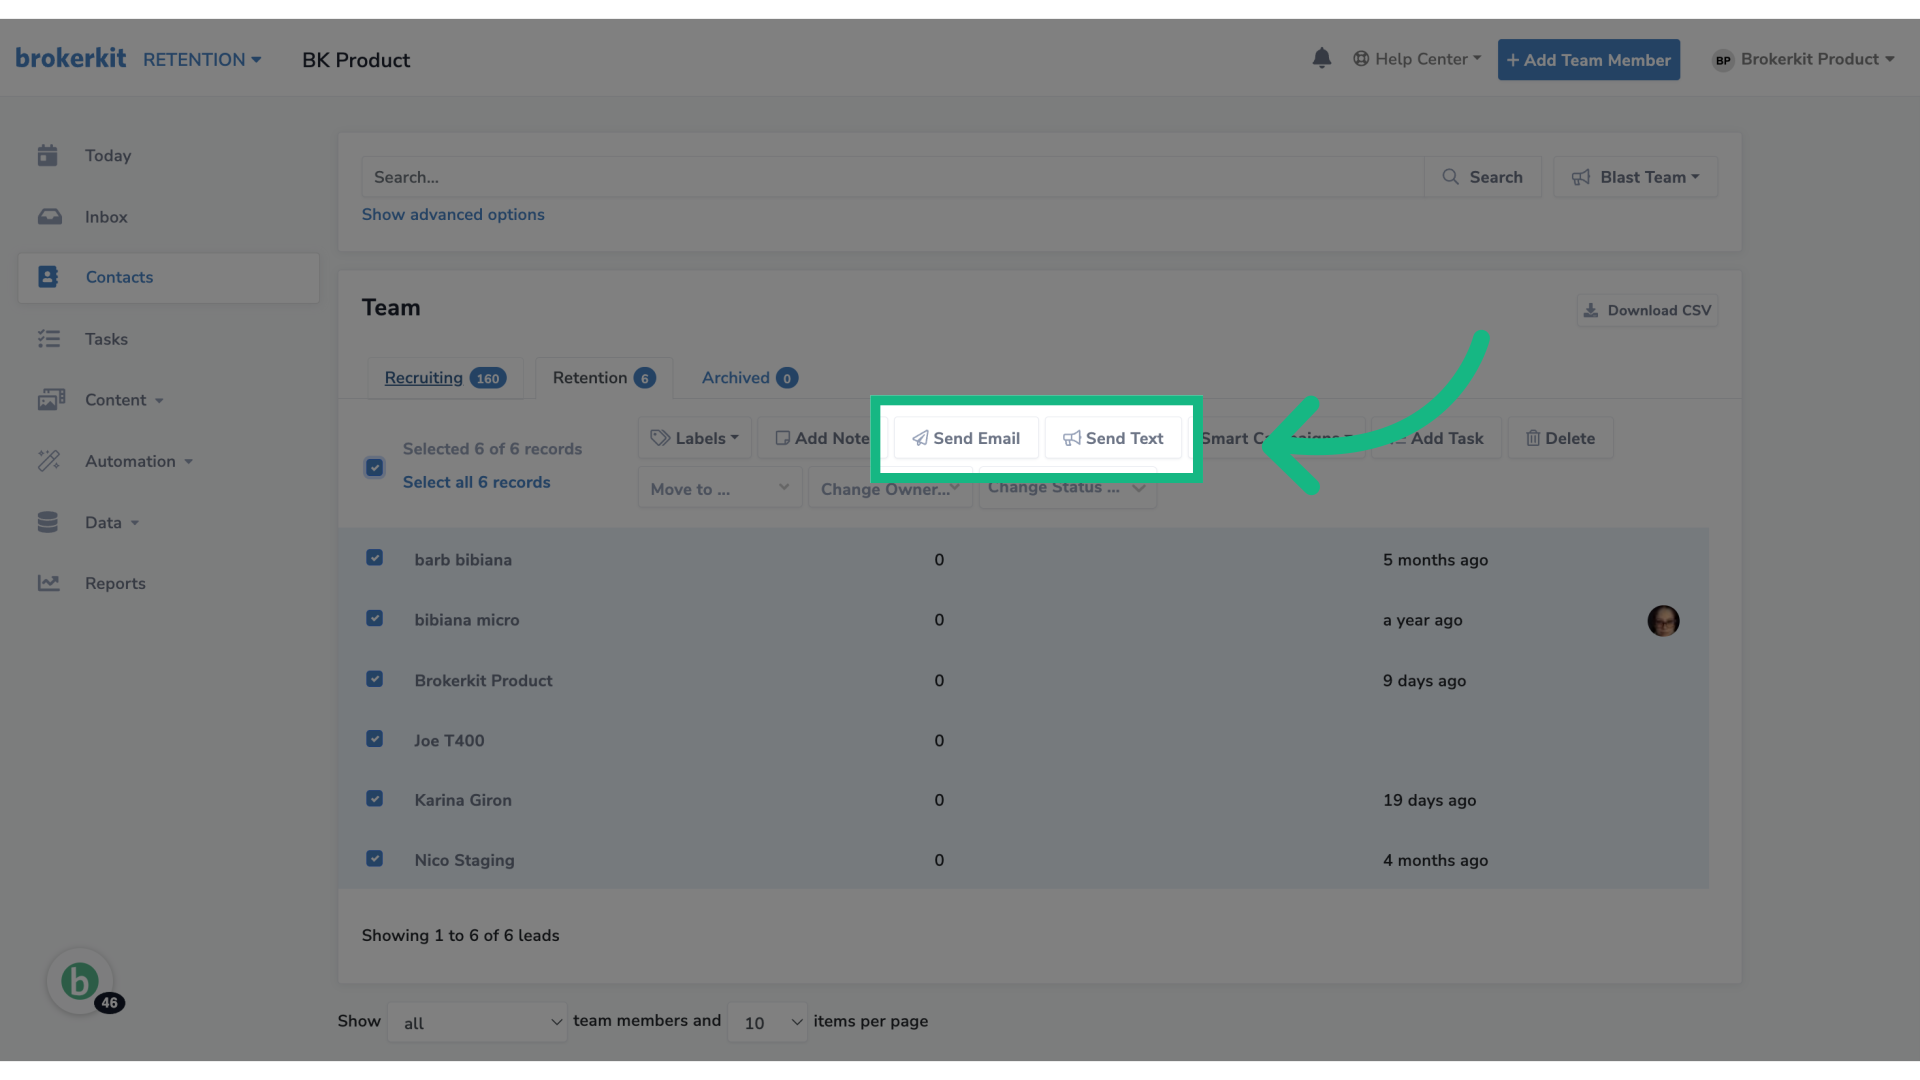
36. You can send videos in emails or texts
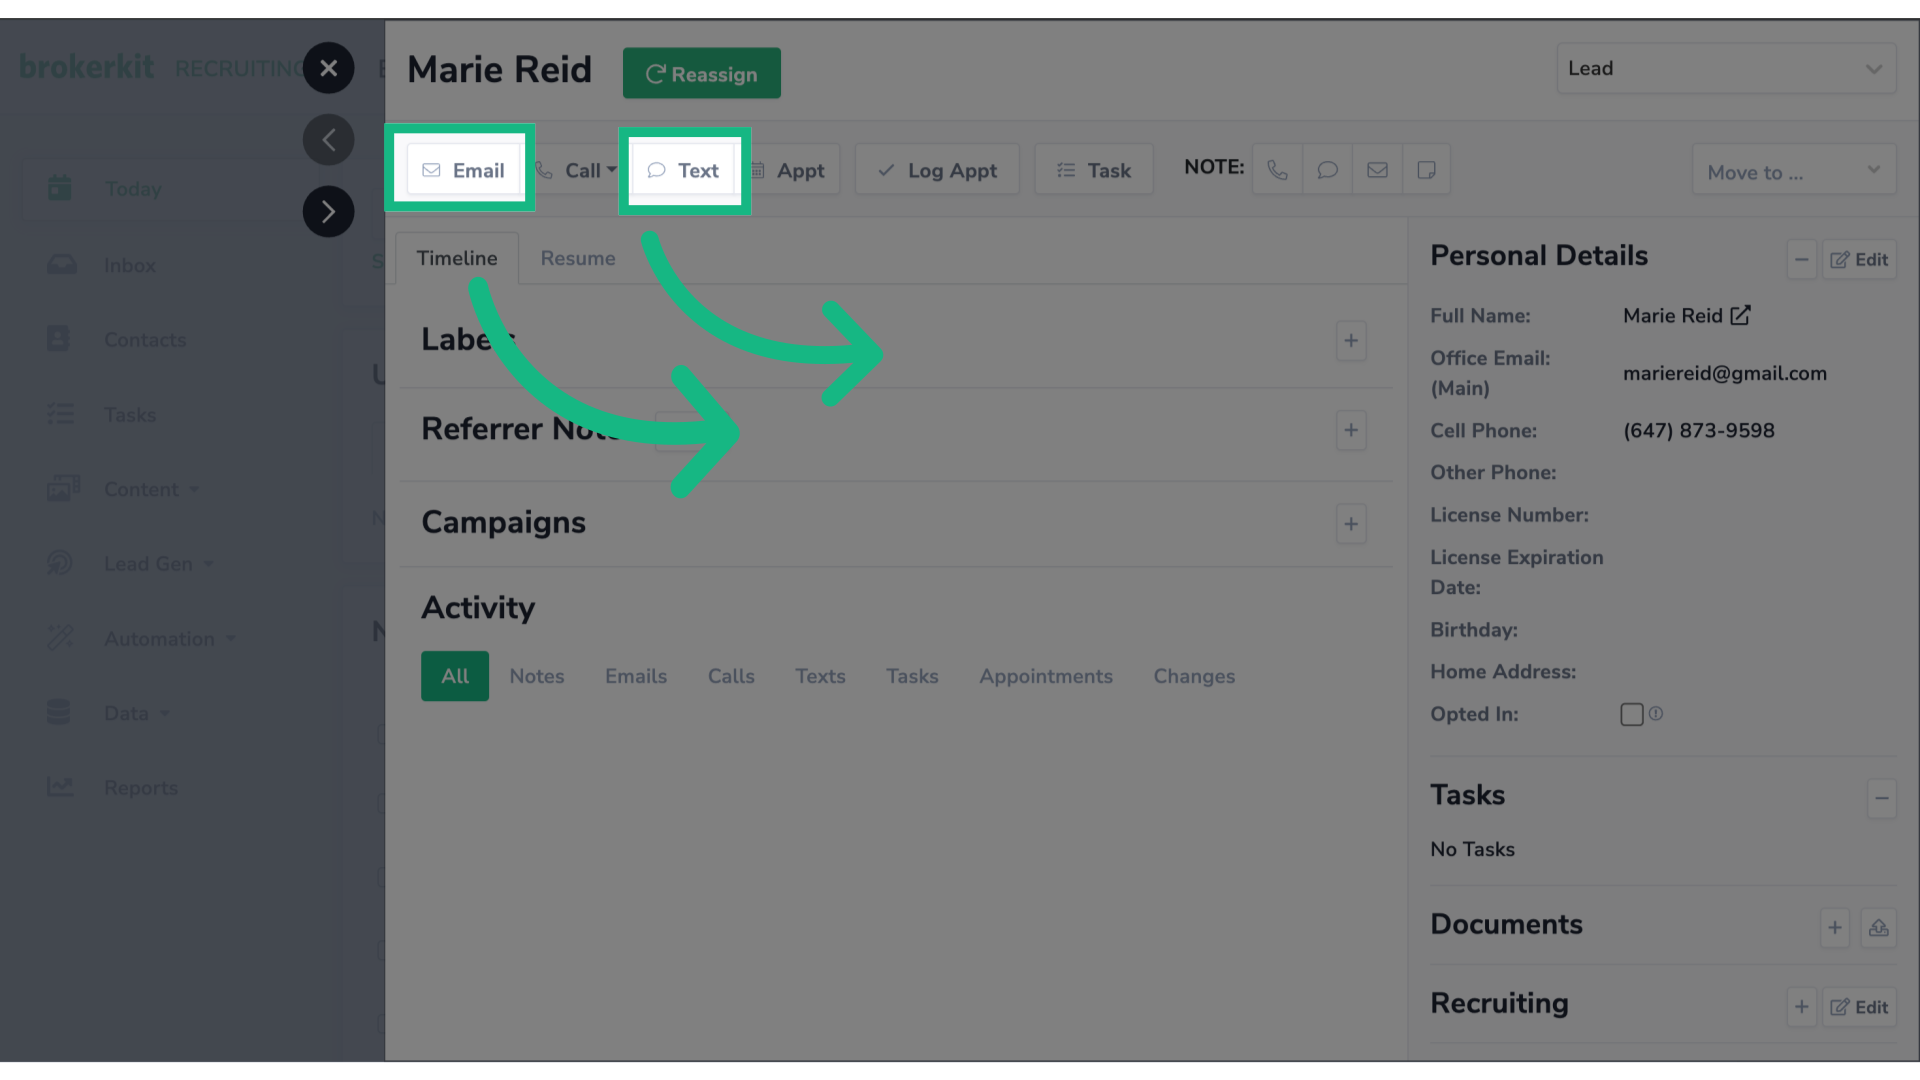
37. Click the video icon
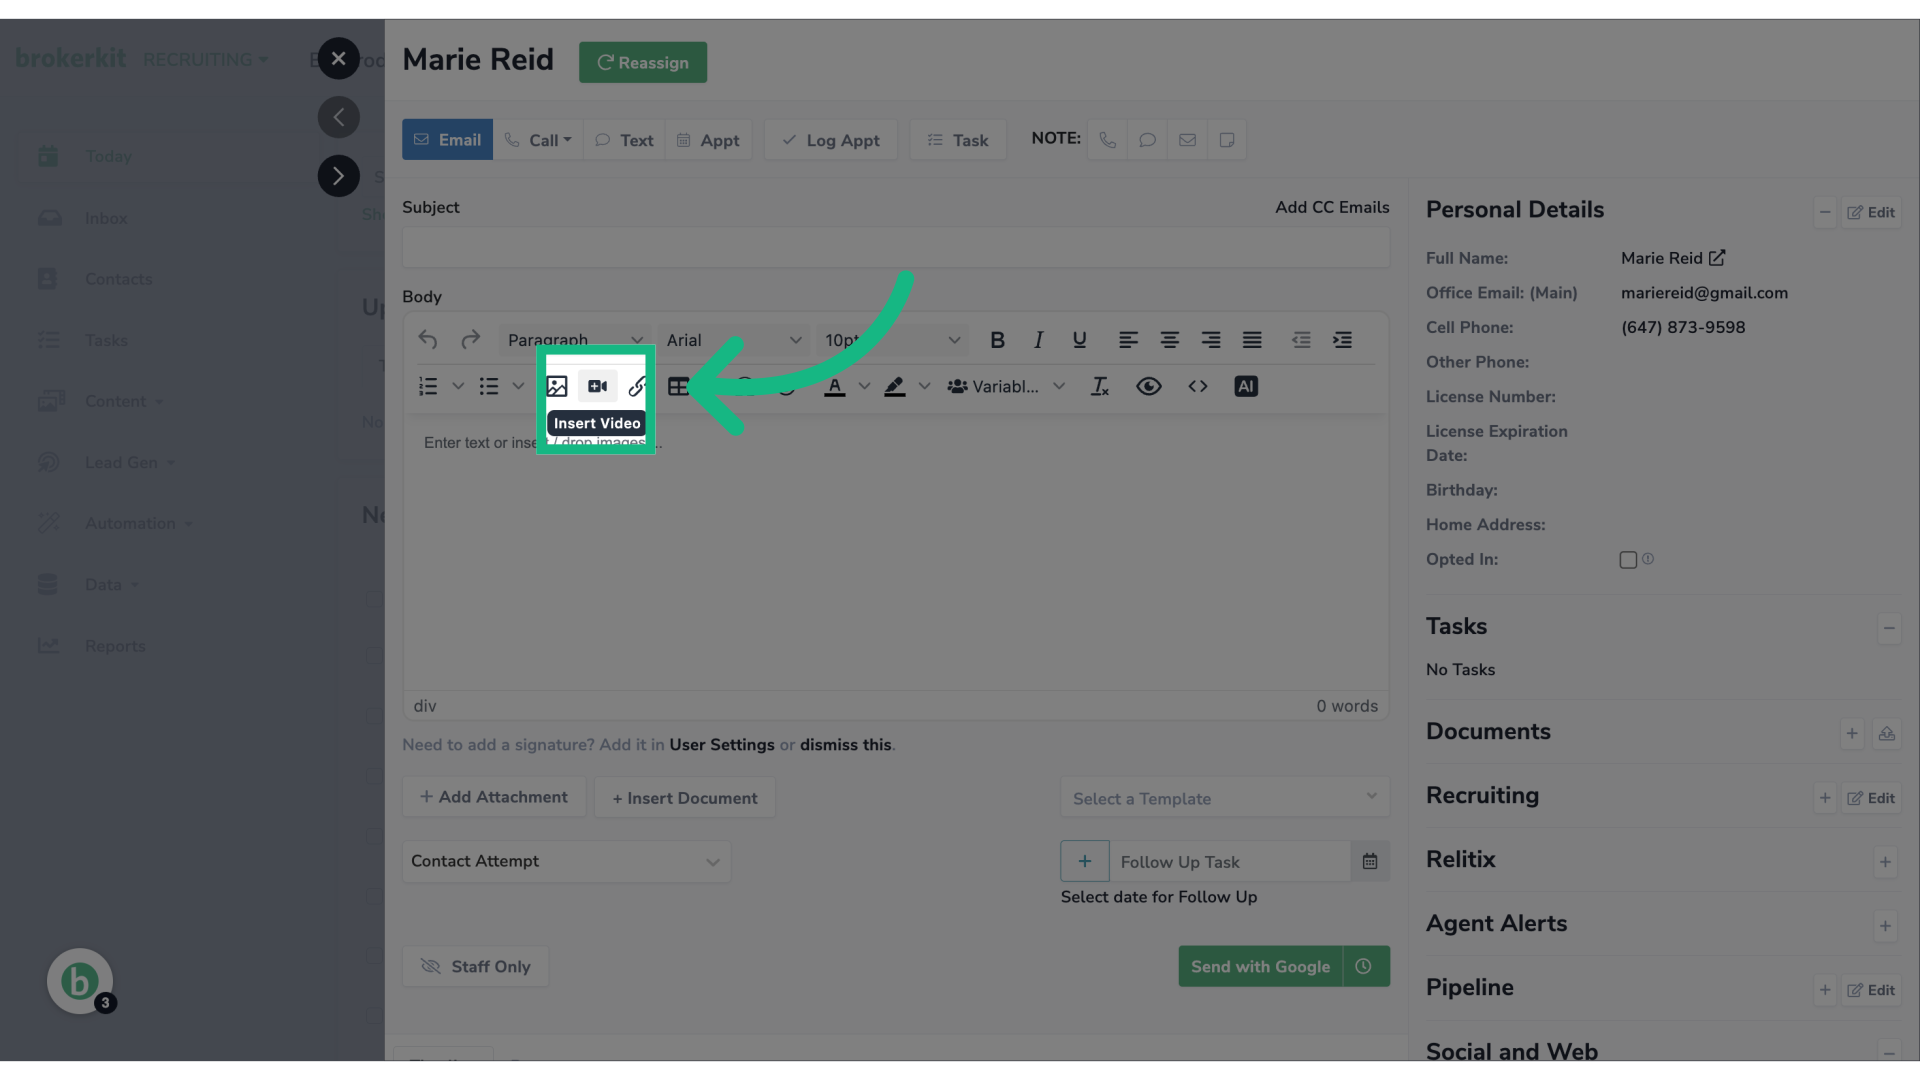
38. Record a new online video
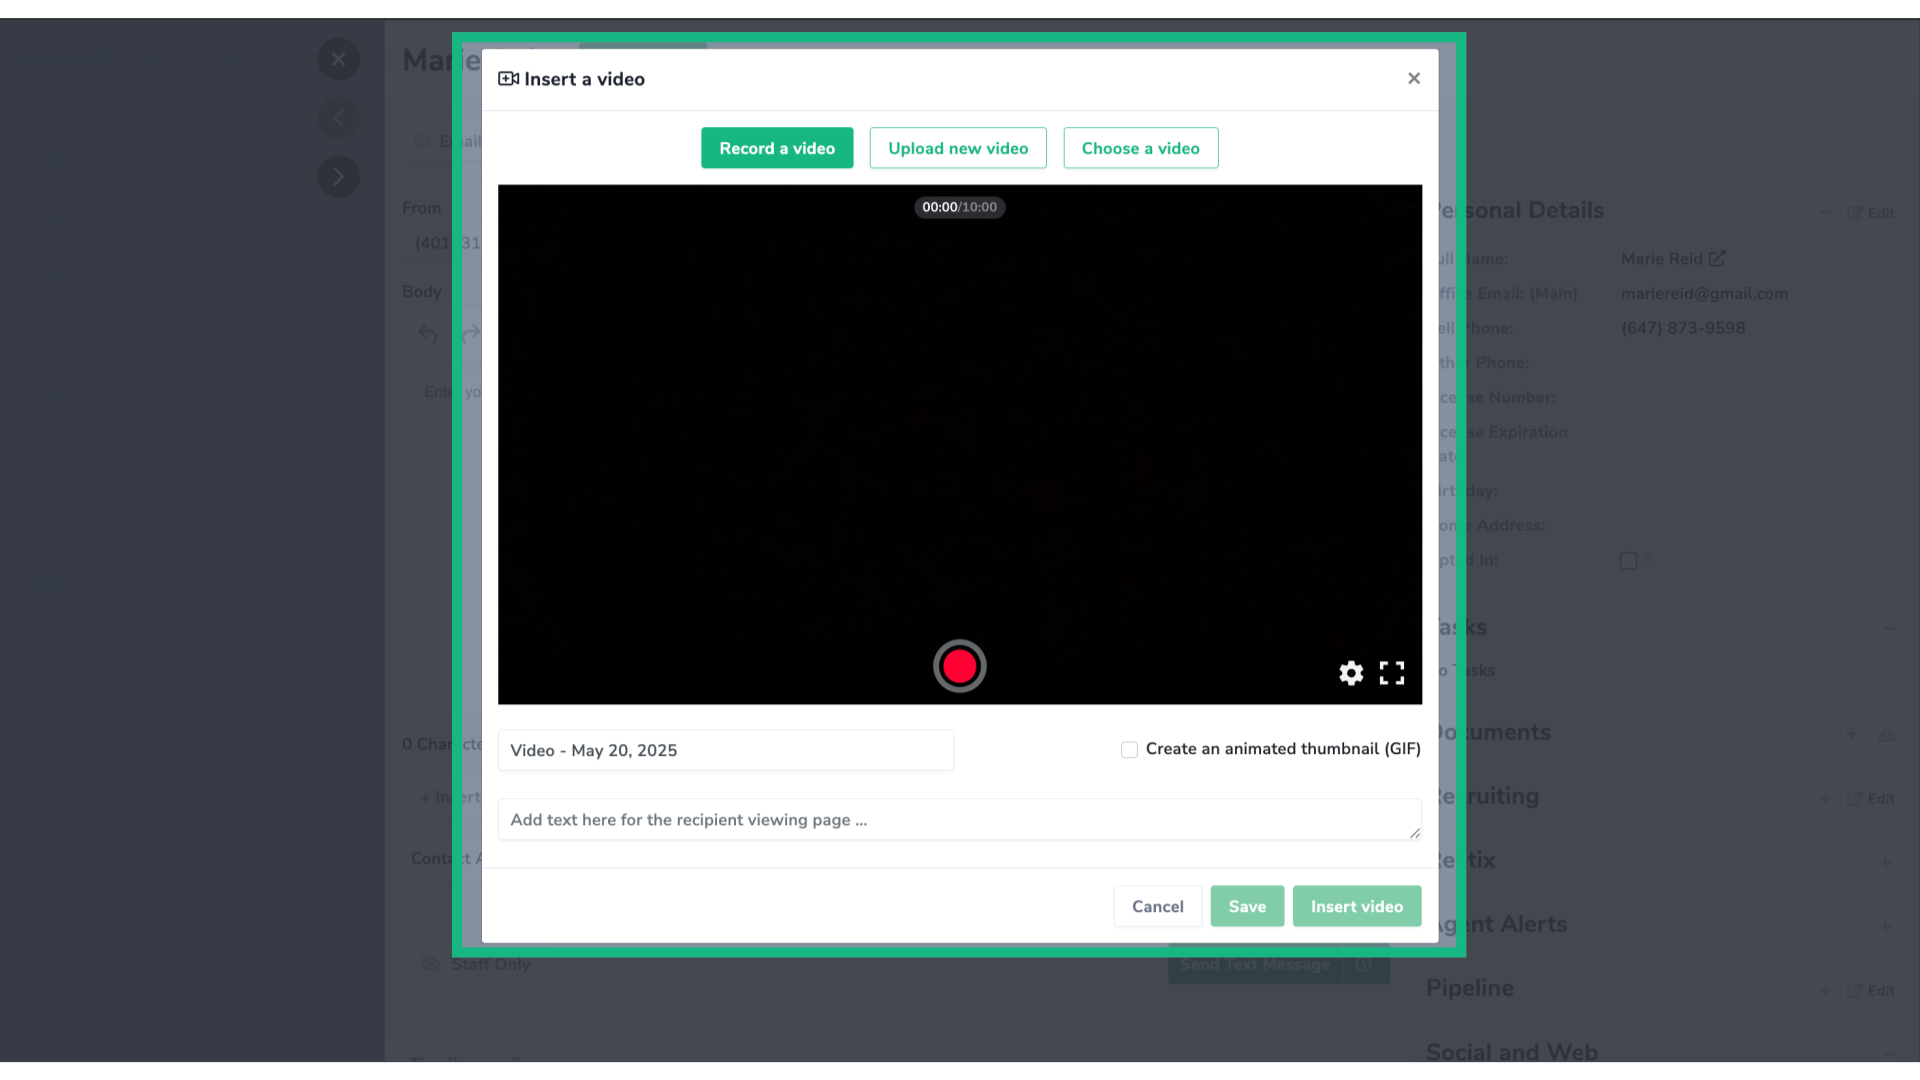
39. Upload a new video
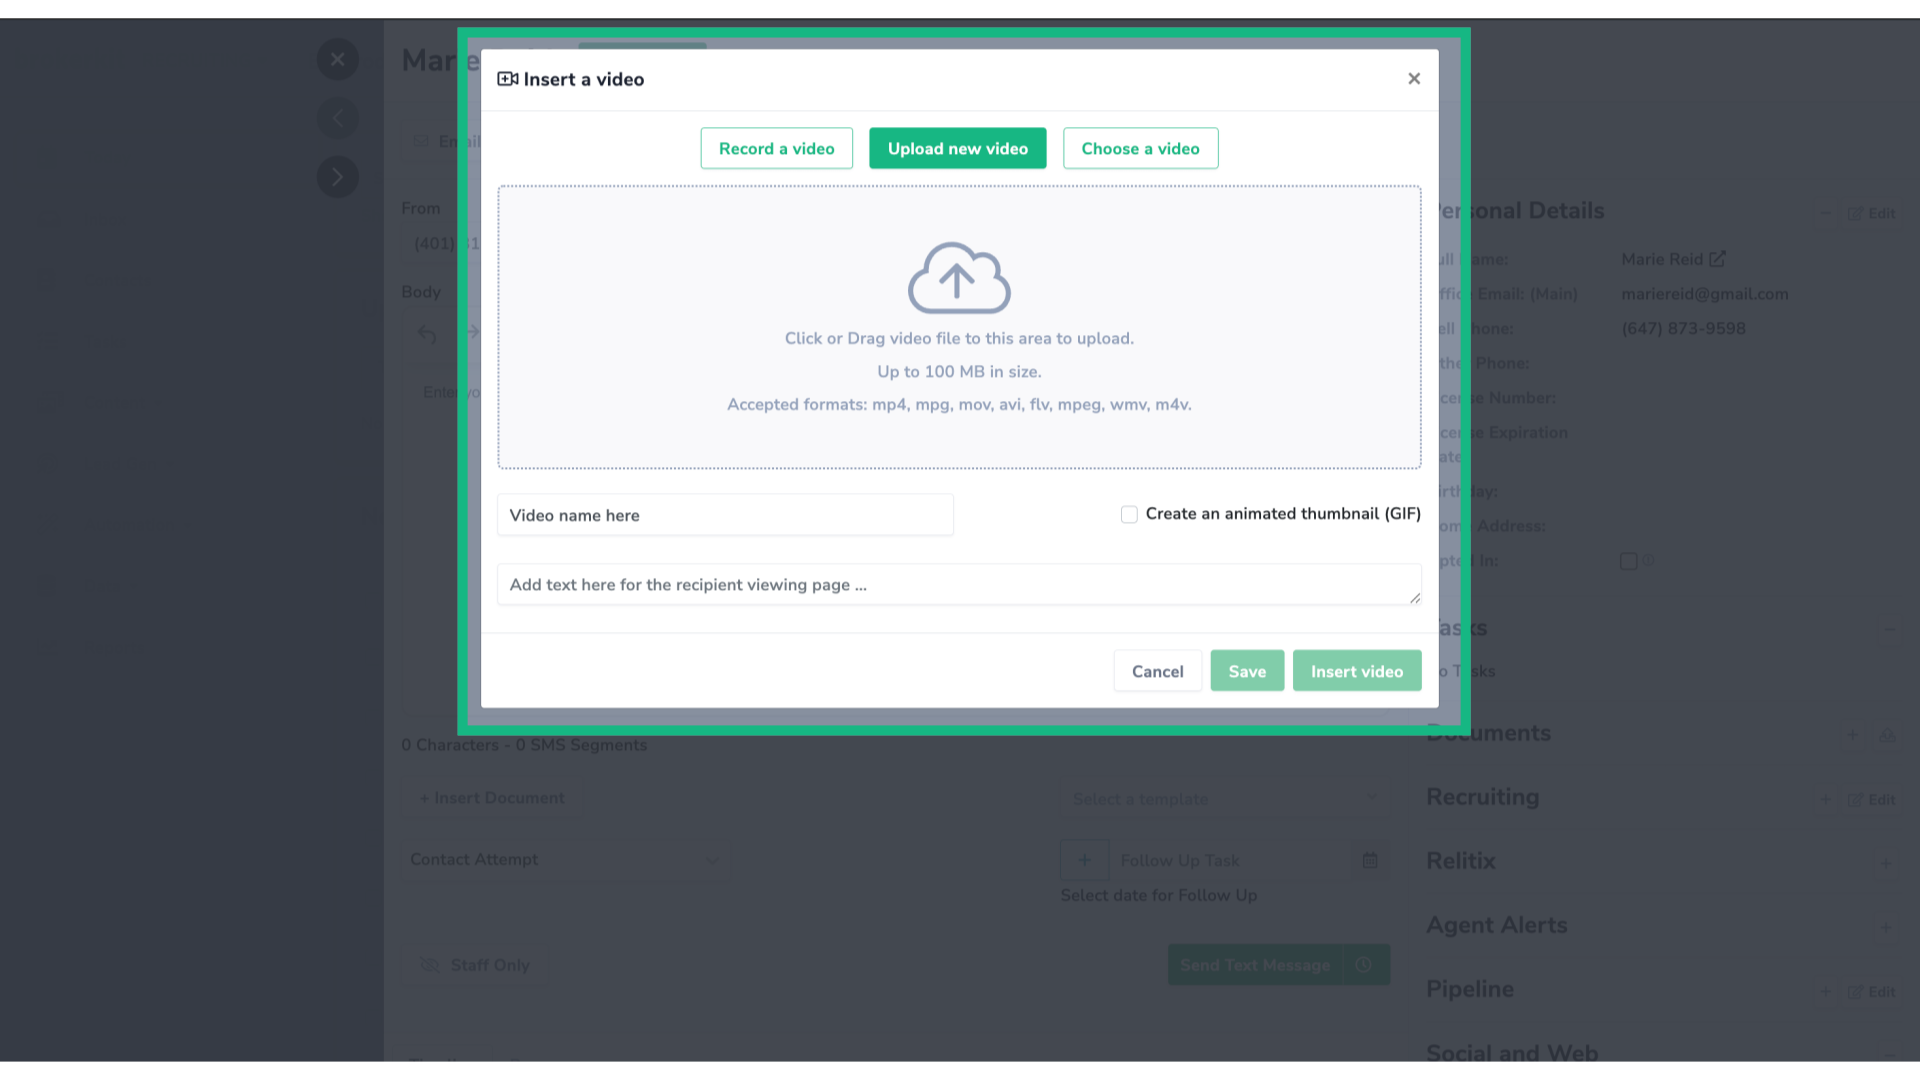
40. Choose from video library
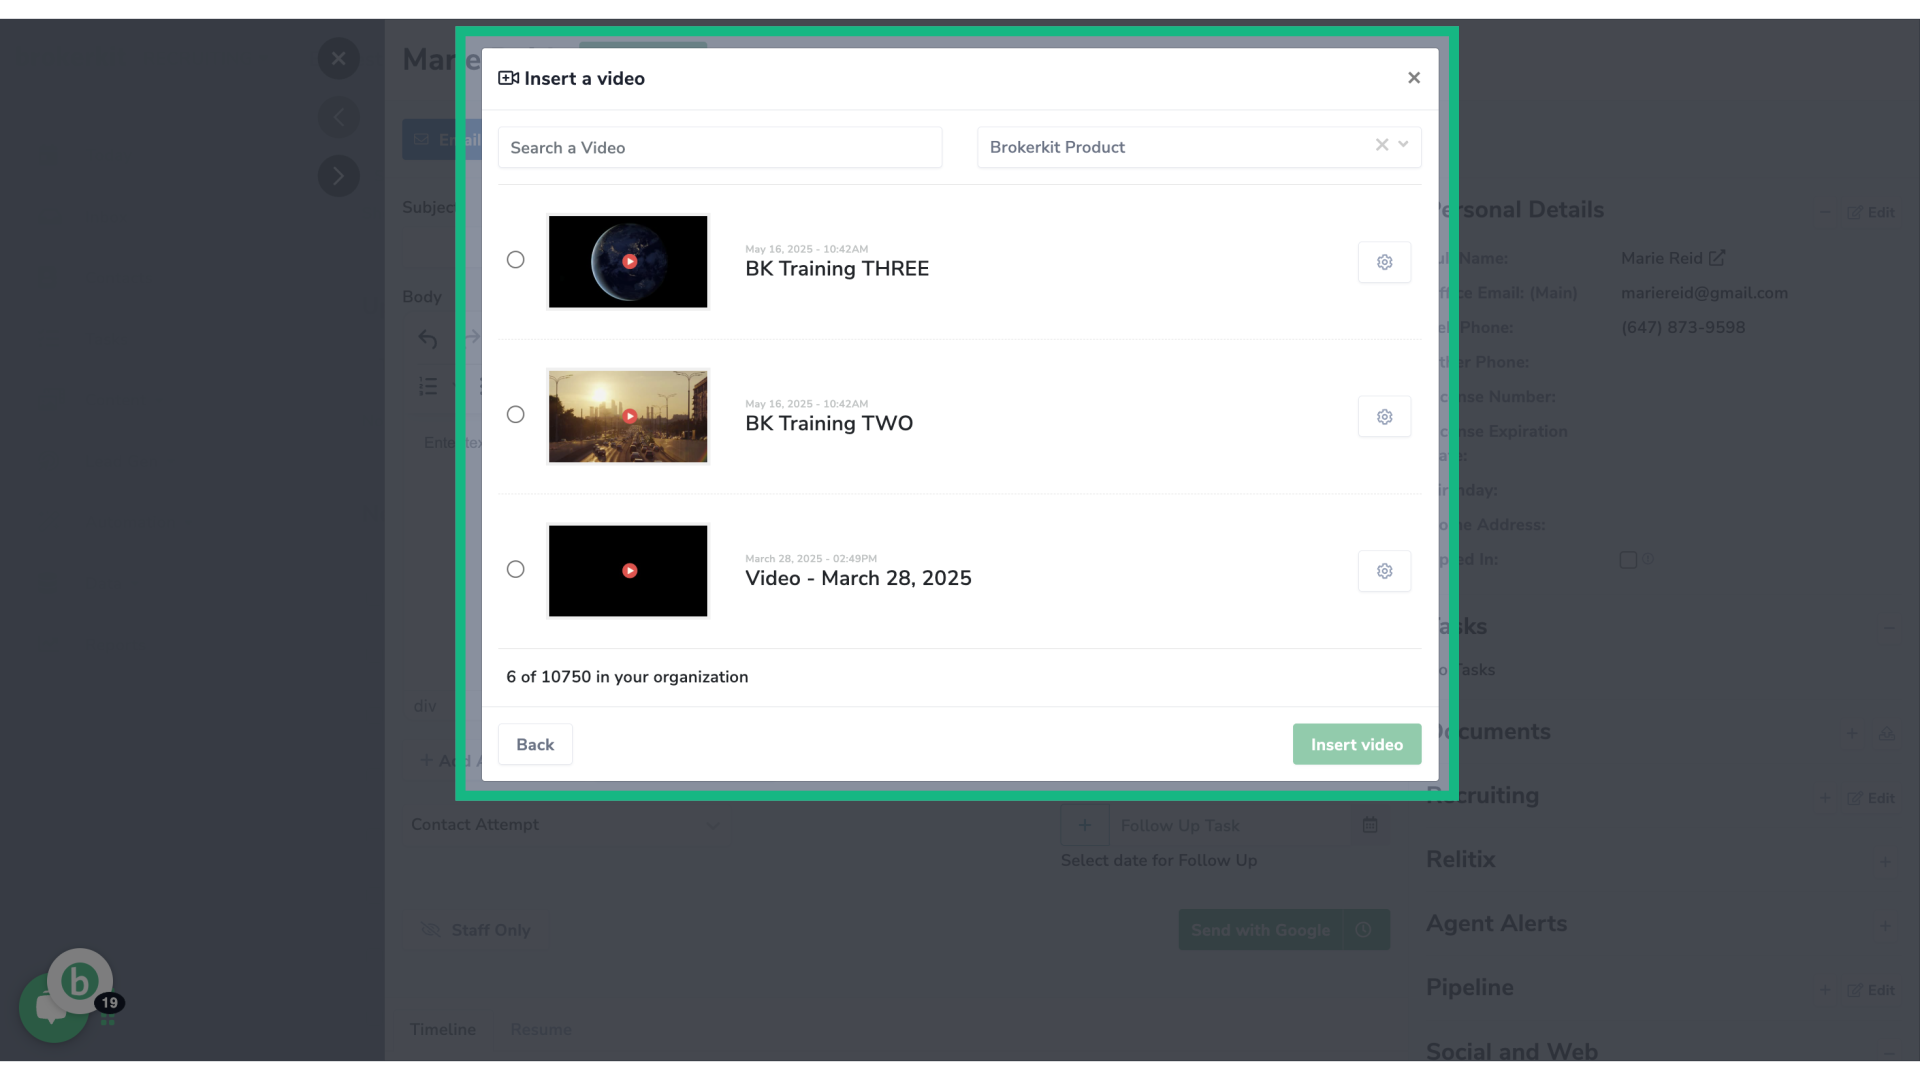
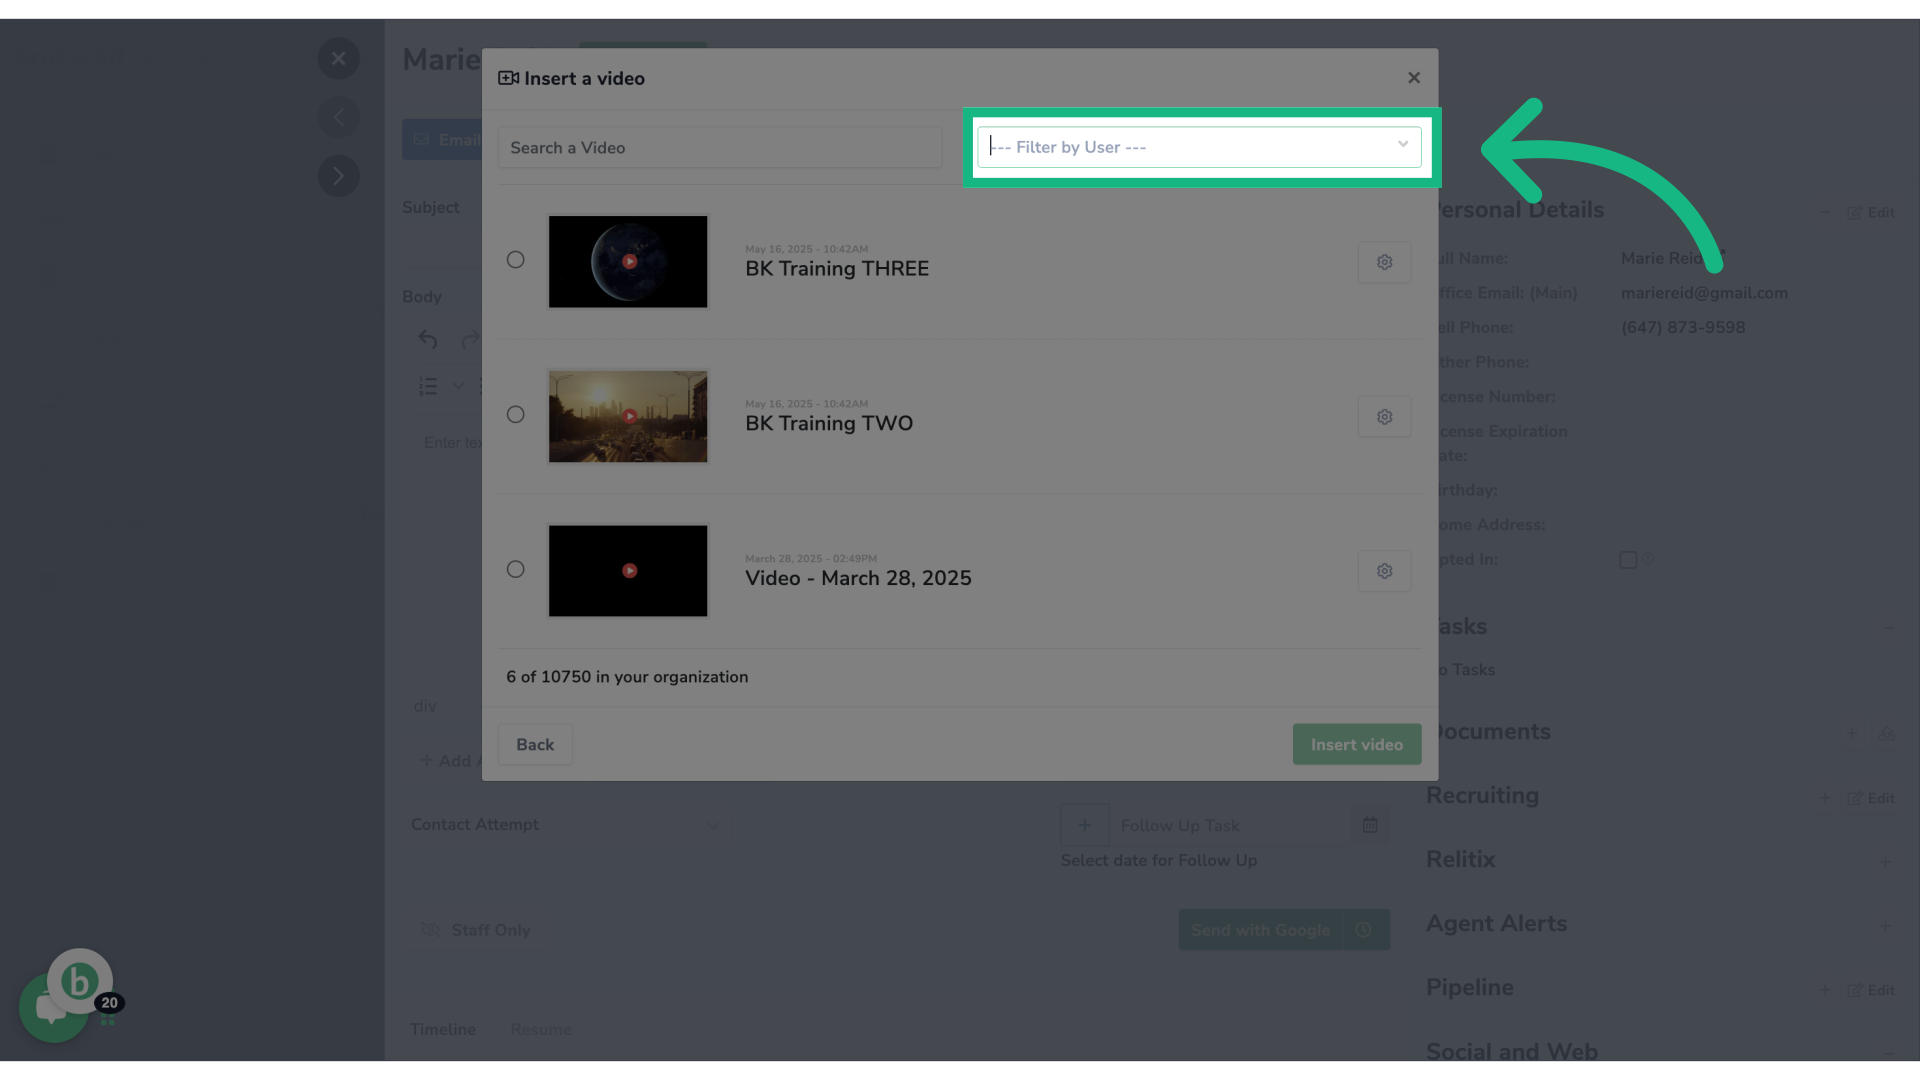
41. Clean the filter
42. Click "Insert video"
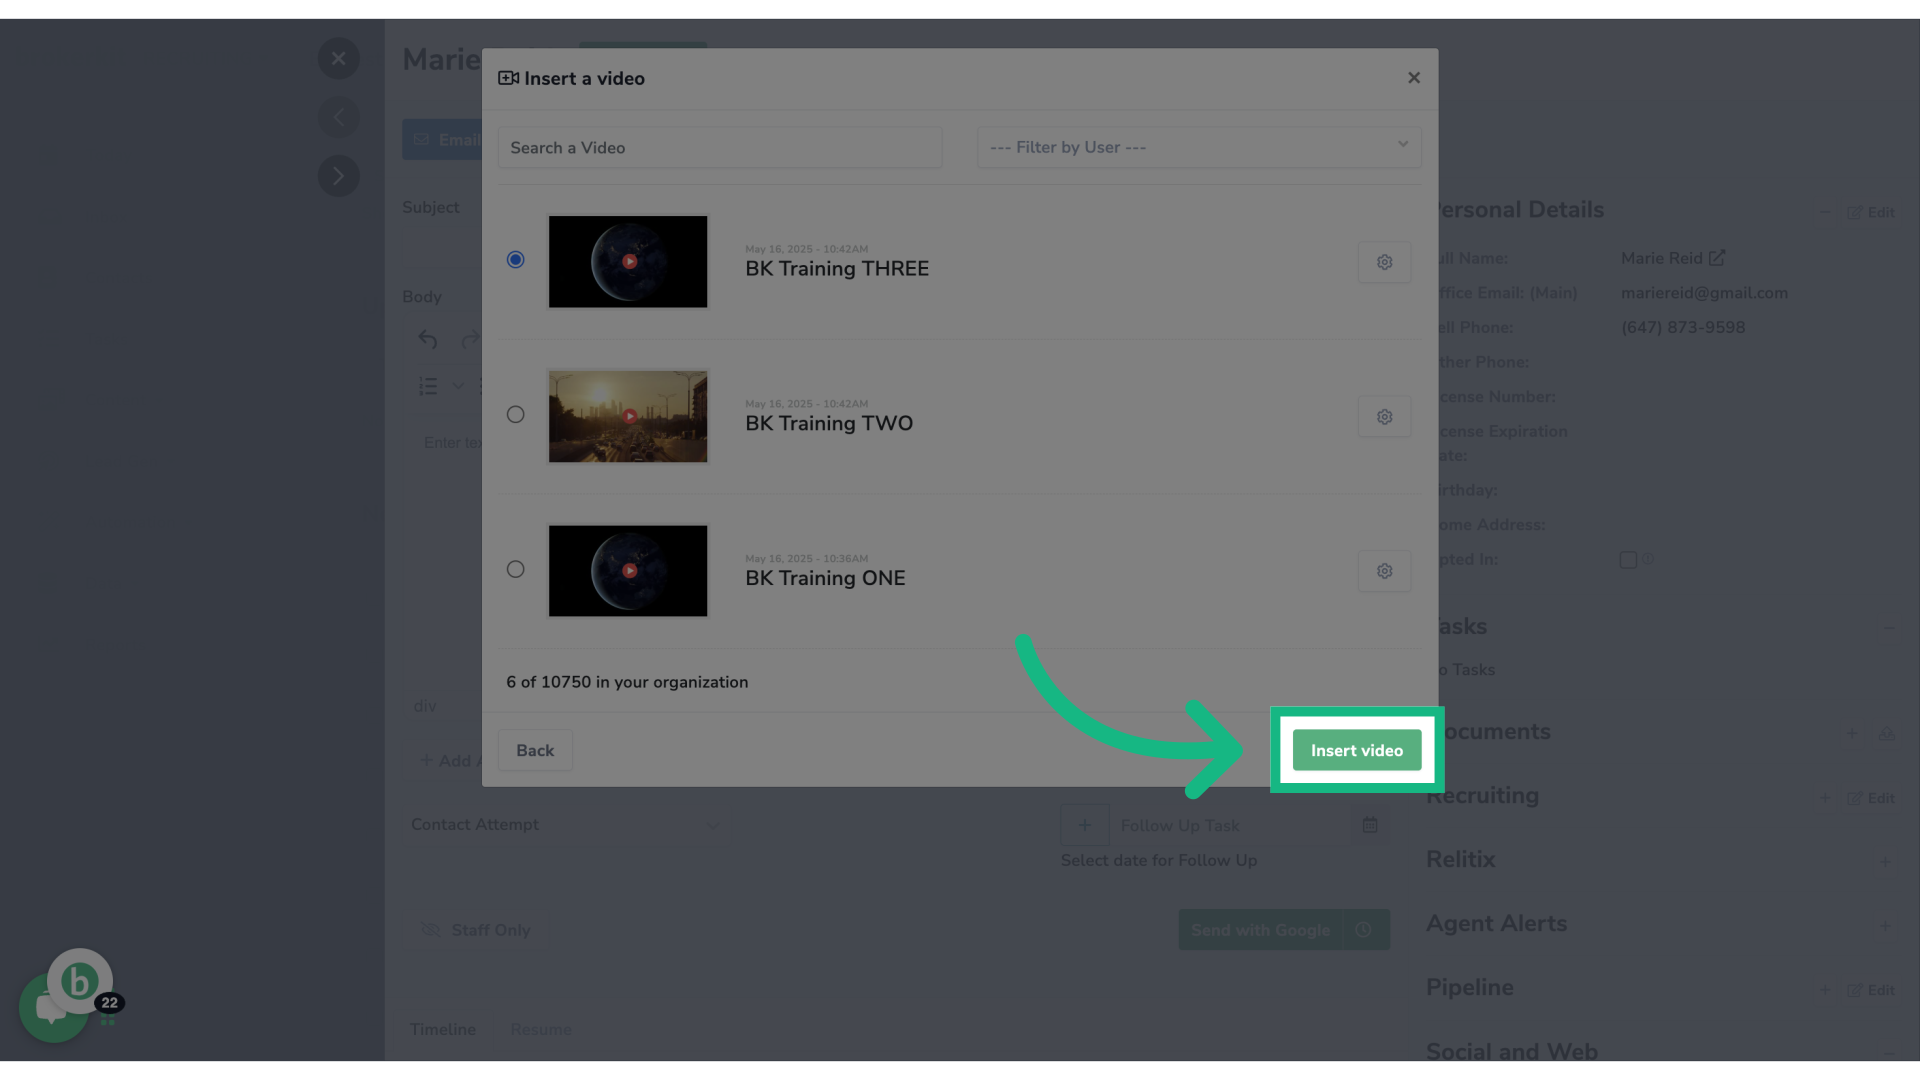
43. Video will be inserted in your email or text

44. Send videos in Bulk emails or texts
45. Click the video icon