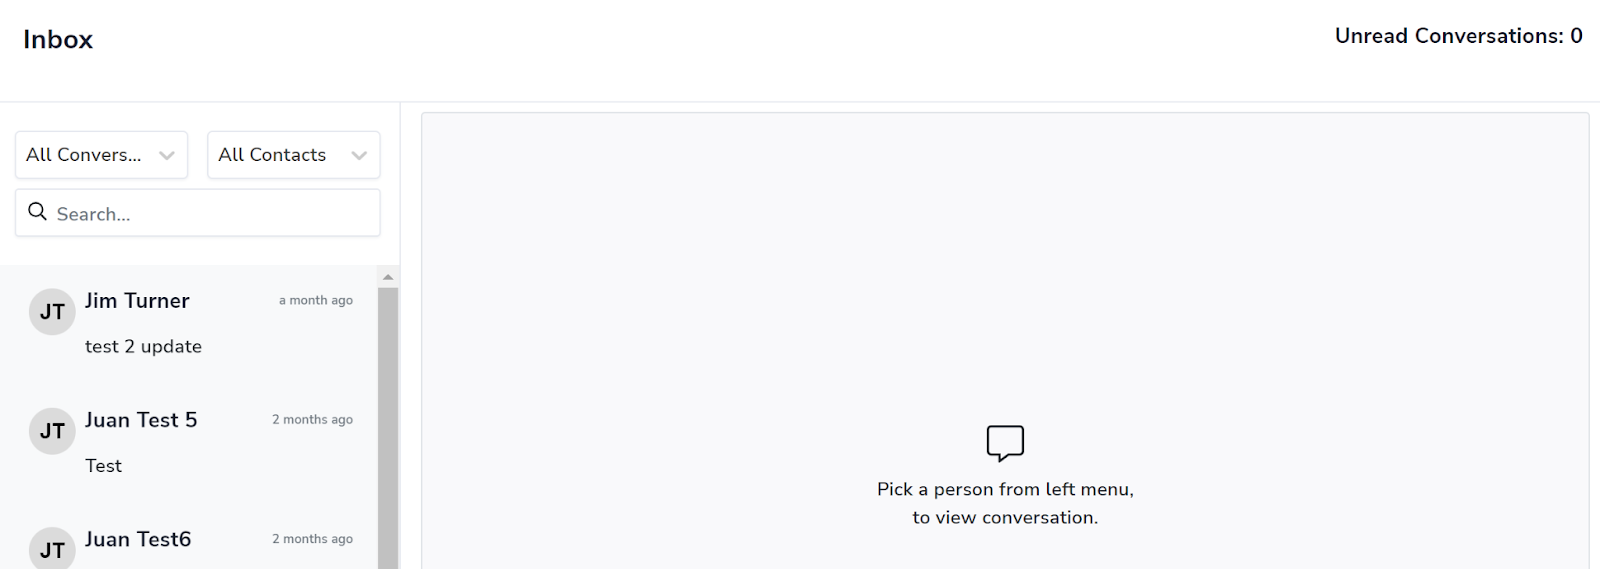
The Inbox in Brokerkit provides a centralized hub for managing conversations with your contacts. You can access to your Inbox from Recruiting or Retention screen:
- From Recruiting or Retention screen look for Inbox in left-side menu
- You will see all your conversations from texts and/or emails
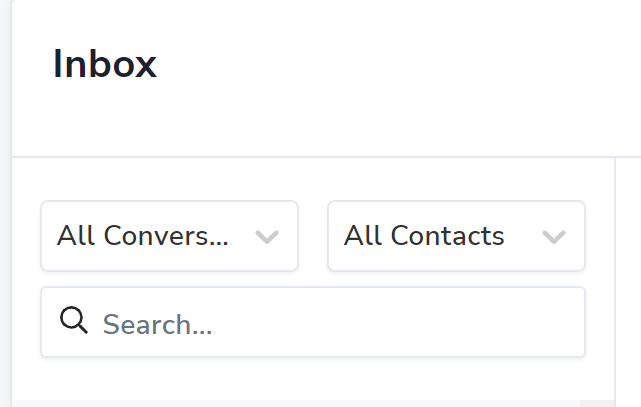
When using Inbox, you can filter your conversations by:
- Contact
- All my contacts
- Recruiting contacts
- Retention contacts
- Conversation
- All conversations
- My conversations
By default, the inbox view is set to "My Conversations" for staff role users and "All Conversations" for admin users.
Conversation Settings
When you open a conversation from the Inbox, you have the ability to mark it as Unread or to archive it. Click on the three dots at the top-right side of the conversation to select the option you want. By clicking the message in the right part of the inbox will mark the message as read.
If you need to view the history of the Contact, click on their name and it will take you to the contact profile.

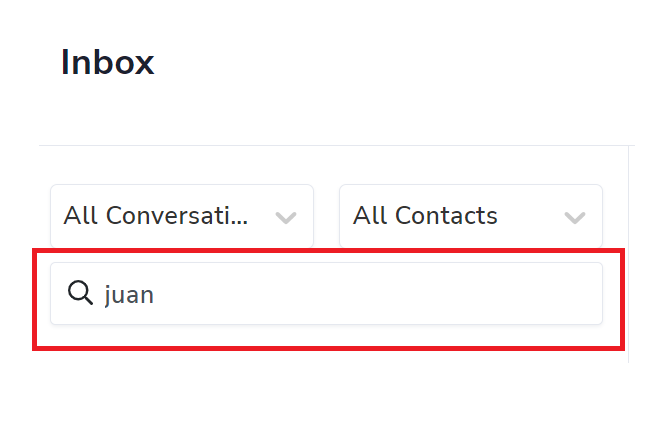
Searching and Timeline
Under the filters there is a search bar where you can search by the contact names. Under the filters there is a search bar where you can search by the contact names. The timeline of all message types (text, email) are in chronological order.
How to Use the Compose Email Button
The Compose Email button allows you to quickly send an email to a contact from within your inbox, regardless of how the conversation was initiated (text, email).
Composing an Email
- Locate the Compose Email Button: The Compose Email button is located in the top right corner of a conversation
- Clicking Compose Email: Click on the Compose Email button in the conversation. Note: Gmail replies are coming soon!
- Email Creation Text Editor: Once you click Compose Email, a text editor will appear where you can draft your email. This editor will have the same styling and features as the one in the contact profile
- Options in Composing an Email:
- Formatting your email with all the many text editor options
- Insert an Image
- Add an Attachment
- Insert a Document from your Brokerkit Library - Coming Soon!
- Add a Video from your Brokerkit Library
- Use Ai Assist to write content
- Select from an email template or create a new one
- Change the Contact’s Status from the dropdown
- Share the email with only Admin/Staff or Share with with referring agent
- Add a follow up task
- Schedule the email or send it directly
Composing a Text
- Locate the Compose Text Button: The Compose Text button is located in the top right corner of a conversation.
- Clicking Compose Text: Click on the Compose Text button in the conversation
- Text Creation: Once you click Compose Text, a text editor will appear where you can draft your text. This editor will have the same styling and features as the one in the contact profile
- Options in Composing a Text:
- Insert an image
- Insert a Document from your Brokerkit Library - Coming Soon!
- Add a Video from your Brokerkit Library
- Use Ai Assist to write content
- Select from an text template or create a new one
- Change the Contact’s Status from the dropdown
- Share the text with only Admin/Staff or Share with with referring agent
- Add a follow up task
- Schedule the text or send it directly
Scheduling Emails and Texts
- Scheduling Option: You can schedule emails and texts directly from Inbox. This feature allows you to set a specific date and time for when your email should be sent. For more information about scheduling emails and texts, follow these links: