Brokerkit has built a Campaign Library to distribute campaign templates to our clients to use as a baseline to edit for your recruiting and retention campaigns.
How to Navigate to Your Campaign Library
- In the left-side menu, select Campaigns and then click the Campaign Library button.
- After clicking on Campaign Library, it opens to a list of pre-built campaigns.

Library Functions
- Preview: Allows you to review the content of the campaigns
- Copy: Allows you to copy these campaigns to your Brokerkit account. Note that the campaigns are shared across all users in an account.
- Your Campaigns: Allows you to edit and customize your campaign that you copied down from the Campaign Library
📩 Note: If you want to delete or remove campaigns from the campaign library, please contact us through our support chat, and we'll be happy to assist you, just ask to be transfer to a customer support agent.
Campaign Categories
The Campaign Library organizes templates into categories to help you quickly find the right campaigns for your needs:
Available Campaign Categories:
- Recruiting - Standard recruiting campaigns for agent outreach
- Retention - Campaigns to keep your existing agents engaged
- Relitix - Data-driven campaigns based on MLS analytics, including:
- Red Switch Pattern Campaign - designed for recruiting leads with a red Relitix switch risk rating which indicates they are 10x more likely to leave their current broker in the next 3 months
- High Rookie Potential Campaign - designed for recruiting leads with a high Relitix rookie potential score
- High Listing Effectiveness Campaign - designed for recruiting leads with a high Relitix listing effectiveness score
- Onboarding - Welcome sequences for new agents
- Seasonal - Holiday and seasonal engagement campaigns
To filter by category:
1. Navigate to Campaign Library
2. Use the Type filter dropdown to select your desired category
3. Browse campaigns specific to that category
Note: The Relitix category campaigns require an active Relitix integration to fully utilize the switch risk and production data parameters.
Customizing the Campaign Templates
Our campaign templates are designed to help you ramp your recruiting efforts quickly, but you will still have to do some editing on them. Please note that you should always review and edit the campaigns prior to use to:
- Replace placeholders with real content
- Customize with brokerage and location references
- Edit them to your voice so they sound like something you sent
When you see content in the campaigns that looks like , and that is a Variable that will merge in that field from the lead or agent when the campaign is triggered.
Donating Templates
Brokerkit allows you to donate campaigns to other Brokerkit users both within your organization and to the Brokerkit community.
1. Following the steps above, begin by navigating to your campaign library by selecting your username in the top right and selecting "Smart Campaigns".
2. Select "Campaign Library".

3. Select "Your Campaigns".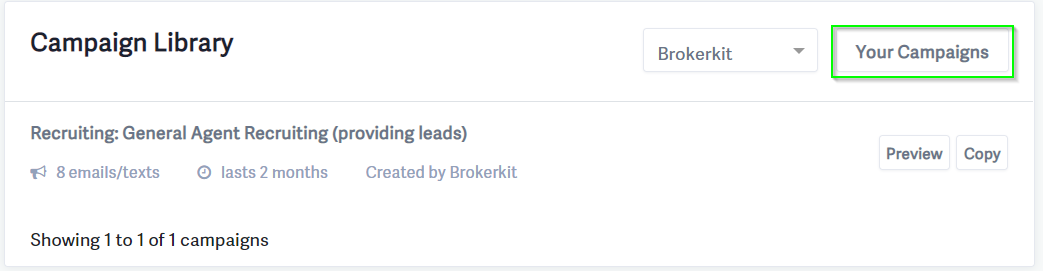
4. Select the "Donate Campaign to Campaign Library Button".
5. Click on the Drop Down Menu and select whether you would like to donate the campaign to the Brokerkit community (available to all Brokerkit users) or to your Organization Campaign Library (only available to users in your organization). 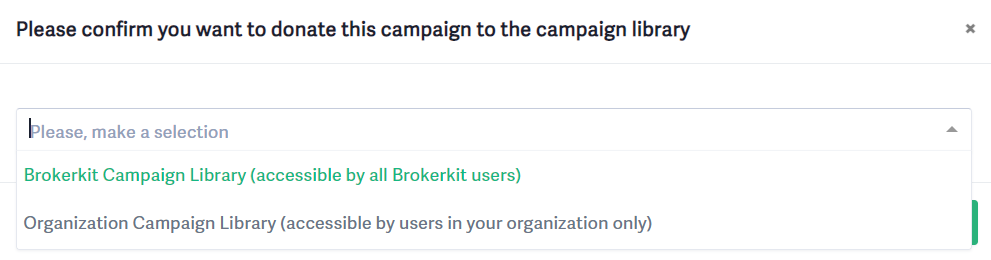
6. Click "Donate," and the campaign will be added to the selected library.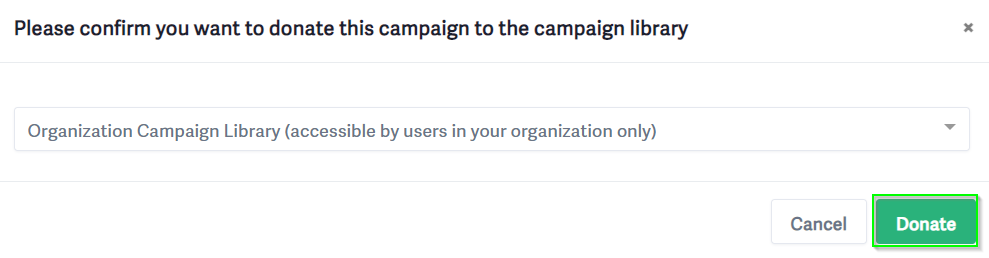
Using Donated Campaigns
1. Navigate to the Campaign Library by following steps 1 and 2 above.
2. Click on the drop-down menu and select the desired library to begin viewing campaigns.

3. Once you are viewing the desired library, scroll to the campaign you wish to copy. If you want to view a campaign's settings, you can click the "Preview" button next to the desired campaign. Once you find the correct campaign select the "Copy" option.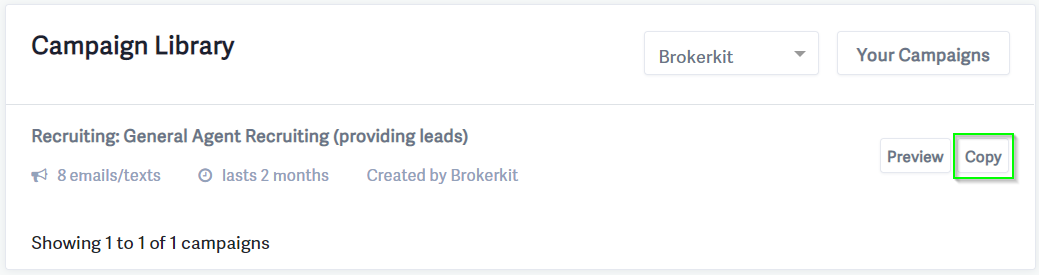
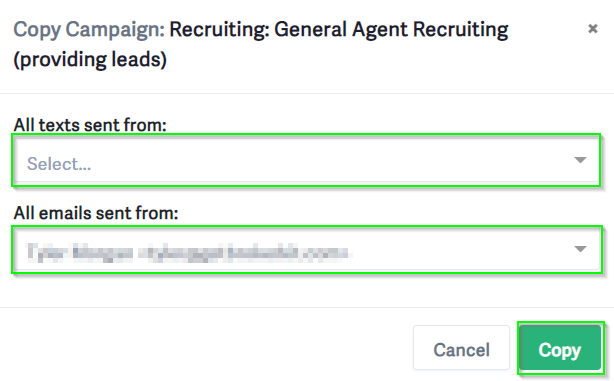
4. Select the number you want text messages and emails to be sent from for the desired campaign, then select click the "copy" button.